Summer means plenty of fresh basil available.. and what a better way to use it than making pesto? I like the traditional one with cheese and pine nuts, but I get bored easily so I always like to get creative and try new food combinations. This recipe calls for basil, kale, and pumpkin seeds: the taste is a little bit different obviously, but it’s rich in flavor and pairs well with a slice of sourdough bread or some pasta.
Let’s briefly talk about kale! Are you among kale lovers or not? Kale has been one of the most trendy healthy foods around for the last few years, but honestly, if you don’t like it, there’s no need to force yourself to eat it! There are many other nutritious veggies that you can include in your days. I honestly love kale and is usually a weekly staple in my grocery shopping – I mainly use it in salads, oven-baked chips and, obviously, pesto!
Kale is a member of the cabbage family, rich in vitamins like C, A, K, B6, but also minerals like magnesium, iron, potassium, calcium. Among vitamin C and beta-carotene, it has other compounds with antioxidant activity, like flavonoids and polyphenols (antioxidants are important compounds that help us working as a protection from the effect of oxidative stress and free radicals – so, for example, they may help us dealing with inflammation and aging). Kale contains also some compounds that may help us to lower the cholesterol levels in the body. Sounds like a mighty little plant, right?
Interesting studies:
Antioxidants and kale
Binding of bile acids by kale (for cholesterol)
Kale and postprandial glucose level


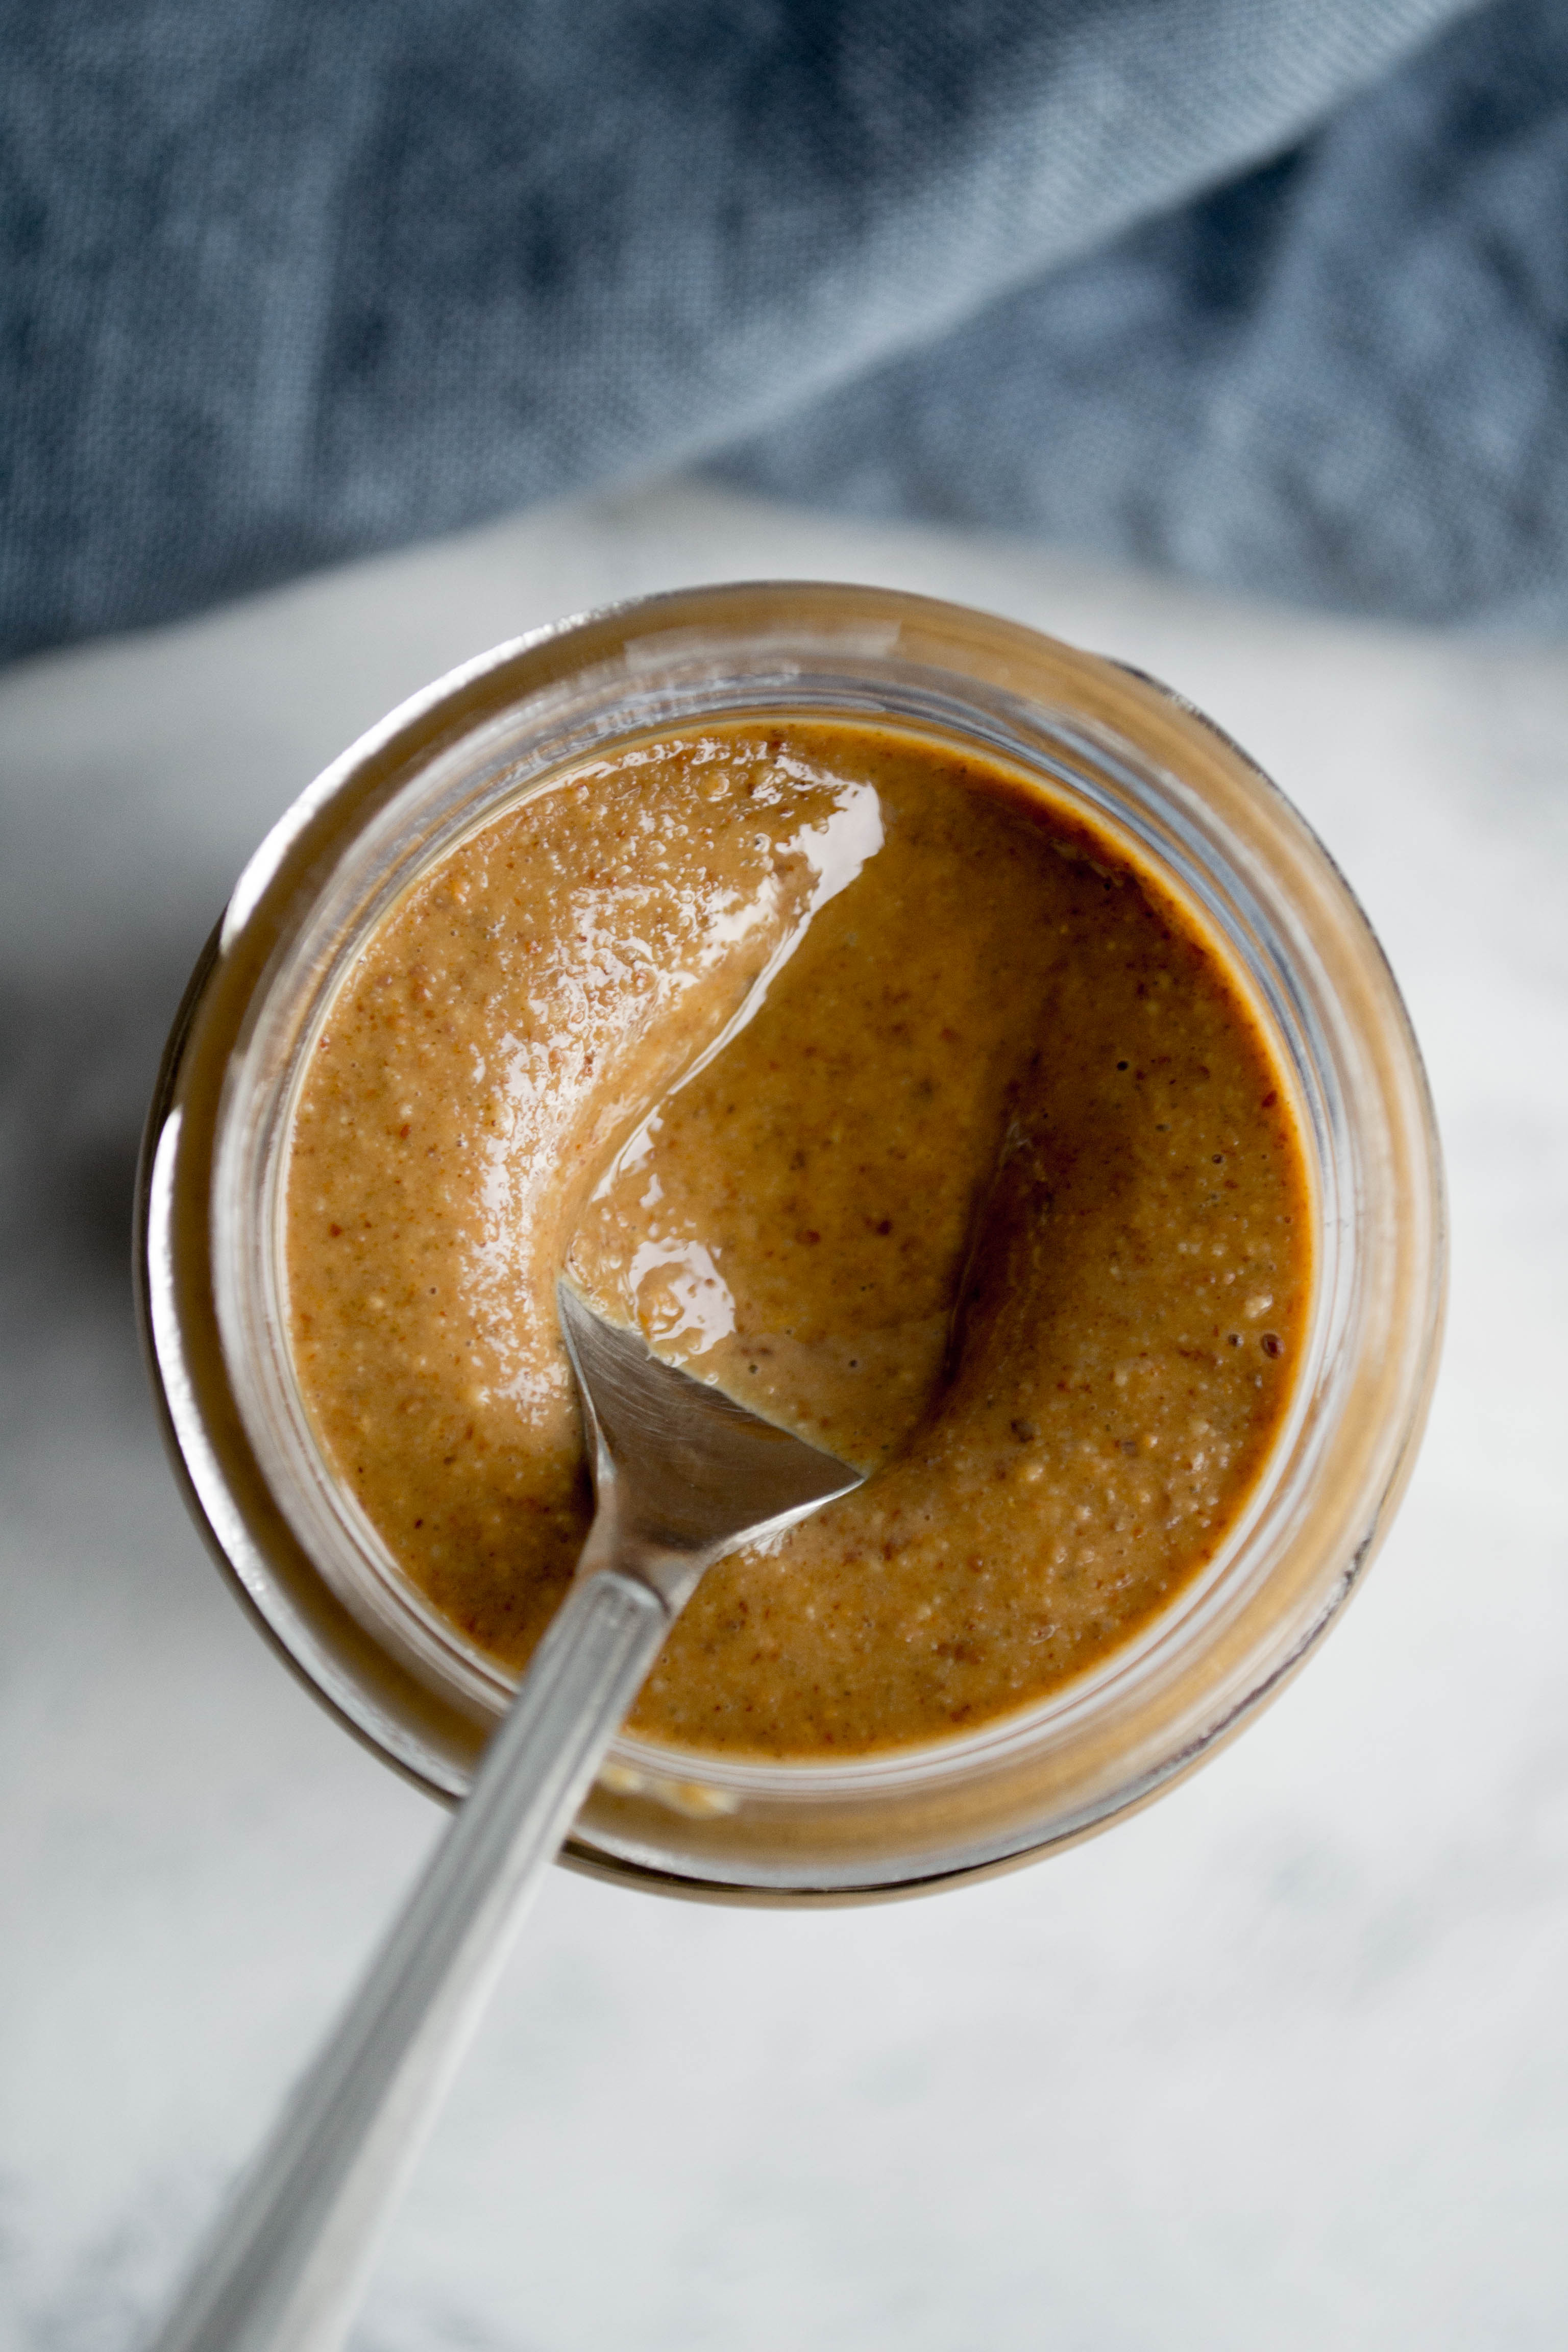
KALE AND BASIL PESTO
Ingredients
- 100 g pumpkin seeds
- approx. 40 g basil, stems included
- approx. 150 g kale
- juice of 1 lemon
- approx. 100-120 ml extra virgin olive oil
- 1 1/2 tbsp capers (optional – delicious variation inspired by a post from Green Kitchen Stories)
Toast the pumpkin seeds in a pre-heated oven at 150°C for a few minutes, just until they start to turn golden. Wait until they are cold to add them in the blender, with the lemon juice and a small part of the basil: it’s better to add basil and kale in small portions – blend for a few minutes, pausing from time to time and scraping the walls. When your ingredients will be finely chopped, start adding the olive oil in portions. You can adjust the amount of both oil and lemon juice to your preferences. Store in the fridge in a closed jar for a few days with a thin layer of olive oil on top (just to keep the top covered with oil).
Would you like to start having a healthier diet and lifestyle, but also start building lifelong healthy habits? Are you ready for a change but need some help to get started? Click on the button below to take the first step: