I’m pretty sure I’m not the only one who could snack on hummus every day without getting bored. It’s one of those preparations I make quite often but I end up using a different recipe every time. Even if the final result it’s more or less the same (for example, a classic hummus), there is always something different… it may be a spice, the toppings, or an extra ingredient. I find it helpful to keep things interesting and creative.
During the years I had my hummus fails like everybody else and I’ve learned step by step how to get it perfectly smooth and creamy, so here I’ll share some tips that you may find helpful; we will also use a bit of chemistry to explain them.


HOW TO MAKE THE BEST HOMEMADE HUMMUS
- Cooking the chickpeas with a bit of bicarbonate of soda (baking soda or sodium bicarbonate) modifies the pH of the water. Bicarbonate is a base and it will increase the pH of the water, softening the chickpeas faster and reducing the cooking time (this means you’ll easily get slightly overcooked chickpeas and the peel with fall off without any difficulty). You’ll only need a small amount of bicarbonate to get the expected result (always remember that bicarbonate of soda is a source of sodium and it can also affect the taste of food). When you remove the peel from chickpeas (even if you don’t throw it away), you’ll get a smoother and shiny hummus. I use 1 level teaspoon of bicarbonate to cook 500 g of chickpeas.
- If you forget to add the bicarbonate while cooking your chickpeas or you’re using canned legumes, you can add it among the other ingredients in the blender. While doing so you’ll notice the formation of foam when the bicarbonate (a base) reacts with the lemon juice (containing citric acid): this will be helpful to make your hummus way more fluffy thank to the simple acid-base reaction that generates a gas (carbon dioxide).
- Chickpeas (and other foods) contain a class of chemical compounds called saponins having surface active properties: when saponins are agitated in water, they form a soapy foam. Have you ever heard about aquafaba? It’s how is called the water you get from draining cooked chickpeas and, during the last few years, it gained quite a lot of popularity as egg substitute due to the fluffy foam it turns into when whipped (similarly to what happens with egg whites). This fluffy result is probably due to a combination of carbohydrates, protein, and saponins. Also, think about how different is your hummus when you still have a bit of cooking water left and when you don’t have it (it will be smoother if you use some cooking water).
- Using a few tablespoons of cooking water among the other ingredients of hummus may not work well for everyone: adding some fennel seeds and cooking the chickpeas with 1-2 bay leaves may ease the digestion. Also, discarding the peel of chickpeas may make them easier to digest for you. As always, find out what works well for your own body.
- Slightly overcooked chickpeas make a smoother hummus. This is the result of 2 factors: mushy legumes and the peel that starts to fall off.
- If you get a dry hummus, one of the reasons may be that your chickpeas are undercooked and/or they are warm (it’s also important to use cold water).
- Adding milk, yogurt, extra tahini or oil to get a creamier result will work (they are all a source of fats) but these ingredients will also change the taste of hummus. It’s up to you!
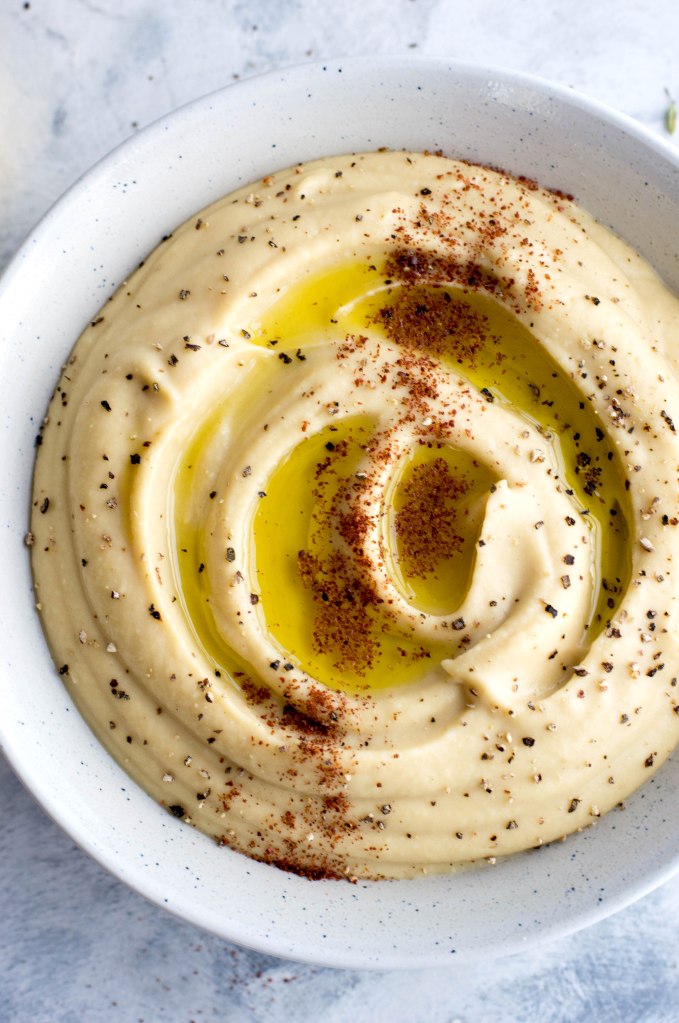
- Don’t forget the toppings: whether you decide to use just extra virgin olive oil and black pepper or a combination of spices like sumac berries and ground cumin, these extra ingredients on top always make hummus a bit more special.
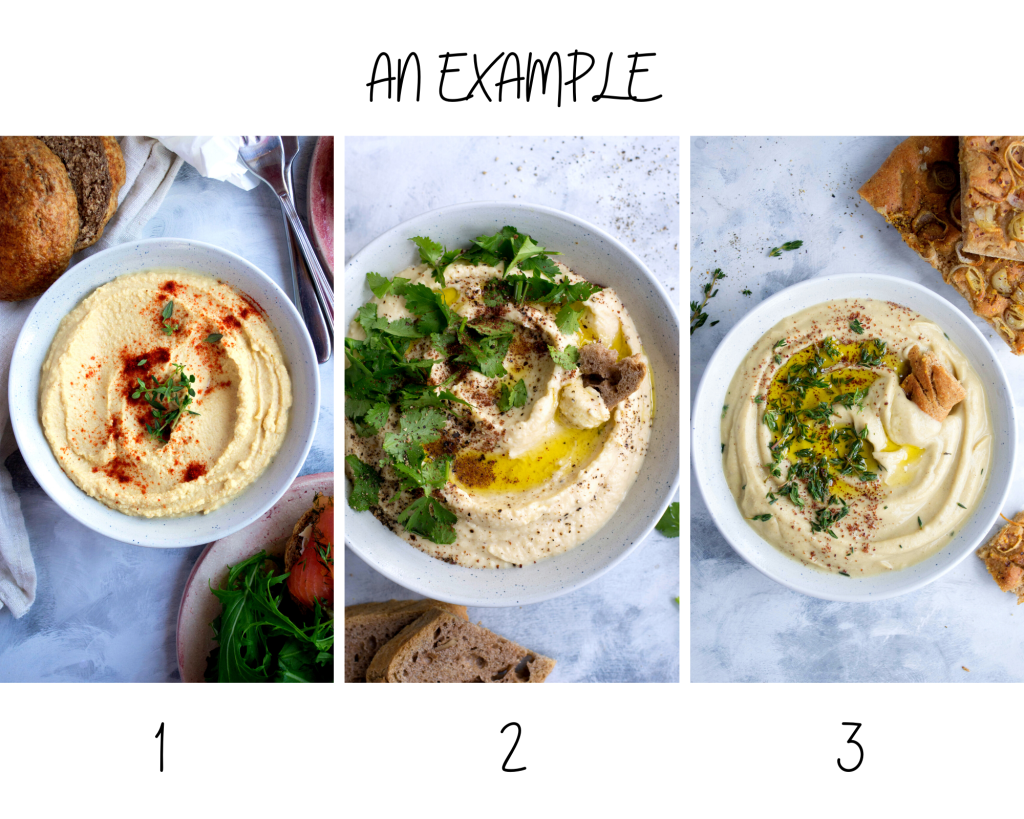
LET’S SEE THOSE TIPS EXPLAINED WITH 3 PHOTOS
1) the first one (with smoked paprika and thyme on top) was made with rinsed chickpeas (not overcooked) and no bicarbonate
2) the one in the middle (with parsley, extra virgin olive oil, sumac berries, and black pepper on top) was made without bicarbonate and using some cooking water (but the chickpeas were not overcooked)
3) the last one (with extra virgin olive oil, thyme, and sumac berries on top) was made with bicarbonate (added during the cooking step), overcooked chickpeas, and cooking water

My classic hummus
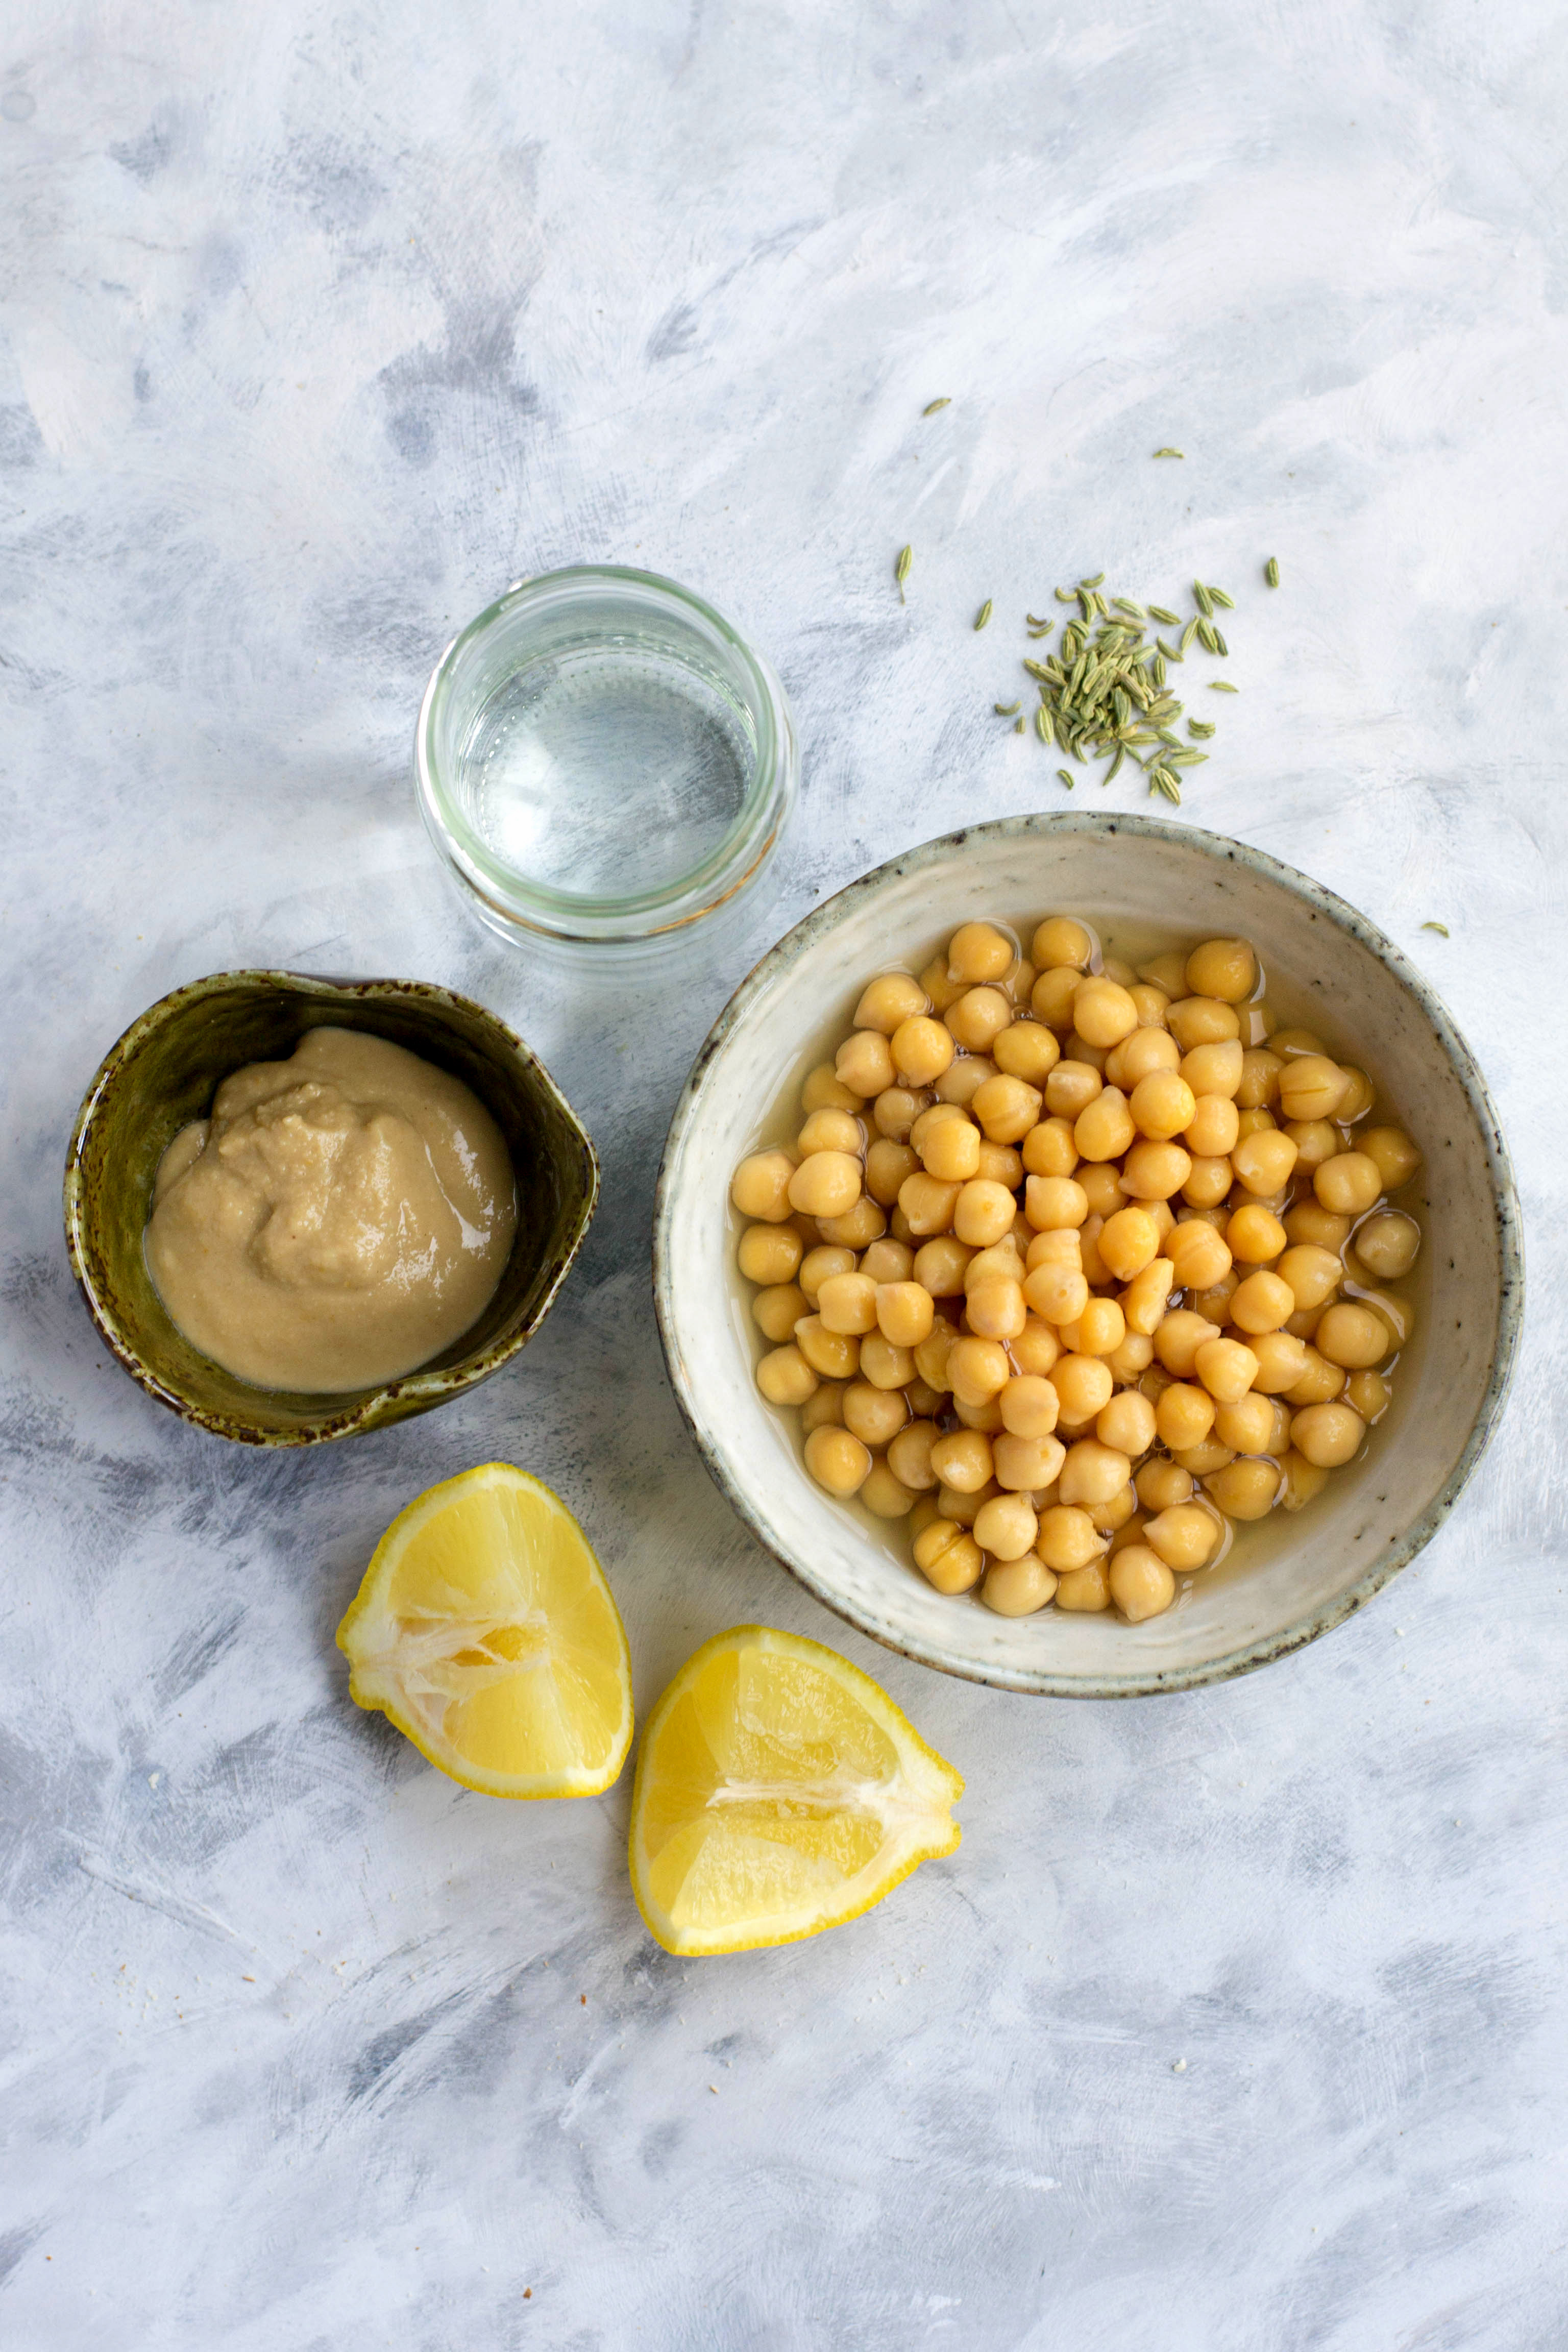
Ingredients
- 200 g cooked chickpeas (you can decide to use the chickpeas rinsed and drained or you can opt for not rising them and also keep 3-4 tbsp of cooking water to get a creamier hummus)
- 2 tbsp tahini (sesame seed paste – you could even use just 1 tbsp if you prefer)
- 1 tsp fennel seeds
- a pinch of salt (optional)
- a few tbsp of cold water (or you can use the cold cooking water from chickpeas)
Use a blender or a food processor to make your hummus – add the water in small portions step by step based on how your hummus looks like. Add the tahini as the last ingredient when you already have your creamy mixture. Adjust the spices and lemon juice to your preferences and do the same for the toppings (feel free to add garlic to this basic recipe if you want).

If you liked this post, share it with your friends using the buttons below! Don’t forget to tag me @amatterofnourishment on Instagram if you try this recipe: I’d love to see your creations!