WHAT ARE FODMAPS?
Fodmaps are short-chain carbohydrates that some people poorly absorb and digest
=> so in some people, they can cause digestive issues and aggravate the symptoms of conditions like IBS (for these individuals the fodmaps pass through most of the intestine remaining unchanged).
WHAT DOES FODMAPS MEAN?
FODMAPS = Fermentable Oligo-, Di-, Mono-saccharides and Polyols
FERMENTABLE: compounds that are broken down by bacteria in the large intestine
OLIGOSACCHARIDES: simple sugars connected together (in a polymeric structure)
DISACCHARIDES: double sugar molecule
MONOSACCHARIDES: single sugar molecule
POLYOLS: sugar alcohols
EXAMPLES OF HIGH FODMAP FOODS?*
Garlic, onions, beans, fermented cabbage, ripe bananas, dates, pears, apples, figs, cherries, peaches, wheat flour, spelt flour, semolina, rye, cashews, sweeteners, honey, agave milk, yogurt.
EXAMPLES OF LOW FODMAP FOODS?*
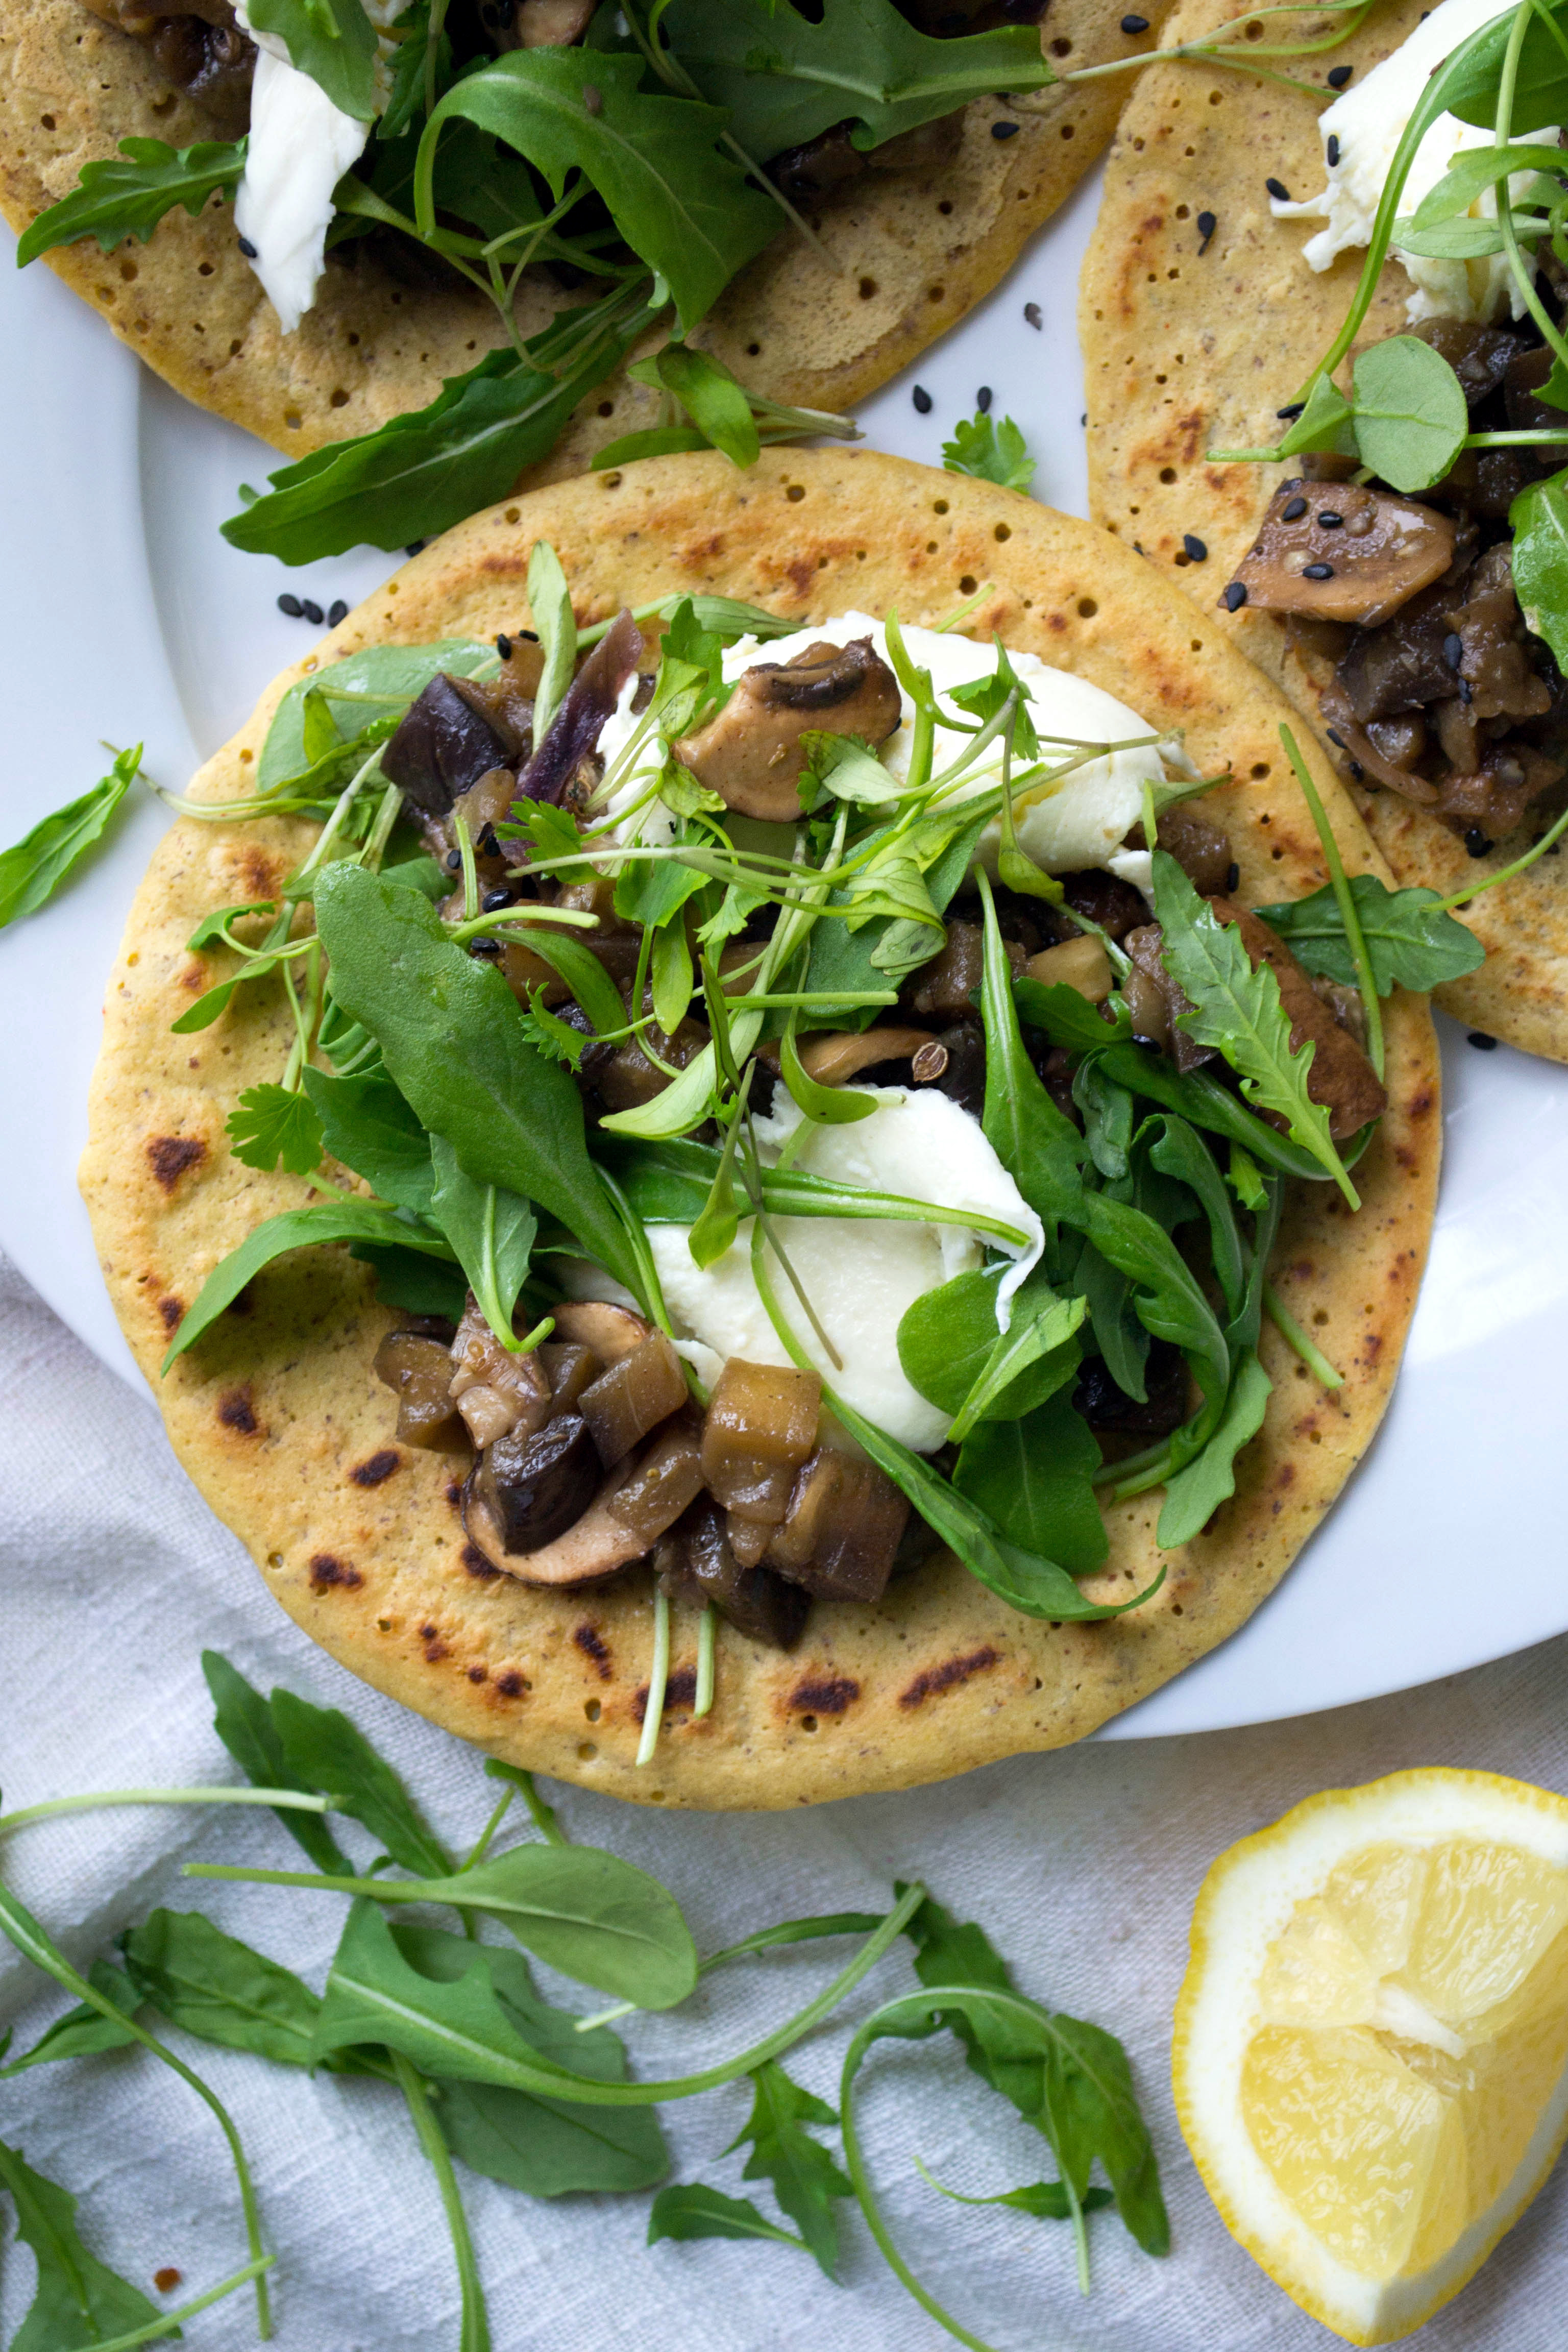
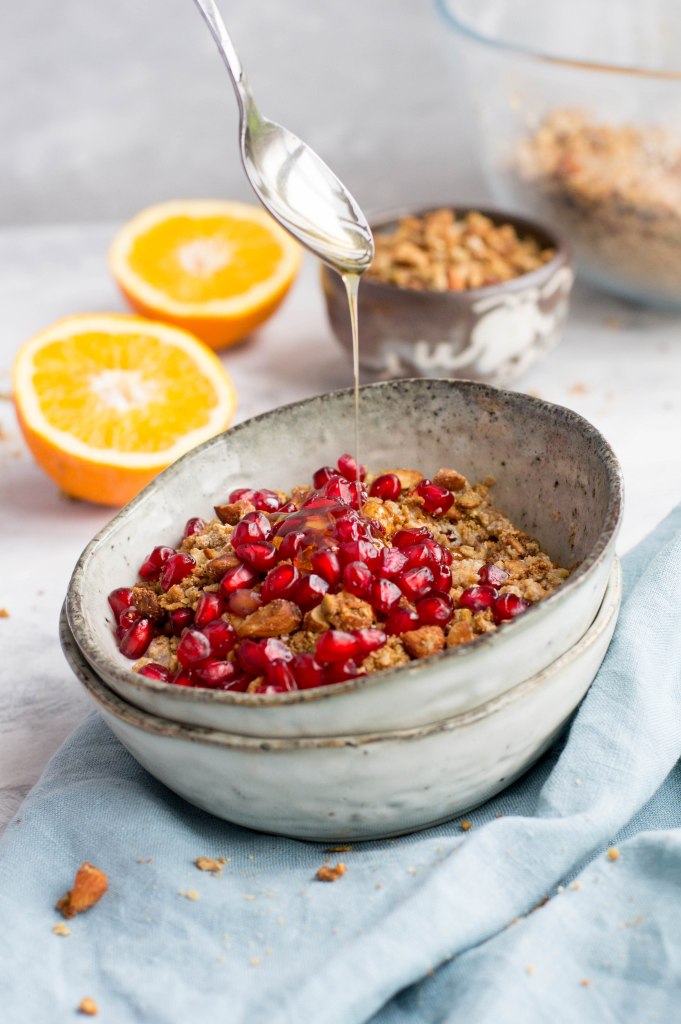
Squash, kale, ginger, courgettes, eggplant, carrots, olives, unripe bananas, kiwi, grapes, papaya, orange, beef, lamb, turkey, chicken, fresh cod-salmon-trout, crab, mussels, prawns, oats, rice, quinoa, buckwheat, millet, walnuts, butter, eggs, tofu, oils, cacao.
[*source: ibsdiets website]

The LOW FODMAP diet has been studied especially in relation to people suffering from IBS and seems to be helpful in improving their quality of life (IBS = irritable bowel syndrome, a digestive disorder). A low fodmap diet can also be beneficial for people with other digestive-related diseases.
It’s IMPORTANT to remember that FODMAPS ARE NOT bad from a general point of view. But knowing more about them is a big step for people suffering from conditions affecting their digestive system.
IBS or other digestive issues can be not only difficult to manage, but also frustrating and cause of embarrassment. So, it’s even more important than usual for the people who are affected from this kind of health issues, to build a good relationship with their body, being able to love the food that they choose to put on the table, and feel a little bit more in control of how food affects their days. Things that can help: knowing your triggers (both regarding food and lifestyle), keeping a food diary, trying new ingredients or recipes (but also different portions) and keep track if they worked well for you or not.
Questions? Would you like to know how I can help you?![]()