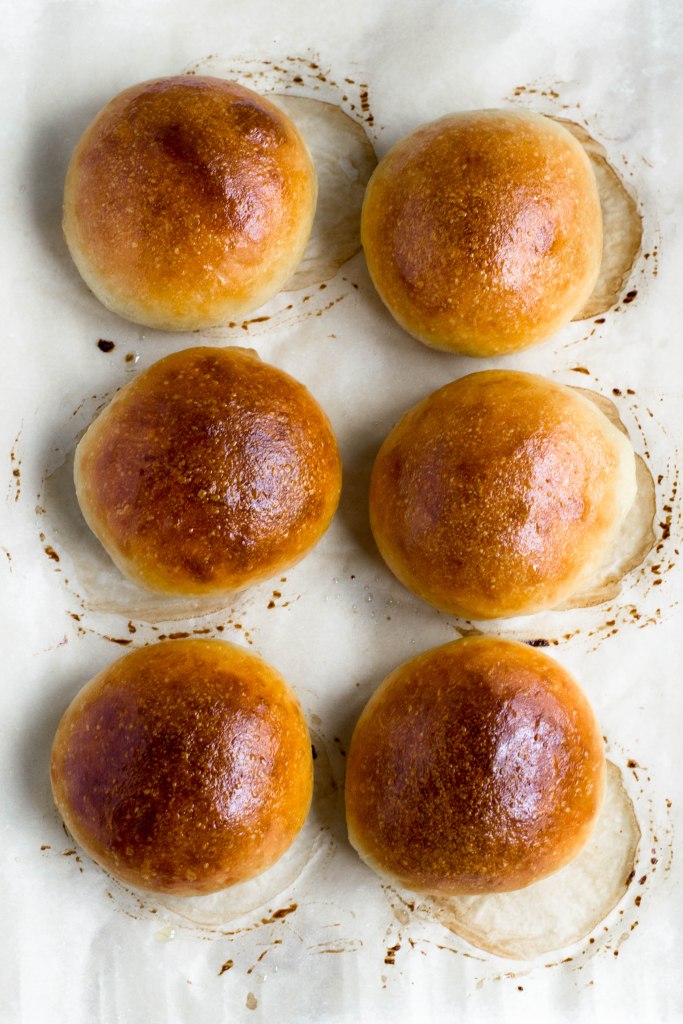
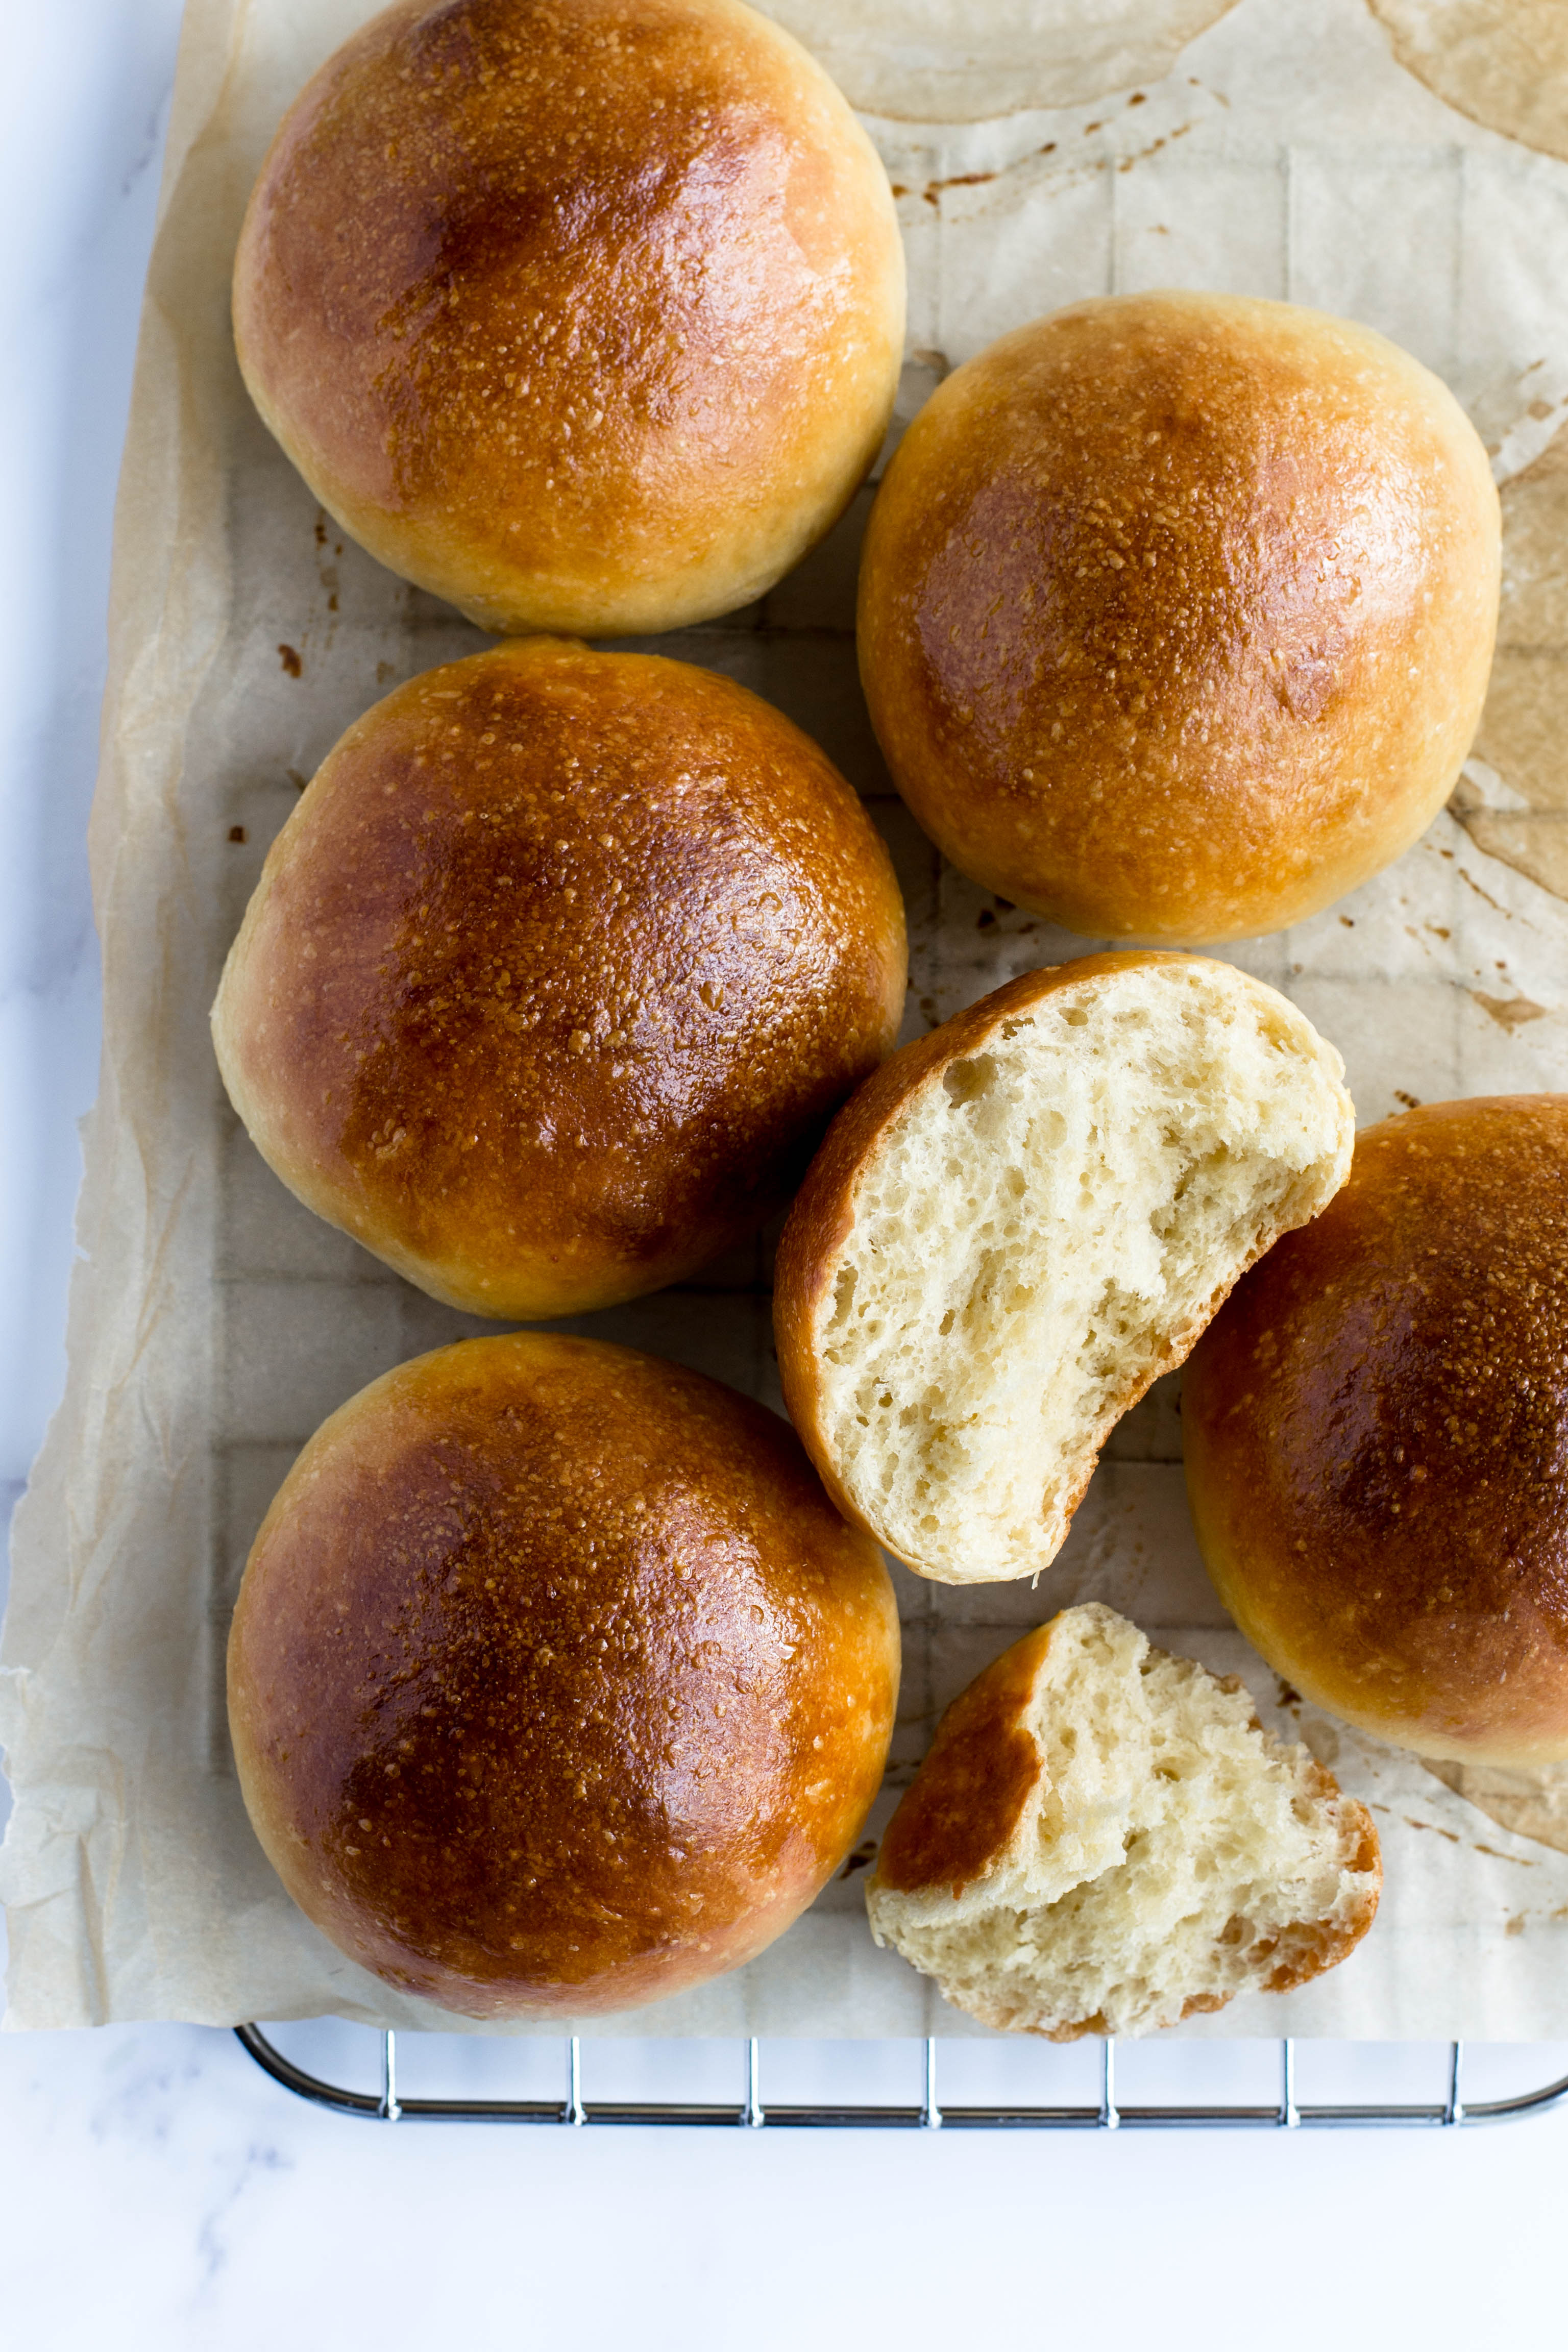
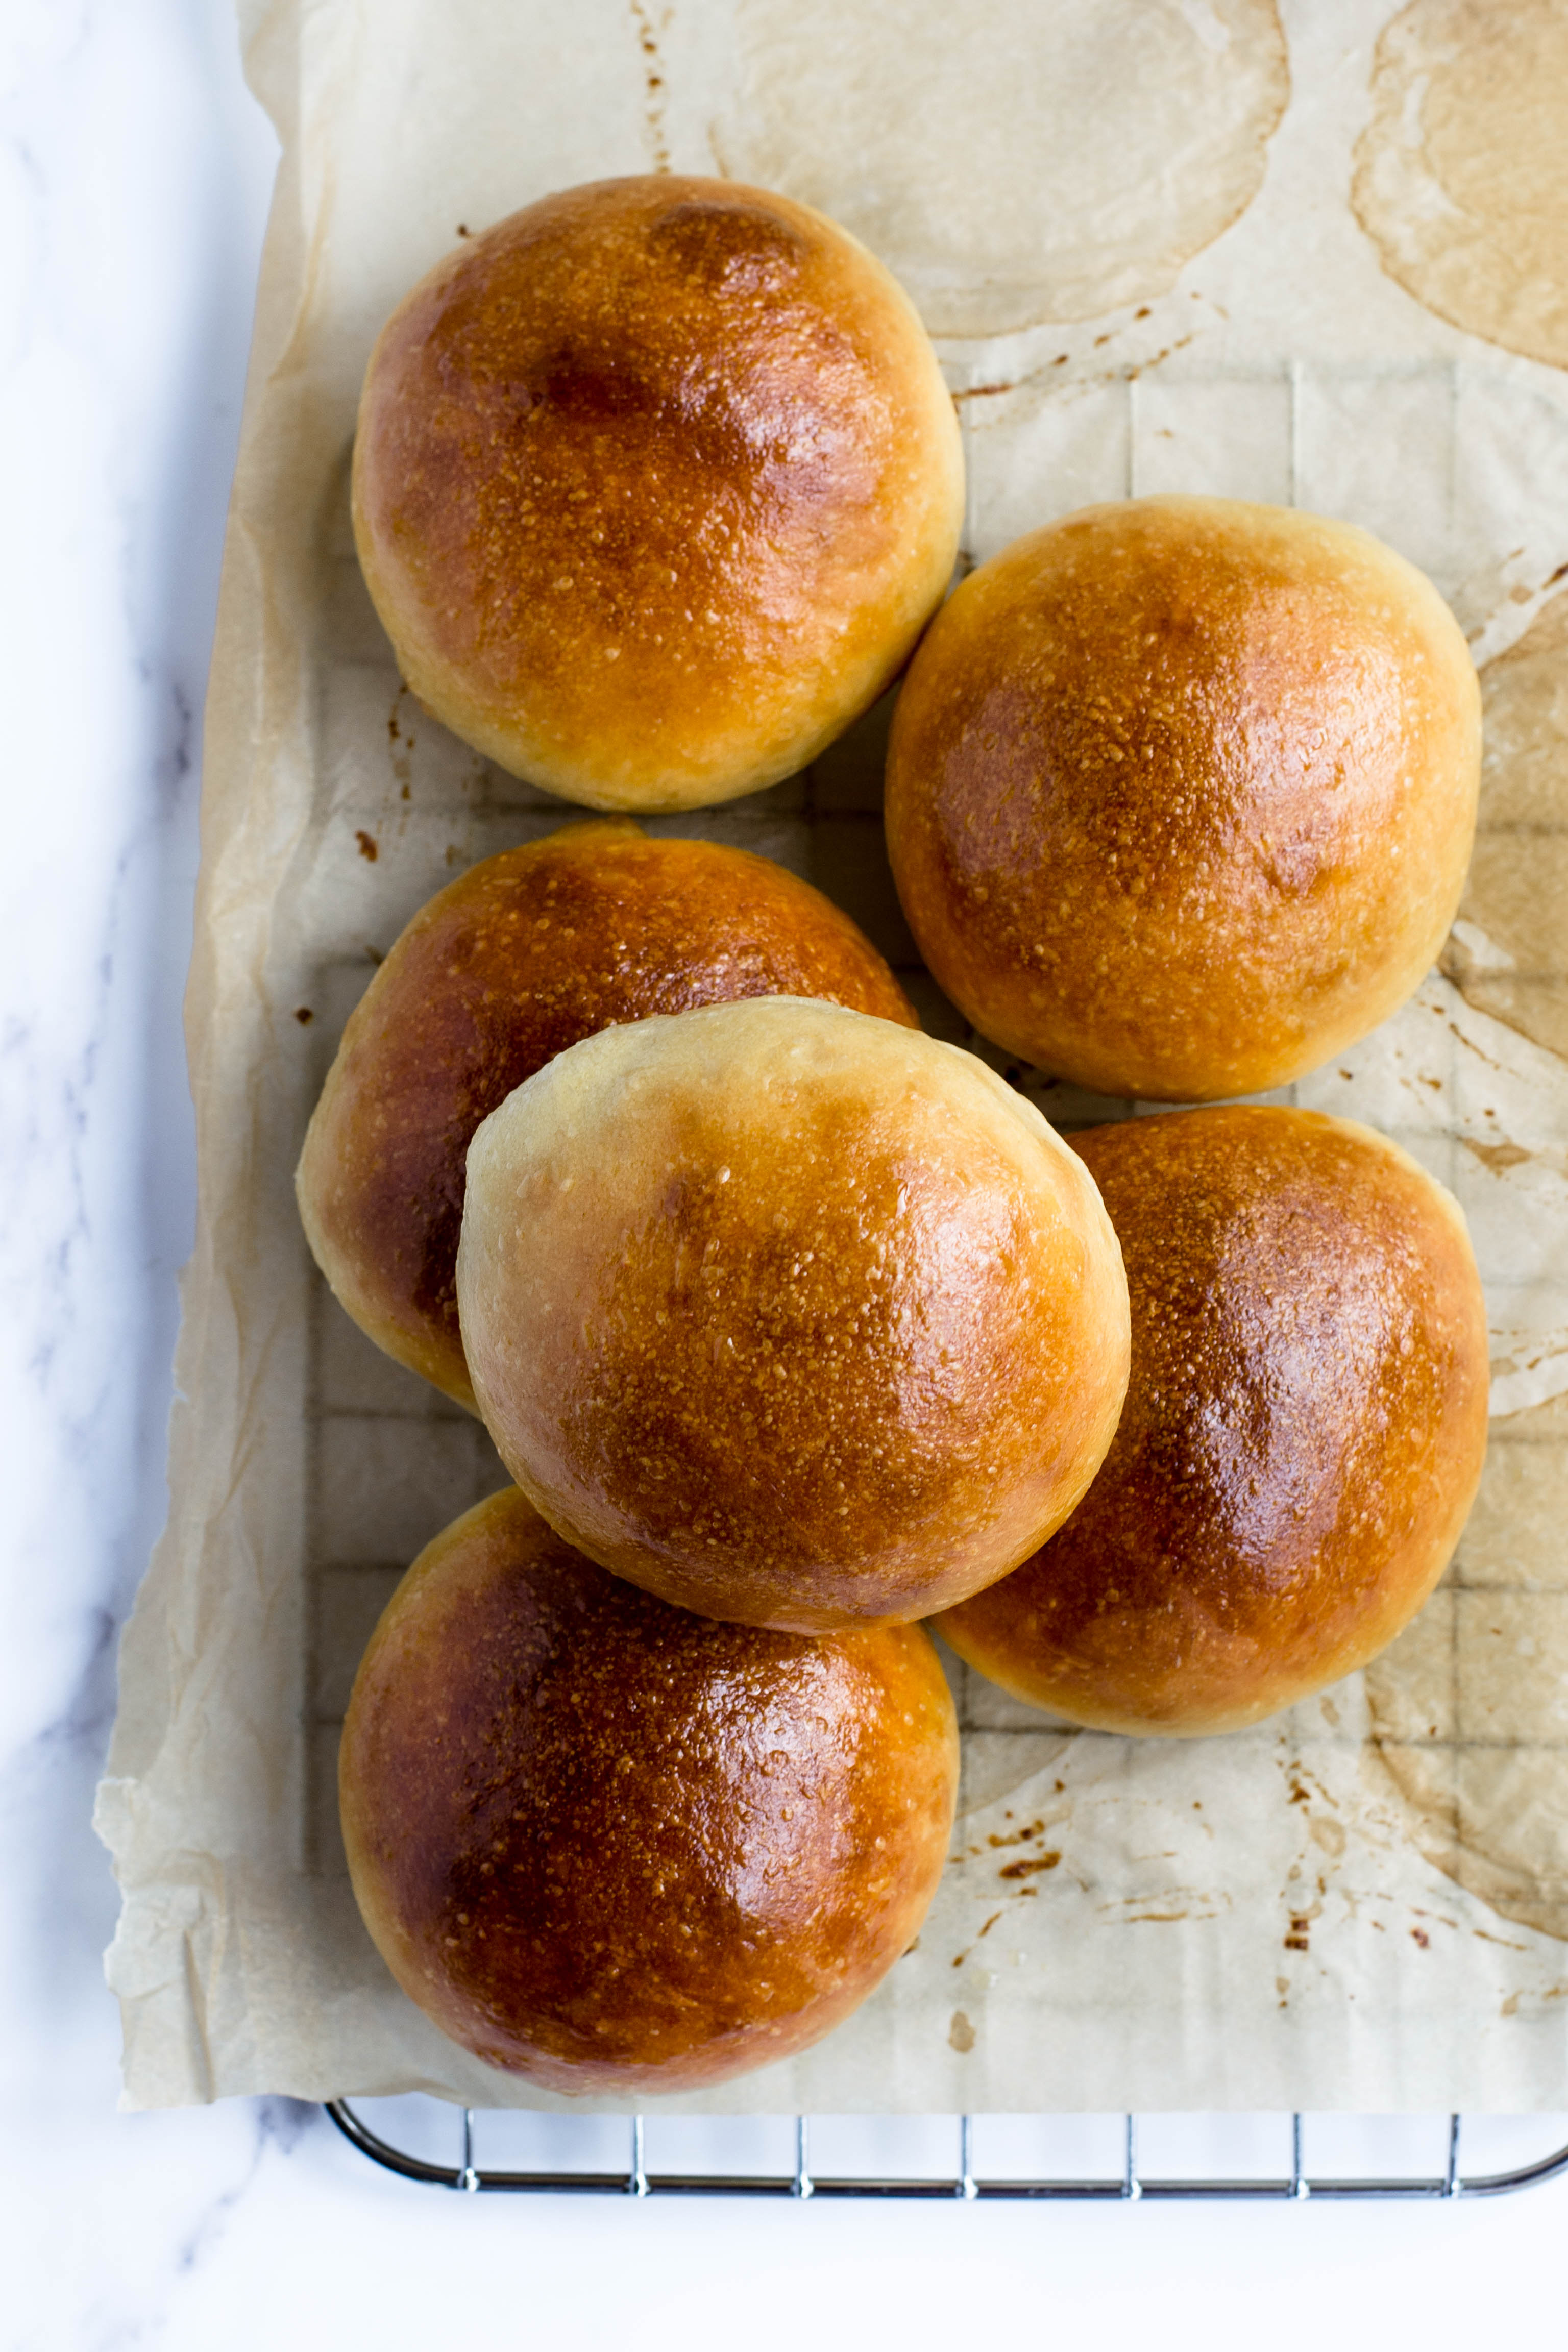
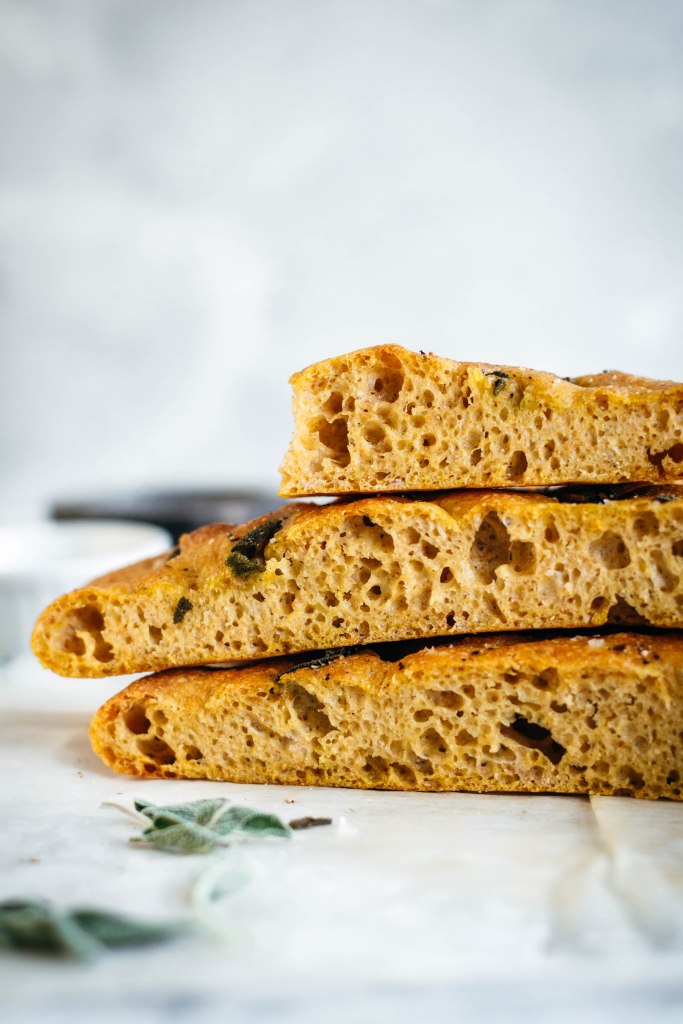
Delicious even when eaten on its own, this soft vegan pumpkin focaccia has a sweet finish and a pillowy texture, that may help this preparation to easily become one of your favourite recipes!
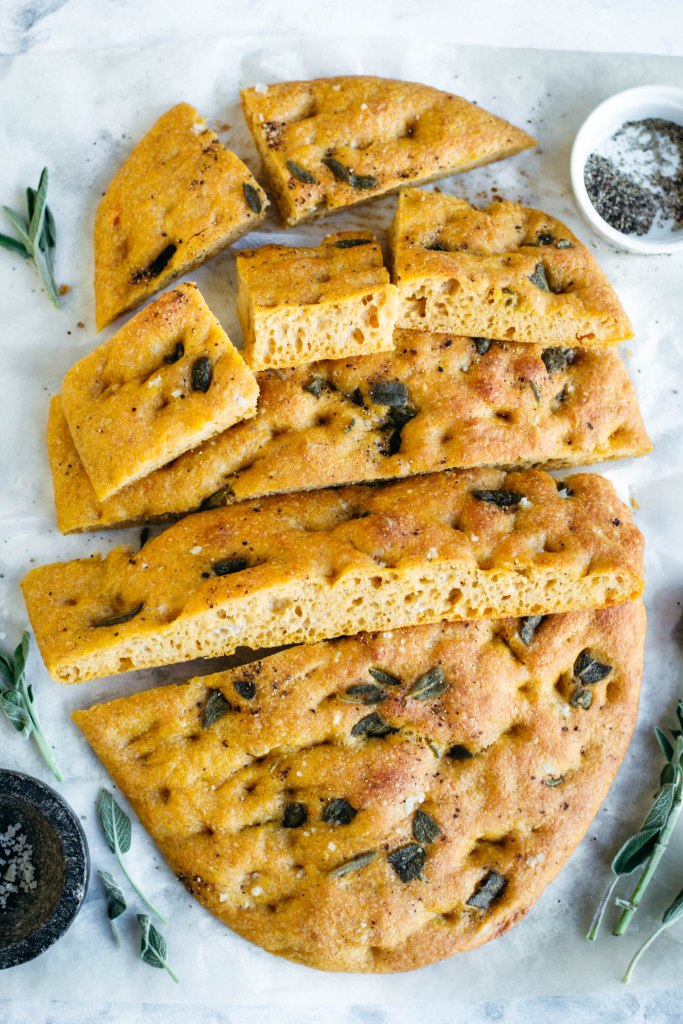
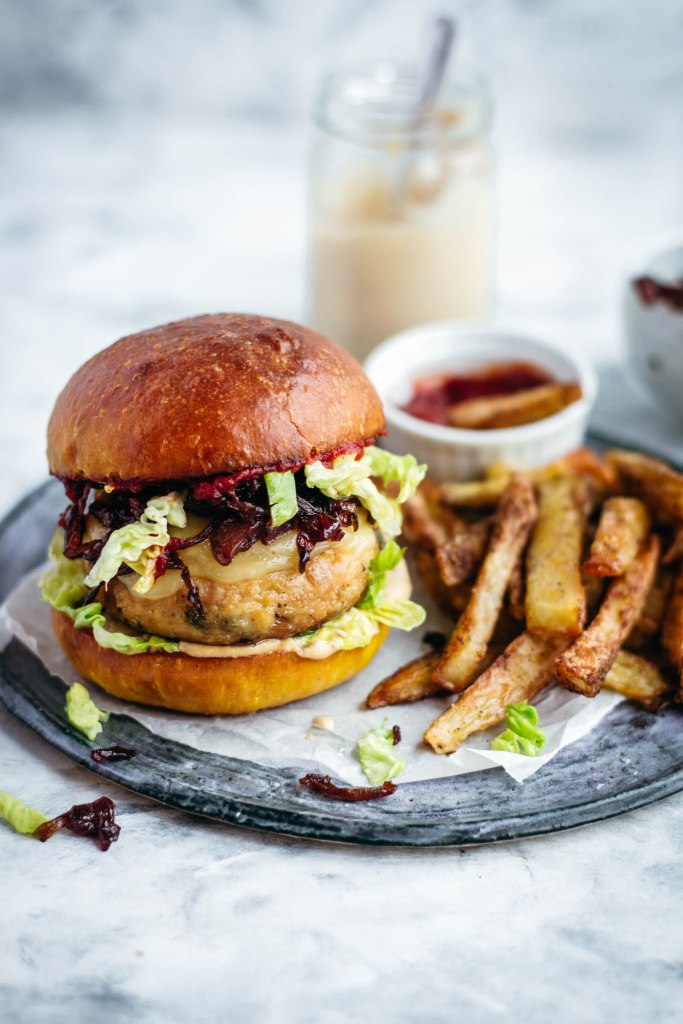
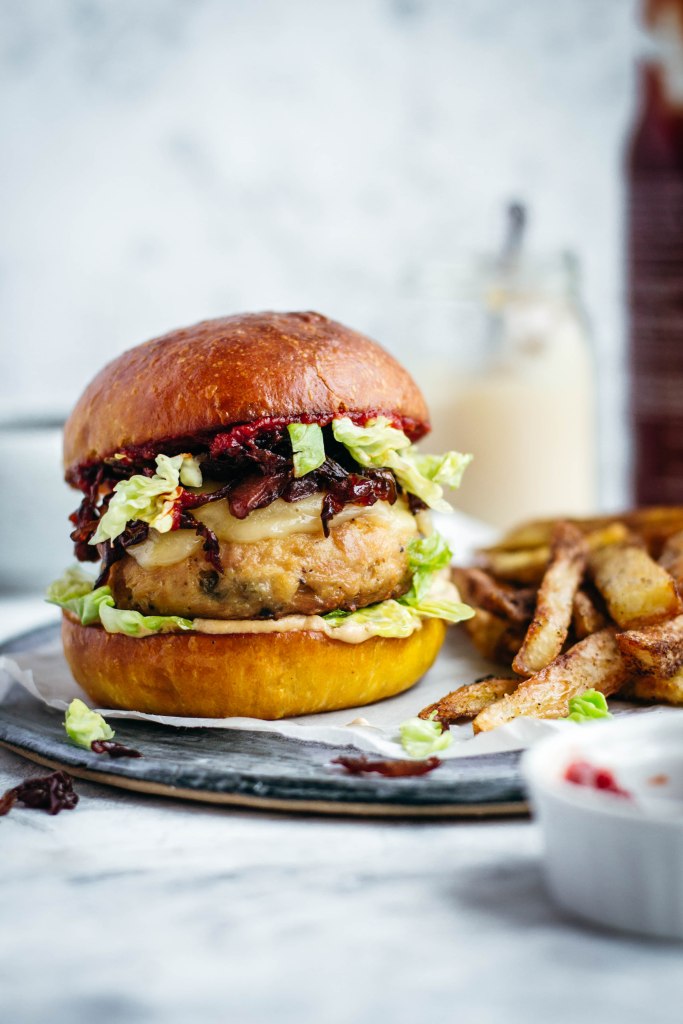
A piece of homemade pumpkin focaccia is the perfect alternative to bread for a tasty sandwich or a great addition to any appetizer or snack board. It’s characteristic nutty flavour pairs really well with hummus, cheese, rocket or salad leaves but there are so many other combinations that could work well, too.
When you decide to add one extra ingredient into bread or focaccia, sometimes the result doesn’t turn out great from the beginning; that’s why it’s important to understand how to change a recipe based on the effect of that new variable. Pumpkin, for example, will make a delicious, sweet and beautiful coloured focaccia but, it can also be tricky to use and it’s easy to get a soggy result with a way too dense texture.
In this post, I show you how to make a soft vegan pumpkin focaccia using simple ingredients and a bit of patience. The ratio between flour and roasted pumpkin, the long leavening time and the combination of ingredients will help you to successfully make this focaccia even if you don’t have much experience in baking. There’s absolutely nothing complicated about this recipe and it can be a good chance to try baking something different from regular bread; if you want to learn something more about the chemistry behind baking, you can find more info in my post about burger buns.
Common questions about this focaccia with pumpkin:
- Why do you add cornstarch? The use of pumpkin makes this focaccia quite different from a classic one. Cornstarch allows me to counter-balance the effect of this extra ingredient in a similar way eggs would do: it helps with the structure of the final product, that is indeed well-leavened and aerated. I decided to opt for cornstarch to keep the recipe vegan. Remember than cornstarch is not the same thing as corn flour or cornmeal; while you could swap cornstarch with potato starch, the different corn-based products are not interchangeable.
- I don’t have a blender, can I make this recipe anyway? Absolutely! Just mash well the cooked pumpkin with a fork before mixing it with the other ingredients. The result would be less homogeneous but still delicious.
- What kind of pumpkin should I use? You can make this vegan focaccia using butternut squash or another kind of pumpkin or squash like Delicata, Hokkaido or Kabocha (due to its particular texture, the only kind I would avoid is the one called “spaghetti squash”).
- Can I shorten the preparation time? The preparation itself doesn’t take too much time but the dough needs to rest in order to get a focaccia with a more soft and aerated texture. You can adapt some of the timings to your needs as written in the recipe below but I don’t recommend you to change them completely; you won’t get a great result by doing everything in a couple of hours.
- Can I use a different flour? Yes, you can use a different flour or a different combination of those already included in the ingredients’ list; just remember that you’ll probably need a different amount of water. I haven’t optimised a gluten-free version of this recipe yet, so, to ensure you’ll get a good result, I recommend you to use a flour with gluten.
- Can I use just whole grain flour? In this recipe, whole grain flour is used both for its nutritional value and for a matter of taste; you can decide to use just this kind of flour but keep in mind that you’ll need to adapt the amount of water used in the preparation and that the texture of the baked focaccia will be different (usually less aerated but still soft if the dough was well-hydrated and the timeframe for the leavening process is long).
- Why do you use bread flour? To make focaccia or bread, I prefer to choose bread flour if available. This kind of flour has a slightly higher protein content compared to the classic all-purpose flour. You can find both the white and whole grain version of it: in this recipe, I use a combination of these two ingredients for an optimal result but you could also pair one part of bread flour and one part of the regular one.
Soft pumpkin focaccia
INGREDIENTS:
- for the starter: 130 g whole wheat bread flour, 150 ml water, 3 g quick dry yeast (instant)
- 200 g white bread flour*
- 150 g roasted pumpkin
- 20 g cornstarch
- 3 g quick dry yeast (instant)
- 100 ml water
- 2-3 tbsp extra virgin olive oil
- 1/3 tsp salt
- optional, to add on top: extra virgin olive oil, fresh sage, a pinch of salt
*To give you an idea, if I compare white all-purpose flour and bread flour from the same brand, they have 10 g and 12.6 g of protein respectively (they also have a different amount of carbohydrates, that’s higher for the all-purpose flour).
METHOD:
- To make the starter: mix the ingredients and allow everything to rest in a bowl covered with a clean kitchen towel or a reusable wrap for at least 1 hour (up to 3).
- Blend the roasted pumpkin with the water until you get a smooth result.
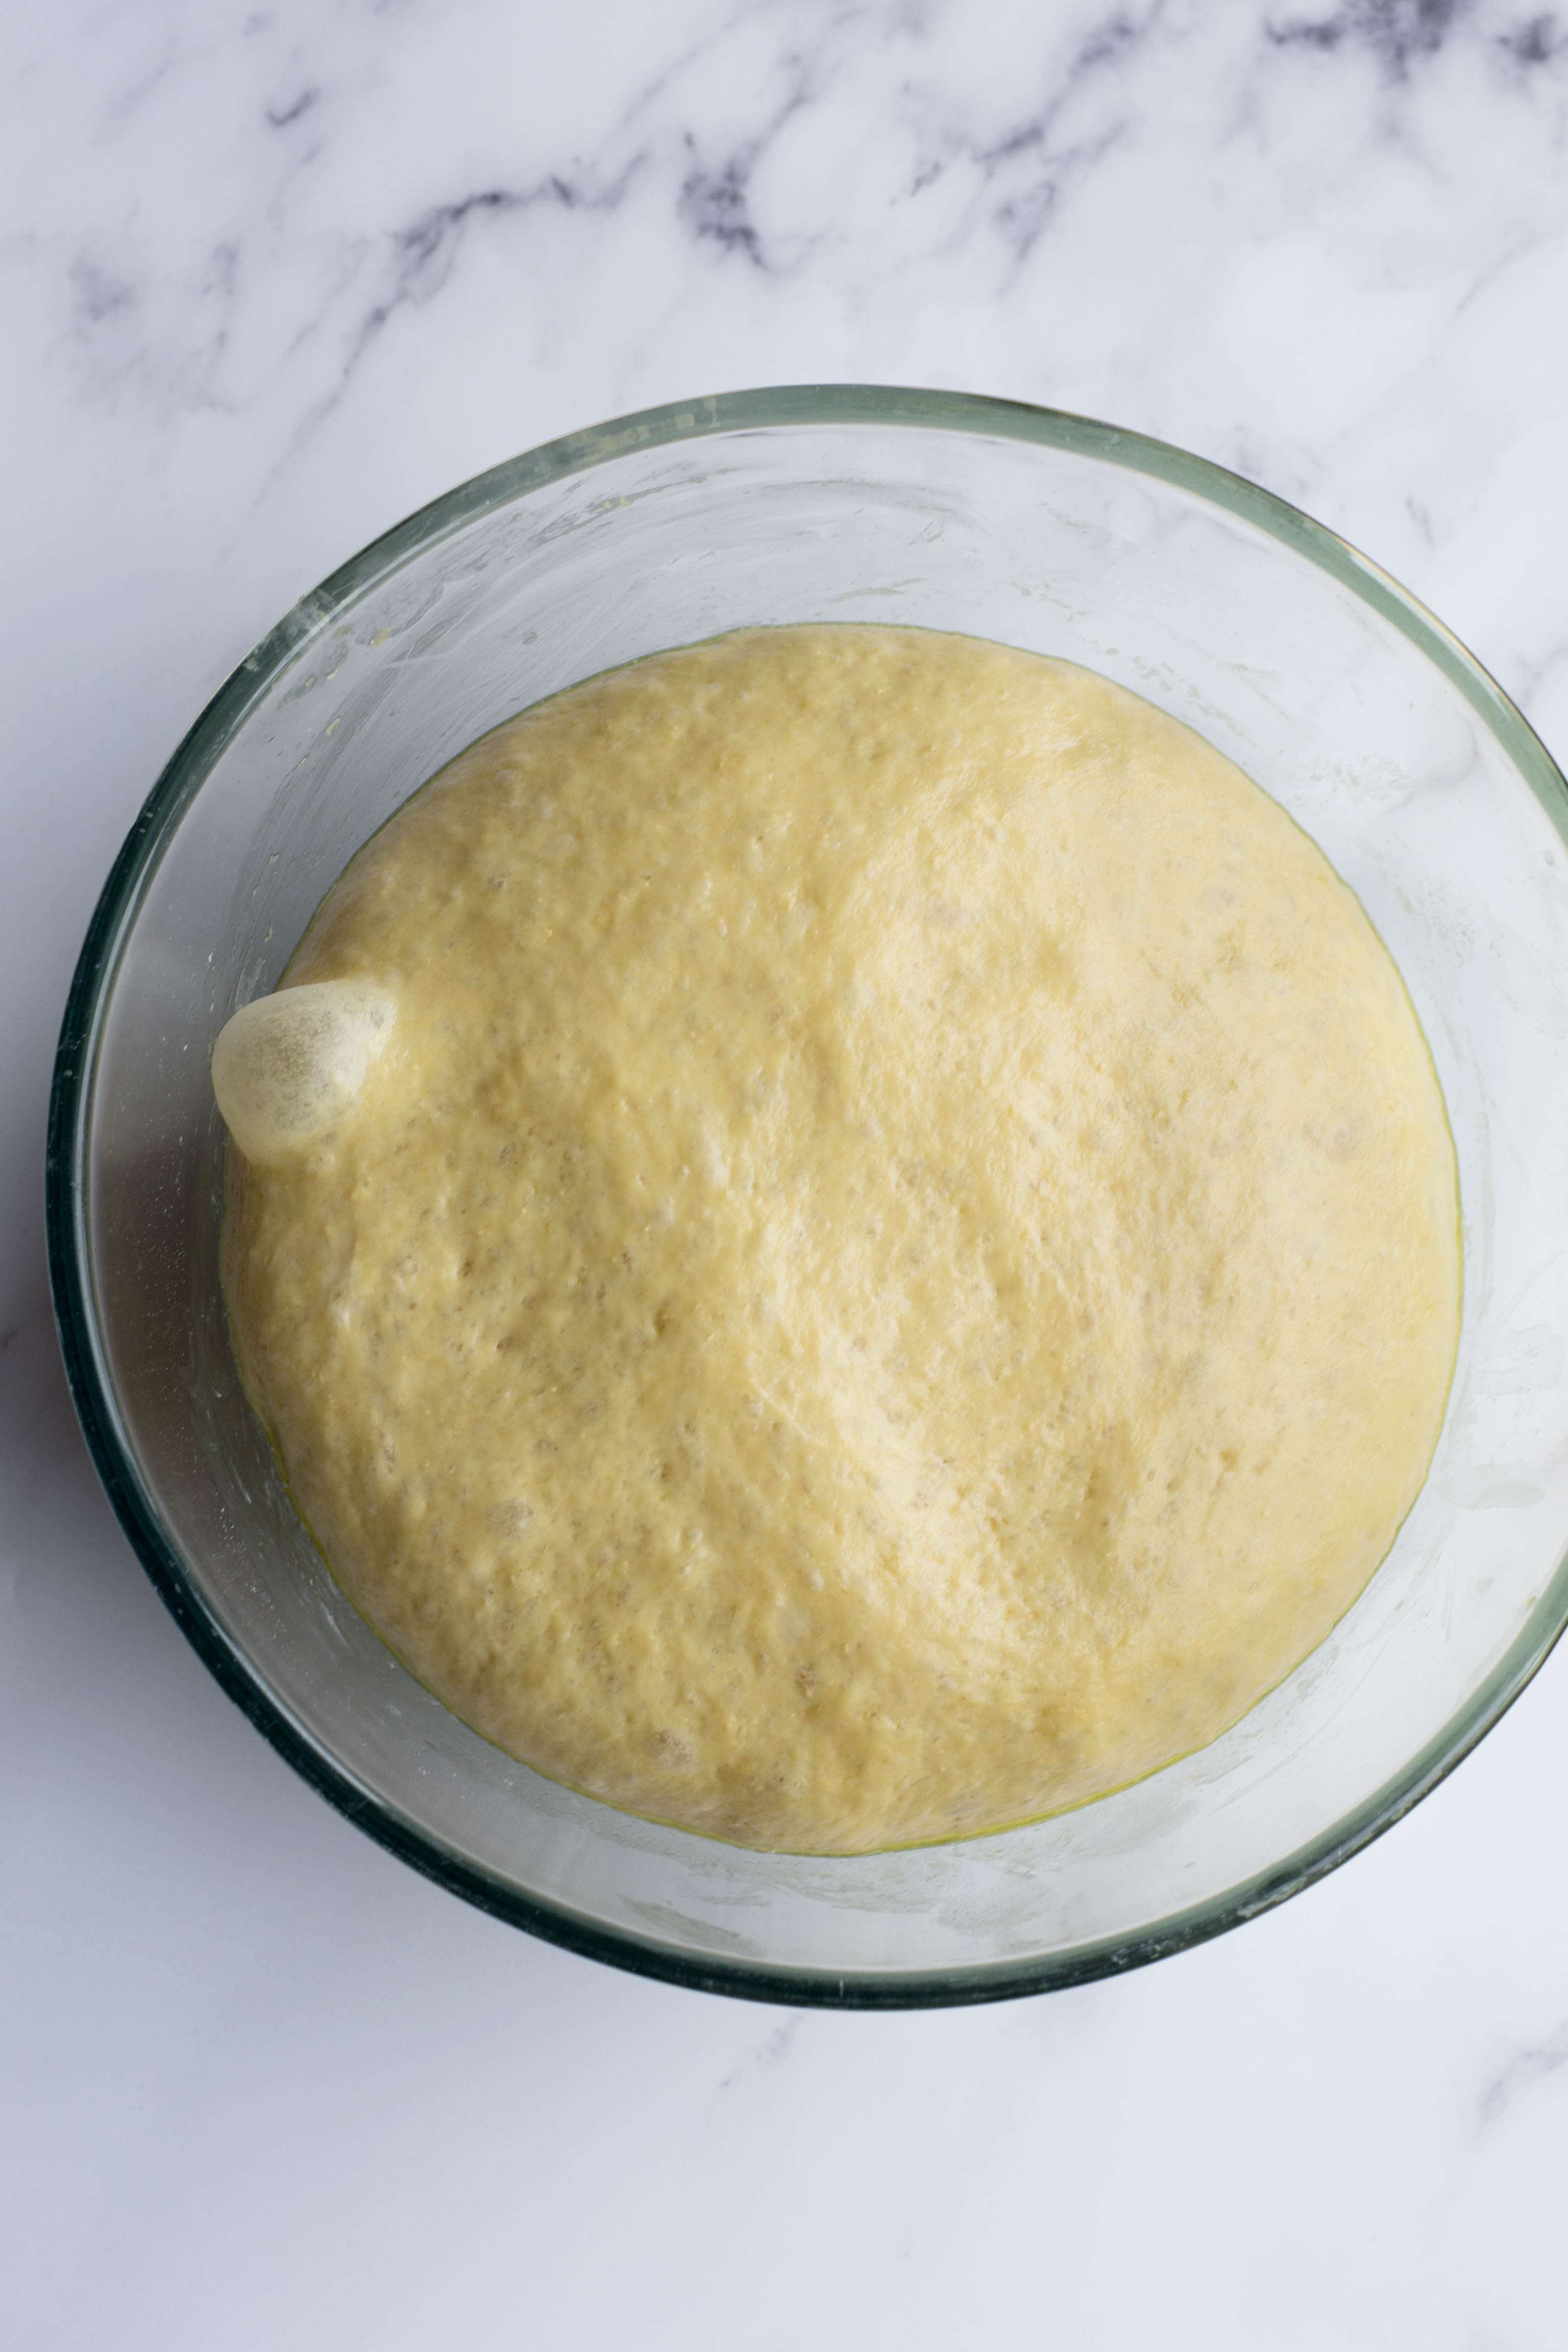
- Take your starter (that should have some bubbles on top at this stage) and mix it with all the other ingredients (apart from the olive oil). It may be useful to use a sifter or a fine-mesh sieve for the cornstarch.
- Start mixing the dough with a spoon at the begin and with your hands later on: check the dough step by step (you may require a slightly different amount of water or flour, depending on your ingredients and kneading experience). Add the olive oil in portions just when the dough will be almost ready.
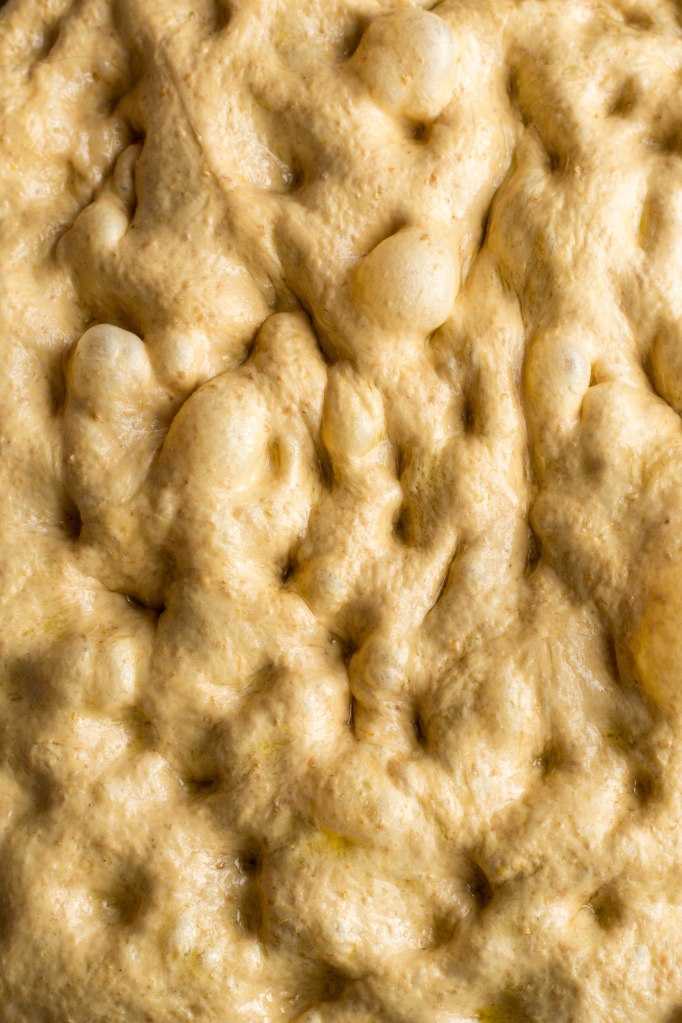
- Knead the mixture for approx. 5 minutes until you get a soft and smooth dough: allow it to rise in a bowl (with a bit of olive oil) covered with a clean kitchen towel or a reusable wrap. This step will take approx. 1-1.5 hours, depending on the temperature of the room.
- Once the dough has doubled in size, fold the dough on itself, then cover well the bowl and place it to rest in the fridge for at least 8 hours (up to 12).
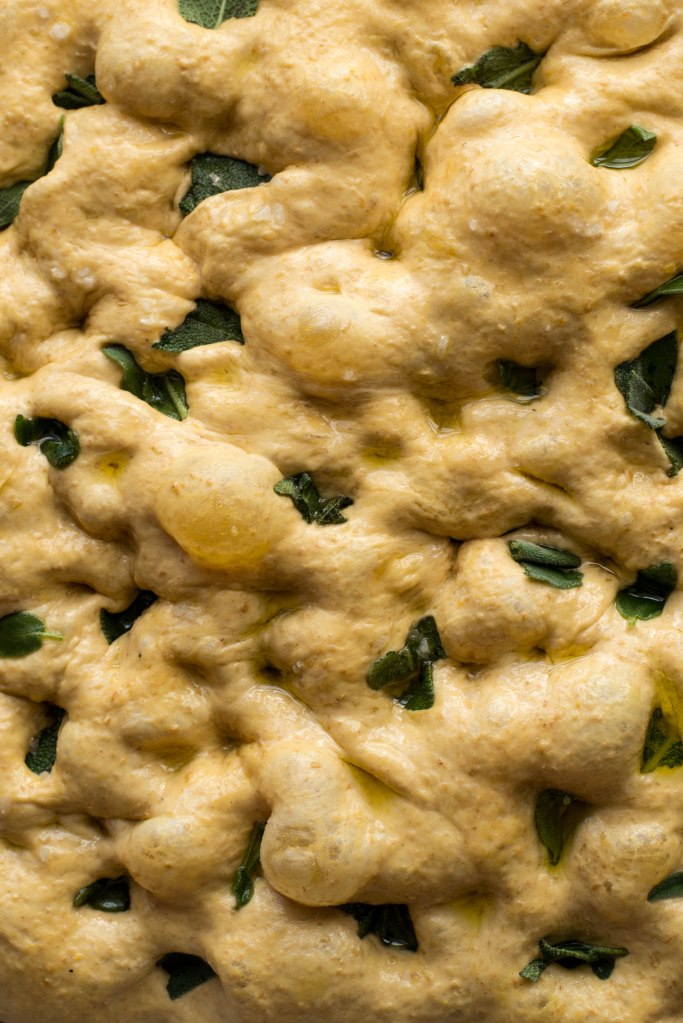
- Take the bowl out from the fridge, fold the dough on itself and transfer it on a baking sheet lined with a reusable mat or parchment paper. It takes a while for the dough to warm up completely (1-2 hours, depending on the temperature of the room): during this time, add some olive oil on top of your focaccia and gently stretch the dough a couple of times, until you get the desired shape (also, keep the baking sheet covered with a clean kitchen towel to prevent the dough from drying; you could also do this step in a well-closed oven leaving the baking tray uncovered). You’ll notice the formation of bubbles on the surface of your dough when you touch it. This is also the right time to add the sage leaves and a pinch of salt.
- Bake your pumpkin focaccia in a preheated oven at 180°C for approx. 20-25 minutes until it’s golden on top and cooked through with a firm bottom crust (the baking time will be different based on the thickness of the focaccia).
If you liked this post, share it with your friends using the buttons below! Don’t forget to tag me @amatterofnourishment on Instagram if you try this recipe: I’d love to see your creations!