Un’ottimo sugo cremoso per la pasta fatto in casa con fagioli rossi, pomodori passati in padella e formaggio stagionato: questa ricetta vegetariana non ha bisogno di tante parole come introduzione; è un perfetto “comfort food” con un buon equilibrio tra gusto, nutrienti e semplicità.

Ci sono alcuni fattori chiave che cerco sempre in un sugo per la pasta:
- cremosità: non c’è niente di meglio di un bel piatto di pasta tutta avvolta nel sugo, anche se è una semplice passata di pomodoro
- gusto: il sugo ideale si sposa bene con la pasta per creare un connubbio di sapori perfetto e gli ingredienti principali non si coprono tra loro
- semplicità: il sugo migliore è quello che puoi preparare nello stesso tempo (o anche meno) che ti serve per cuocere la pasta
- nutrienti extra: il modo più semplice per creare un piatto più nutriente in pochi minuti. Non c’è bisogno di pensare ad un secondo da abbinare alla pasta: aggiungi semplicemente qualcosa in più nel sugo! Se non hai nulla che ti possa aiutare ad ottenere un risultato cremoso, usa il frullato e vedrai che in pochi minuti un peperone ed un cucchiaio di tahini (giusto per fare un esempio) si trasformeranno in un sugo buonissimo
A volte ti capiterà di notare che tutto ciò che stai cercando da un piatto di pasta è semplicemente il suo gusto particolare e forse vorrai mangiare o cucinare una ricetta specifica, quindi non ci sarà spazio per aggiungere ingredienti e nutrienti extra: va benissimo così! Non tutti i pasti devono necessariamente essere perfetti, bilanciati o con qualcosa in più: è importante sapere che puoi creare alcune ricette come quella in questo post e usarla come un’opportunità per includere più nutrienti nelle tue giornate, ma questo non significa che un’opzione più semplice sia in automatico fuori discussione.
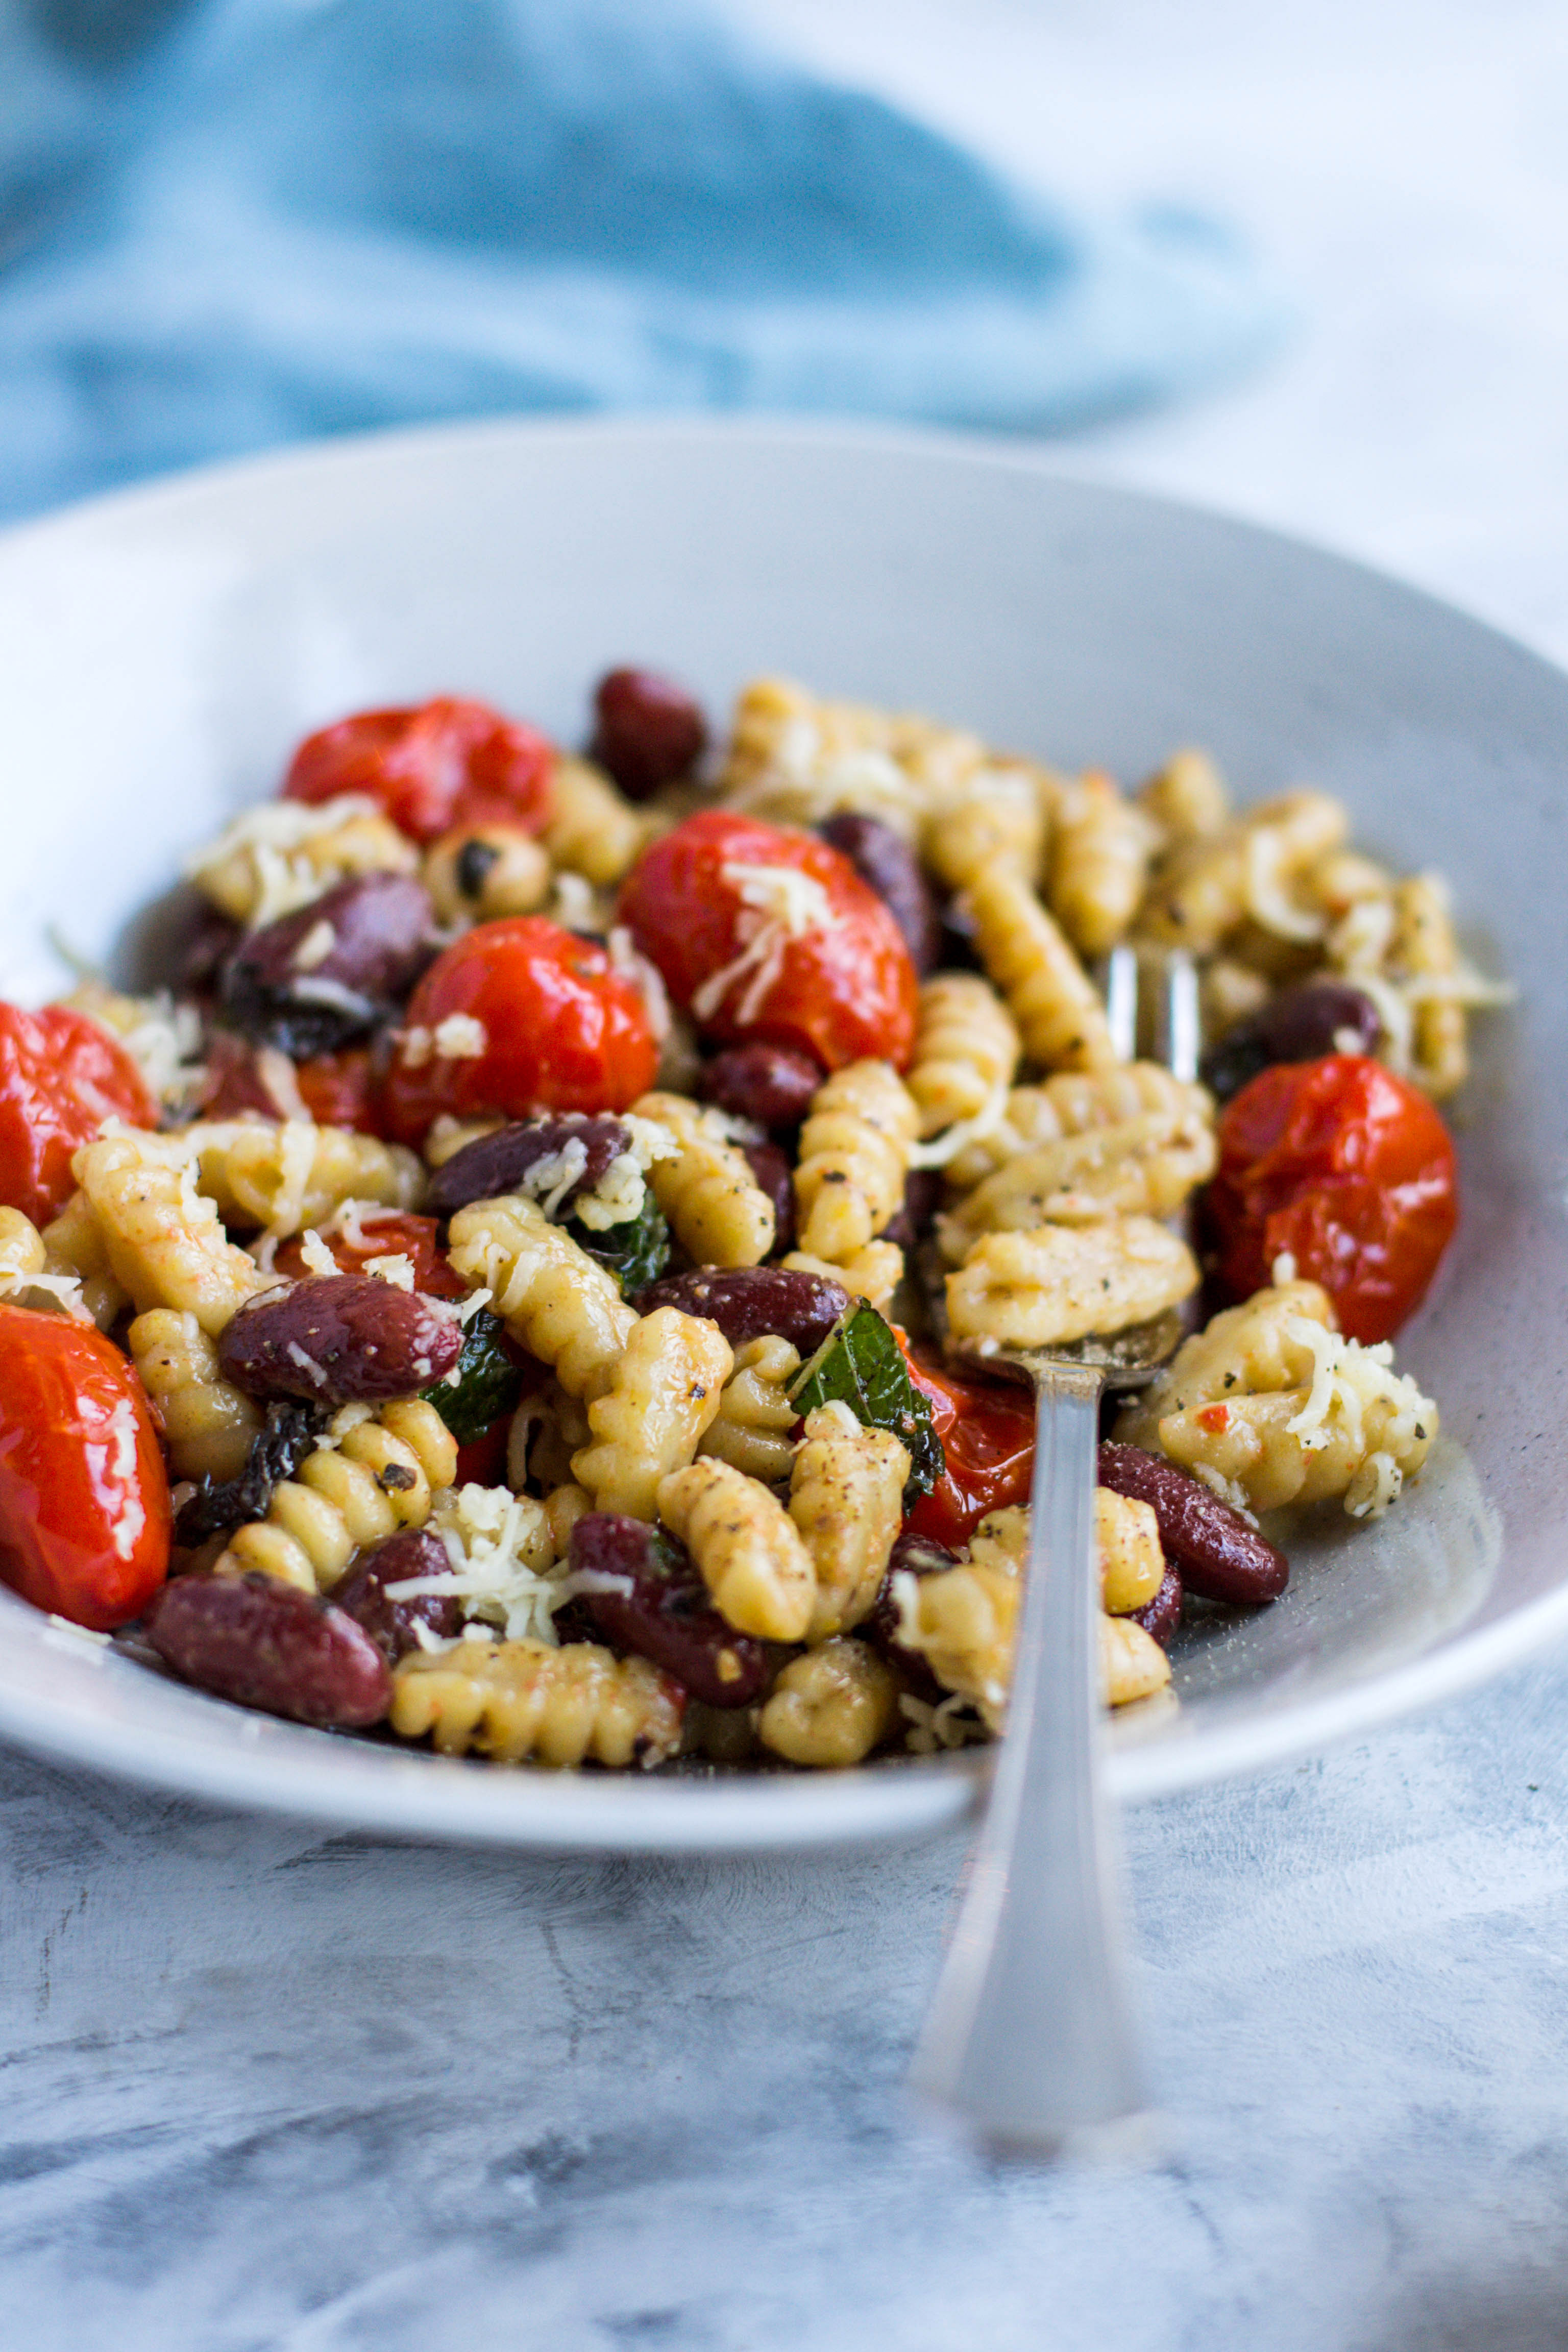
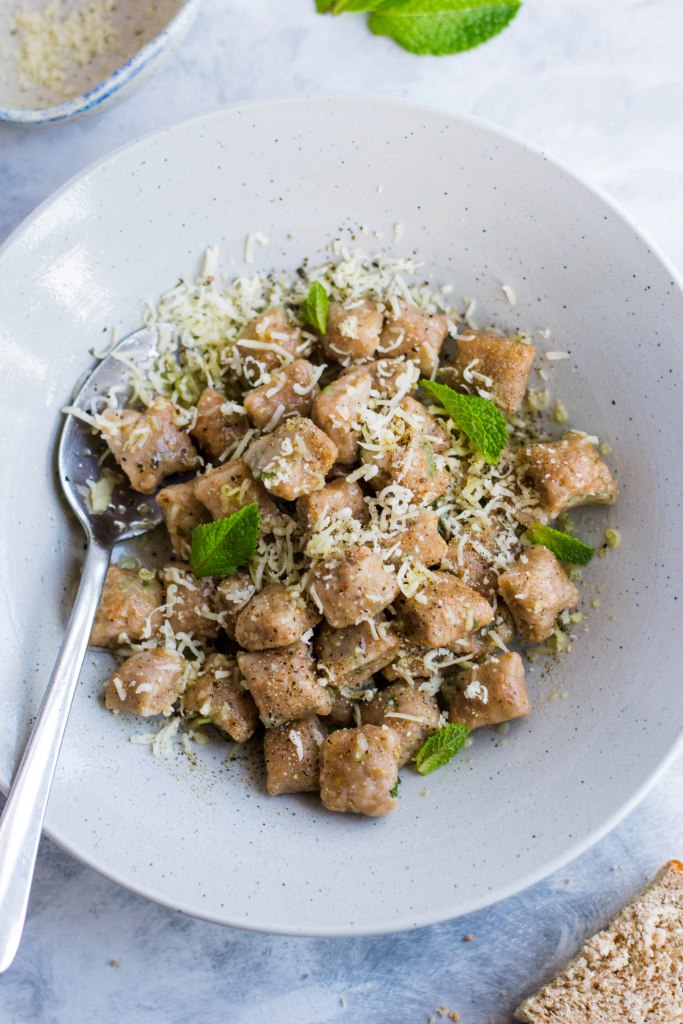
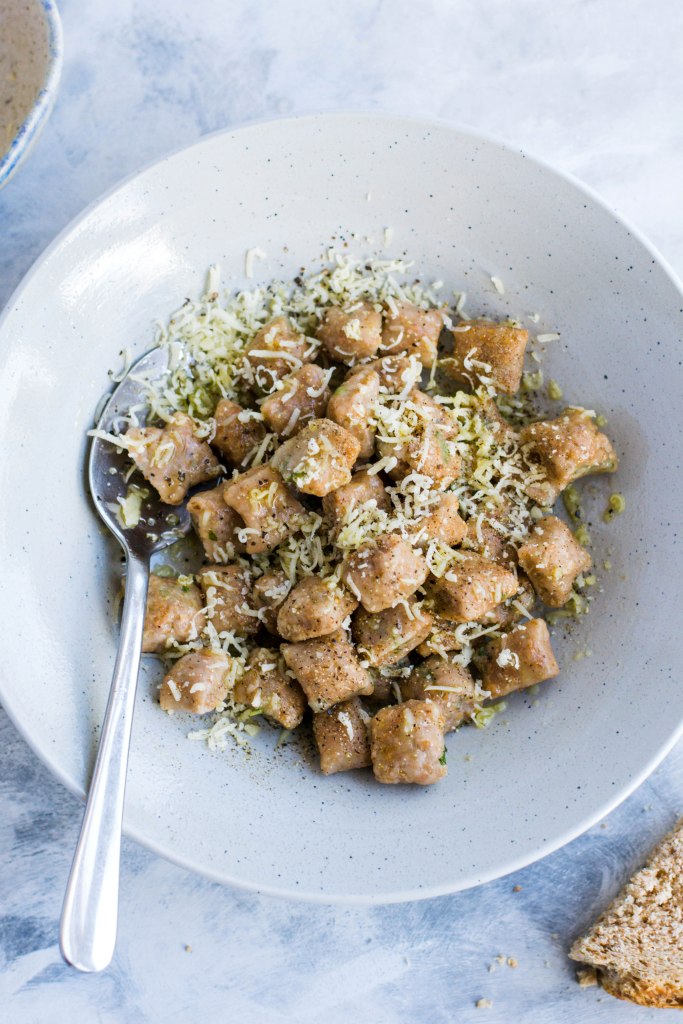
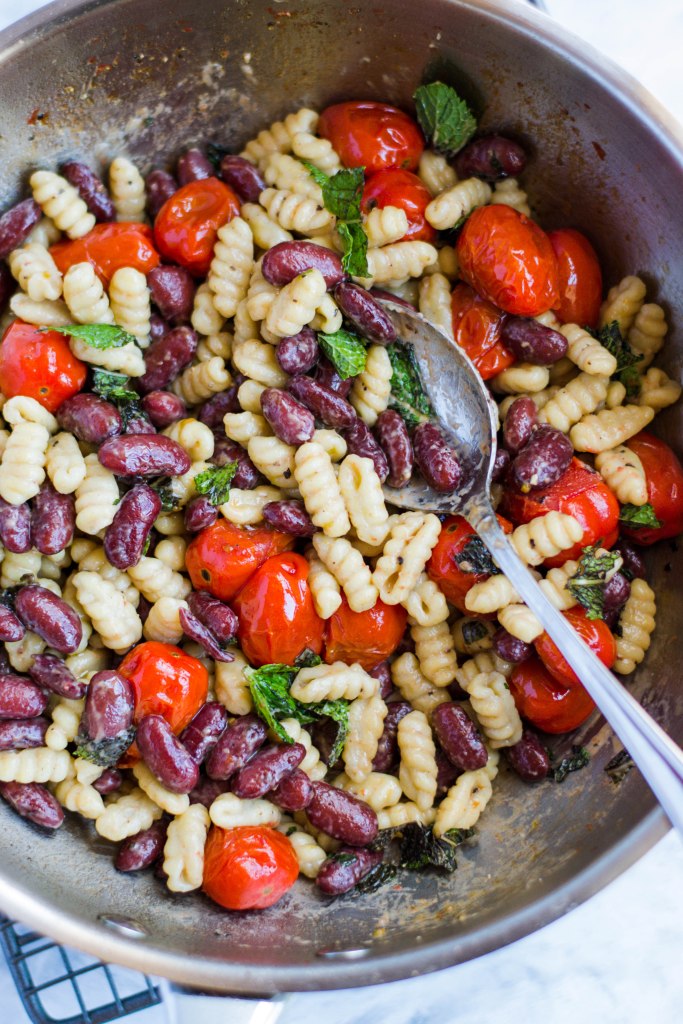
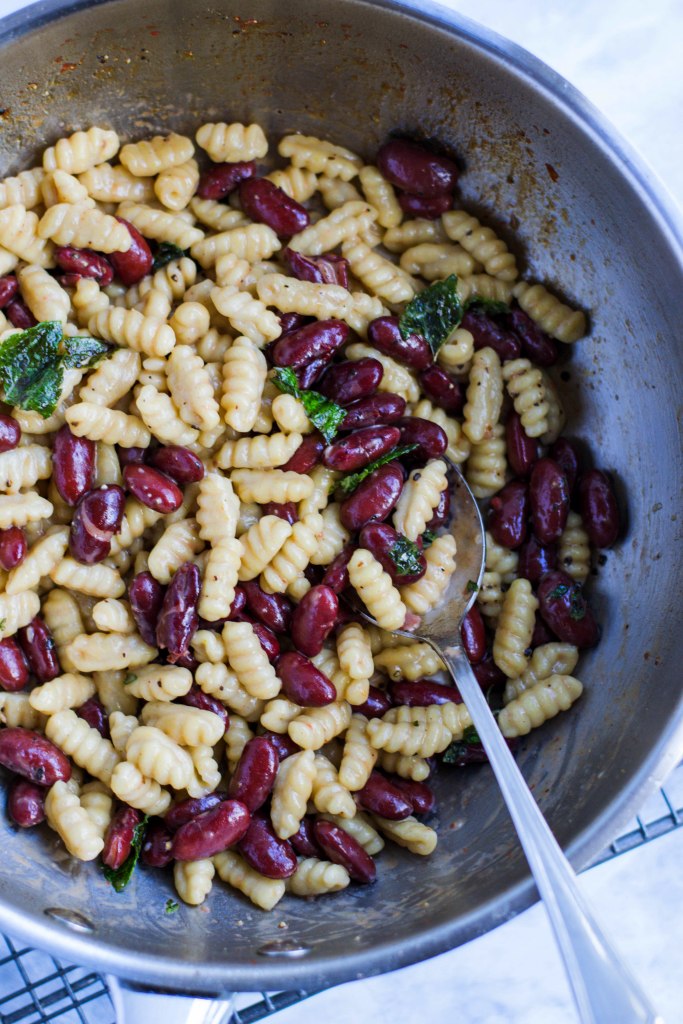
Questa ricetta ha tutte le caratteristiche elecante qui sopra con la sua parte di crema creata con formaggio ed acqua di cottura della pasta (che ricorda un po’ una “cacio e pepe”), i fagioli rossi, i pomodori maturi e del buon olio extra vergine d’oliva.
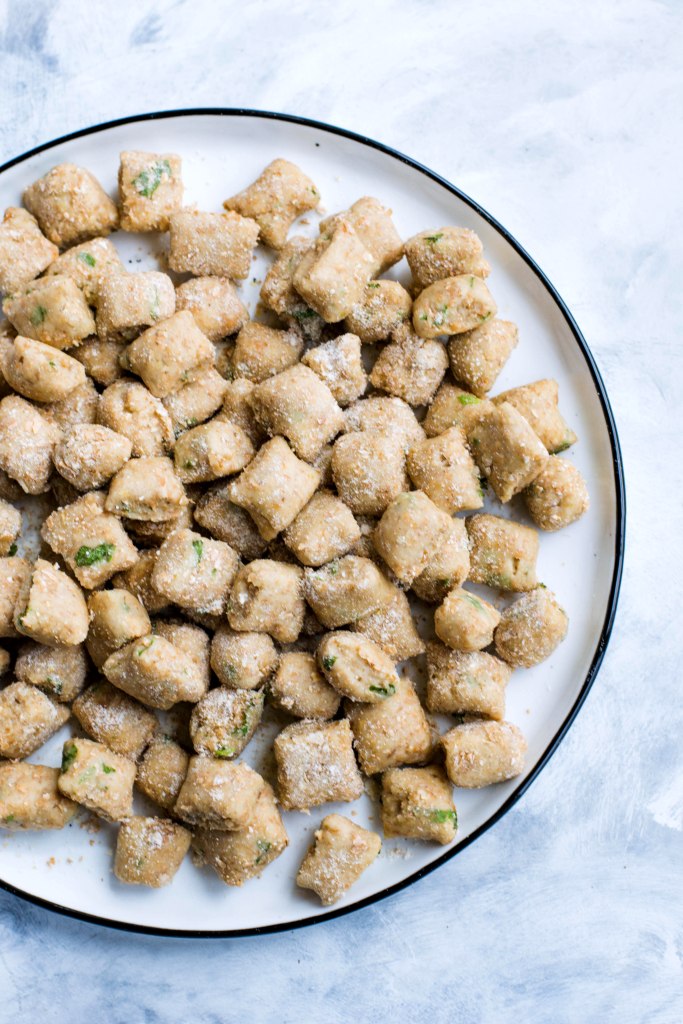
Presta attenzione al tipo di pasta che scegli: per creare una combinazione vincente, scegli una pasta corta. Qui ho utilizzato dei gnocchetti sardi fatti in casa, ma le orecchiette o le mezze maniche sarebbero ugualmente buone. Usa un tipo di pasta senza glutine se necessario.

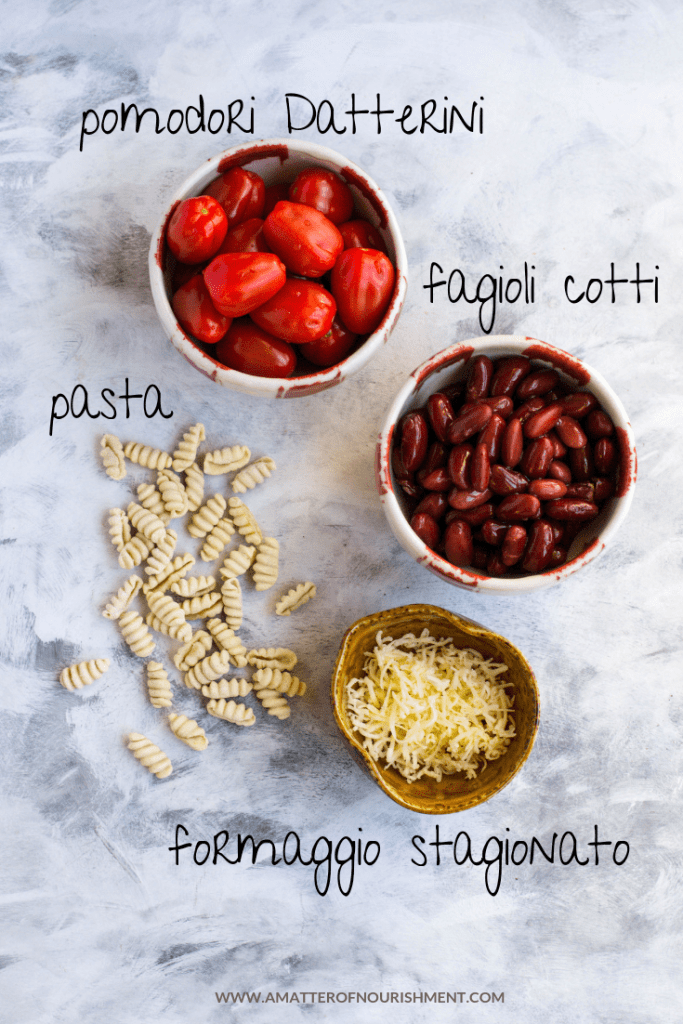

PASTA CON FAGIOLI, POMODORI E FORMAGGIO
Ingredienti (per 2-3 persone)
- 120 g pasta (cruda)
- 160 g fagioli rossi (precedentemente cotti)
- 220 g pomodori Datterini maturi
- 3 tbsp di formaggio stagionato grattugiato (il pecorino sarebbe l’ideale, ma puoi anche mischiarlo con una parte di formaggio di latte vaccino stagionato)
- 3 tbsp di foglie di menta fresca
- 1/2 cucchiaino di pepe nero (meglio se macinato fresco)
- olio extra vergine d’oliva
Per questa ricetta è meglio cuocera la pasta un pochino meno di quello che faresti per prepararla al dente, così non diventerà stracotta alla fine. Cuoci la pasta come al solito in una pentola d’acqua bollente. Quando sarà pronta, mettila da parte (scolata) e mischiala con un filo d’olio d’oliva.
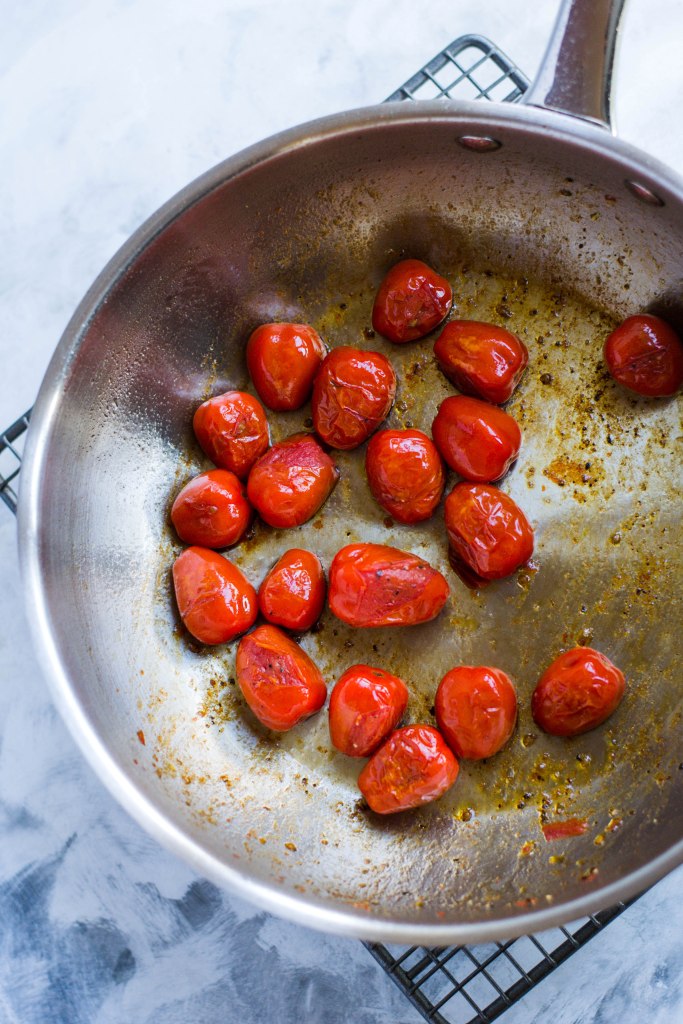
Scalda un filo d’olio in una padella, poi aggiungi con attenzione i pomodori ed il pepe: falli passare in padella per circa 30 secondi, poi aggiungi 4-5 cucchiai di acqua calda ed usa una forchetta per fare un piccolo buco in ogni pomodoro. Continua a cuocerli finchè non ci sarà più acqua rimasta. Metti da parte i pomodori ed aggiungi 4-5 cucchiai di acqua di cottura della pasta nella stessa padella che hai appena utilizzato: aggiungi prima il formaggio grattugiato, poi anche i fagioli e la pasta. Continua a mischiare per circa 30 secondi o 1 minuto, finchè non otterrai un risultato cremoso. Aggiungi la menta spezzettata ed i pomodori alla fine, giusto per scaldarli. Servi con altro pepe se necessario ed una spolverata di formaggio (opzionale).
Se questo post ti è piaciuto, condividilo con i tuoi amici usando i link qui sotto. Non dimenticare di taggarmi @amatterofnourishment su Instagram se provi questa ricetta: mi piacerebbe molto vedere le tue creazioni!