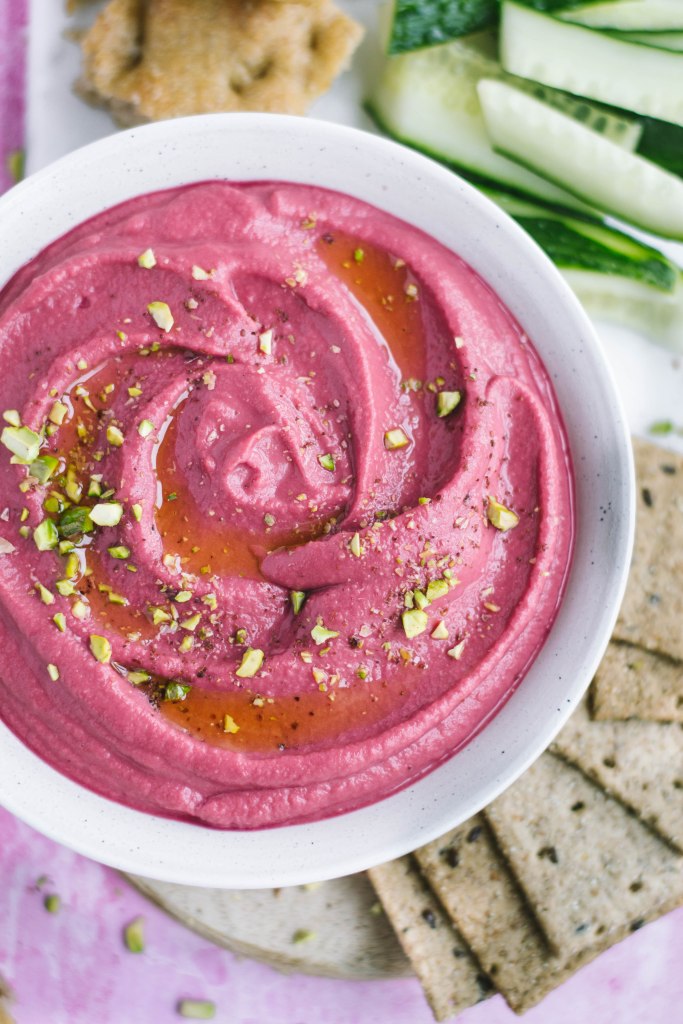
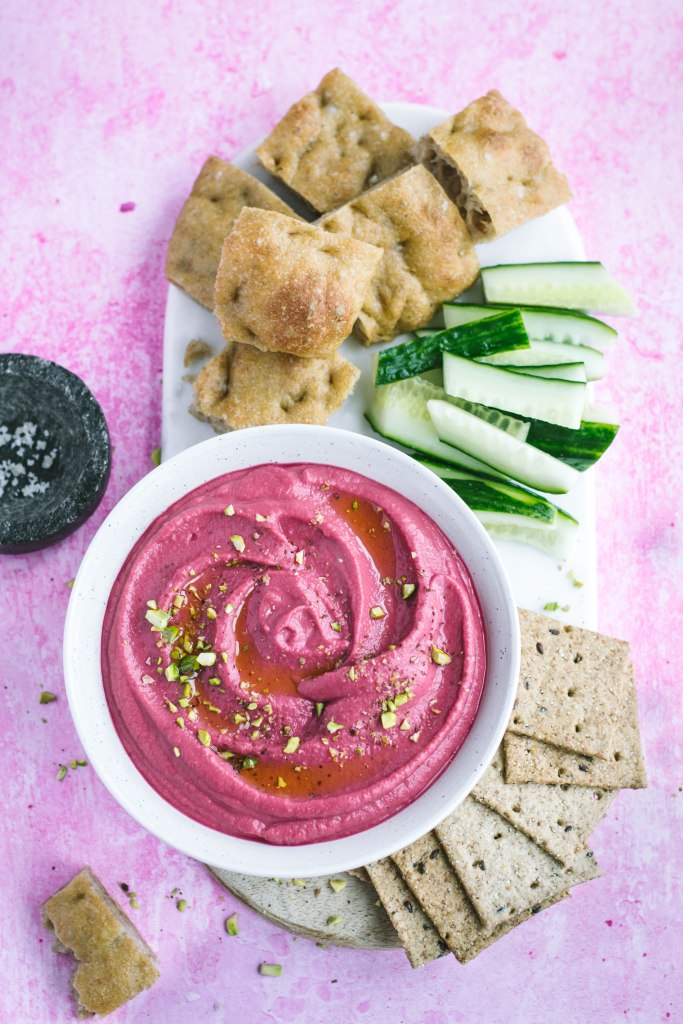
Se ci sono due ingredienti che sono buonissimi messi insieme, sono le rape rosse (o barbabietole) ed il burro di frutta secca o semi oleosi: la ricetta per questi burger vegani alla rapa necessita proprio di quest’accoppiata vincente.


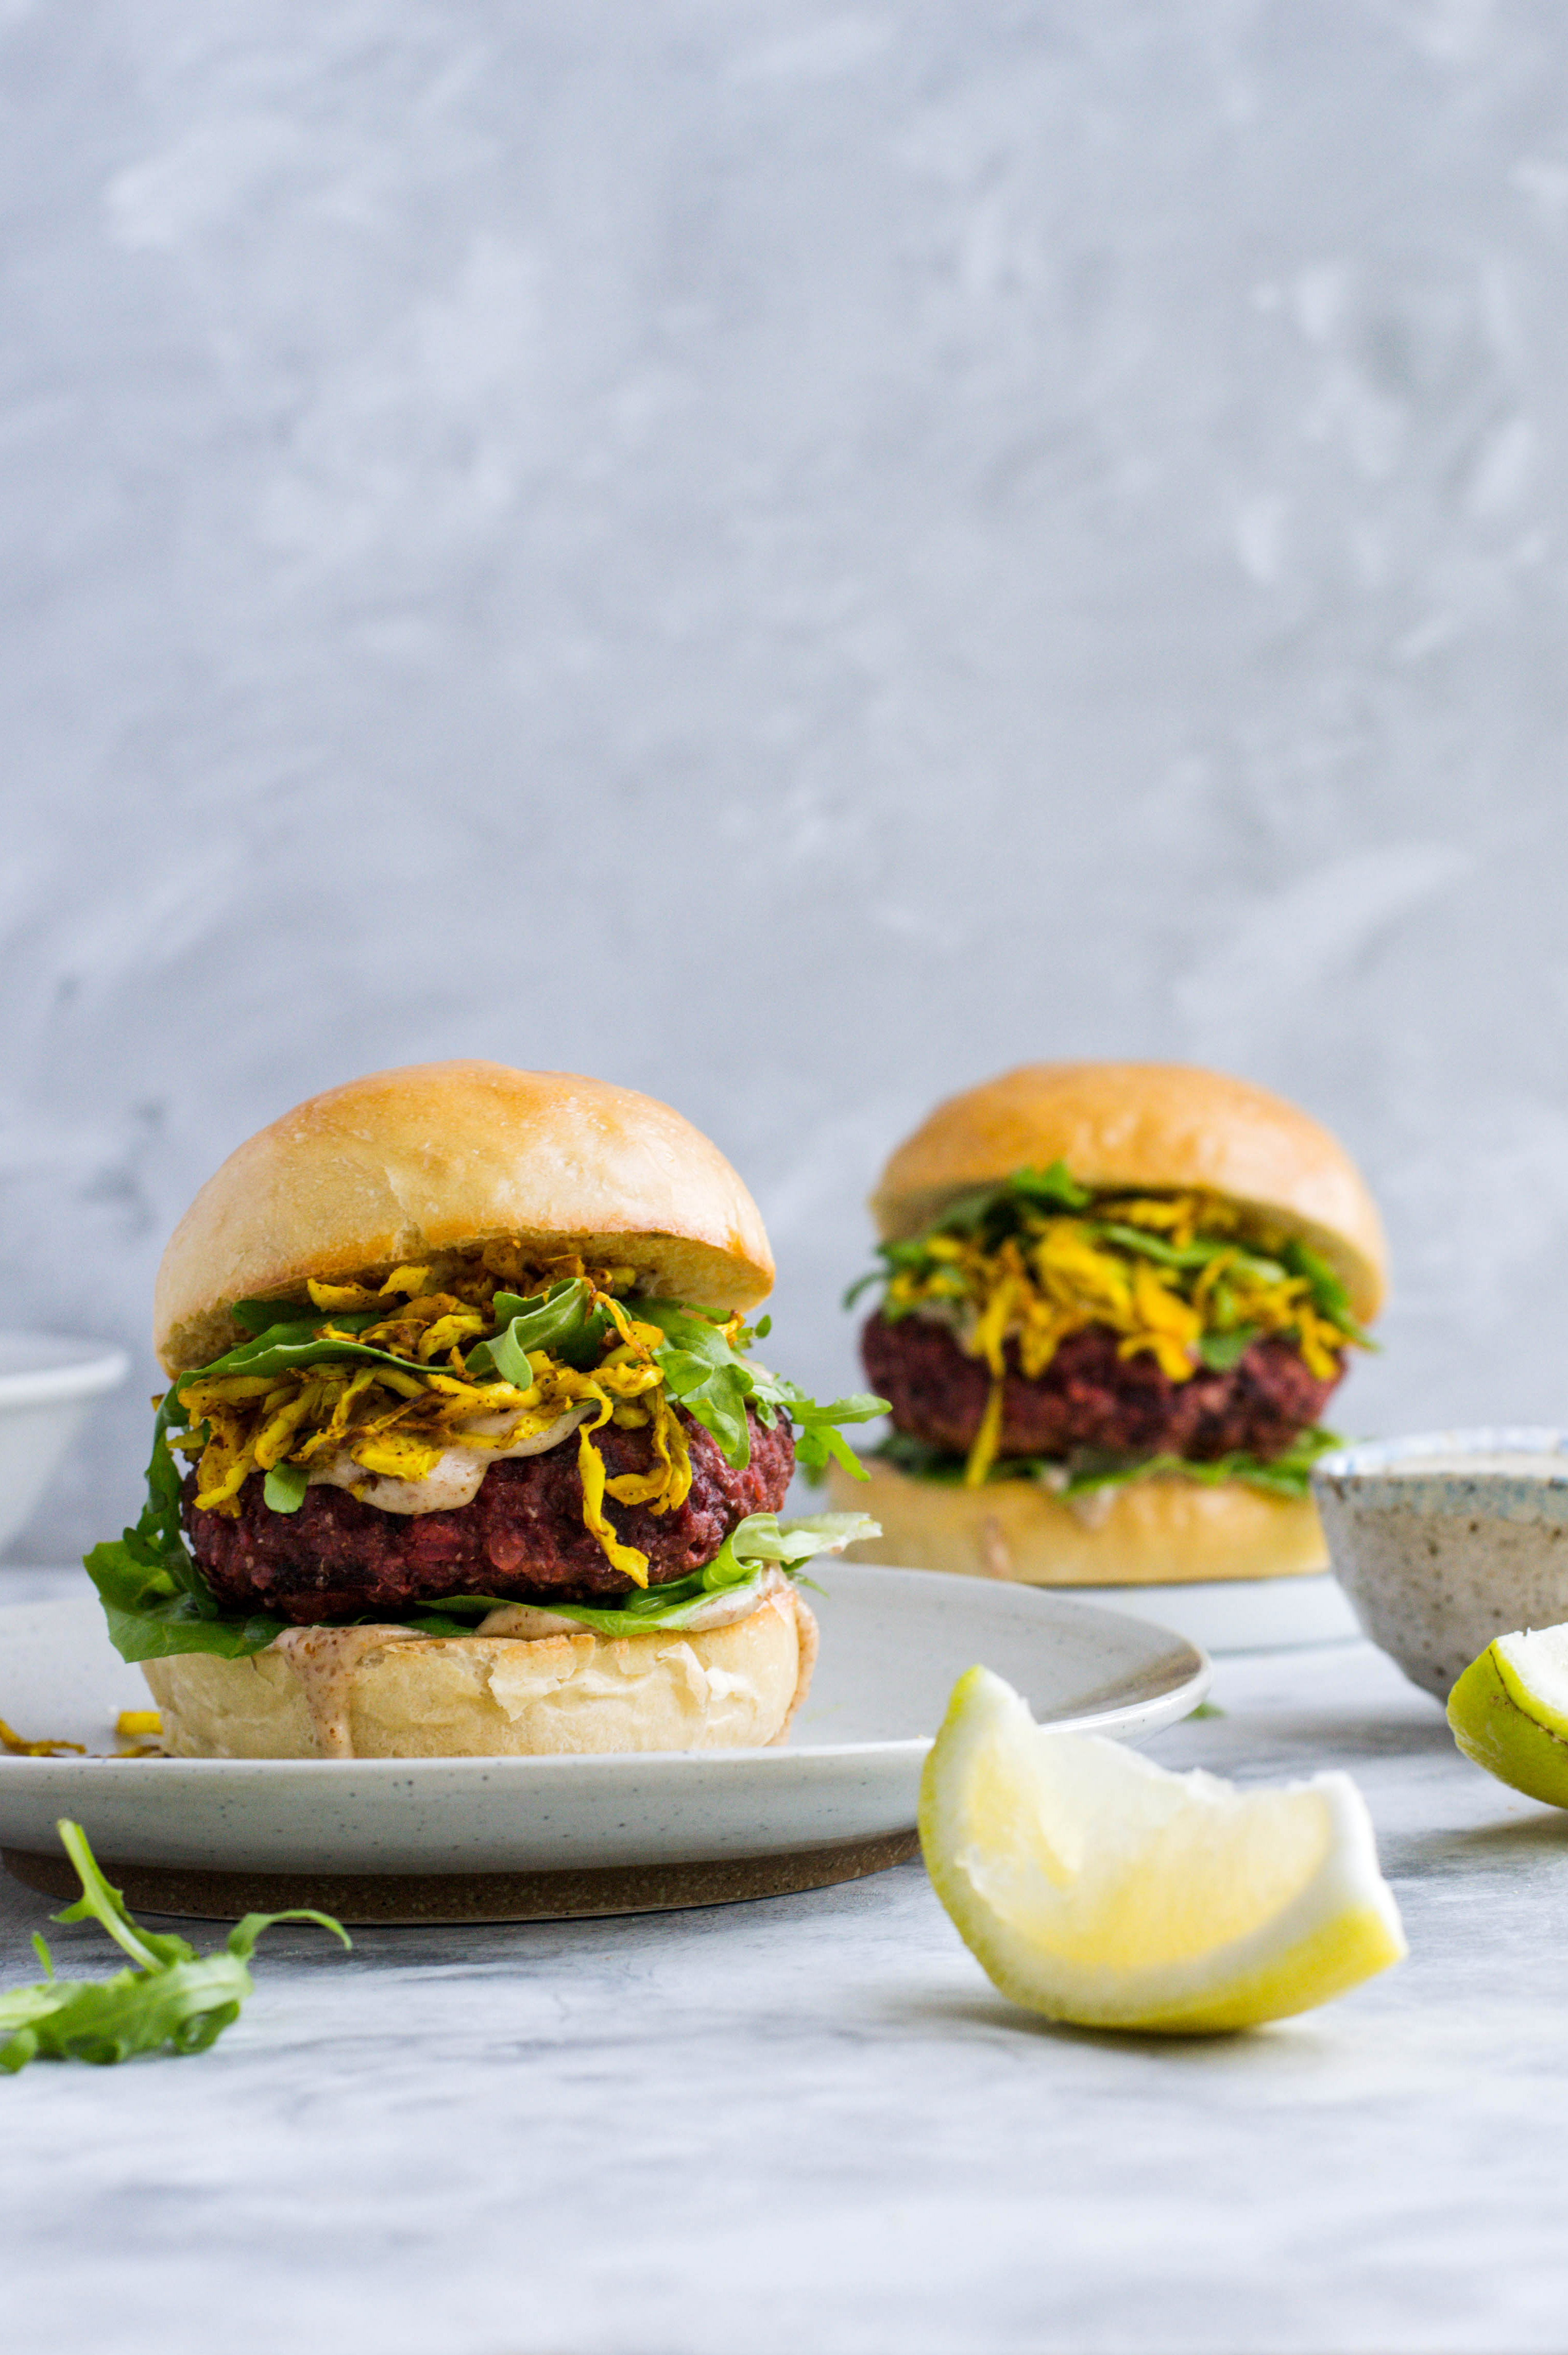
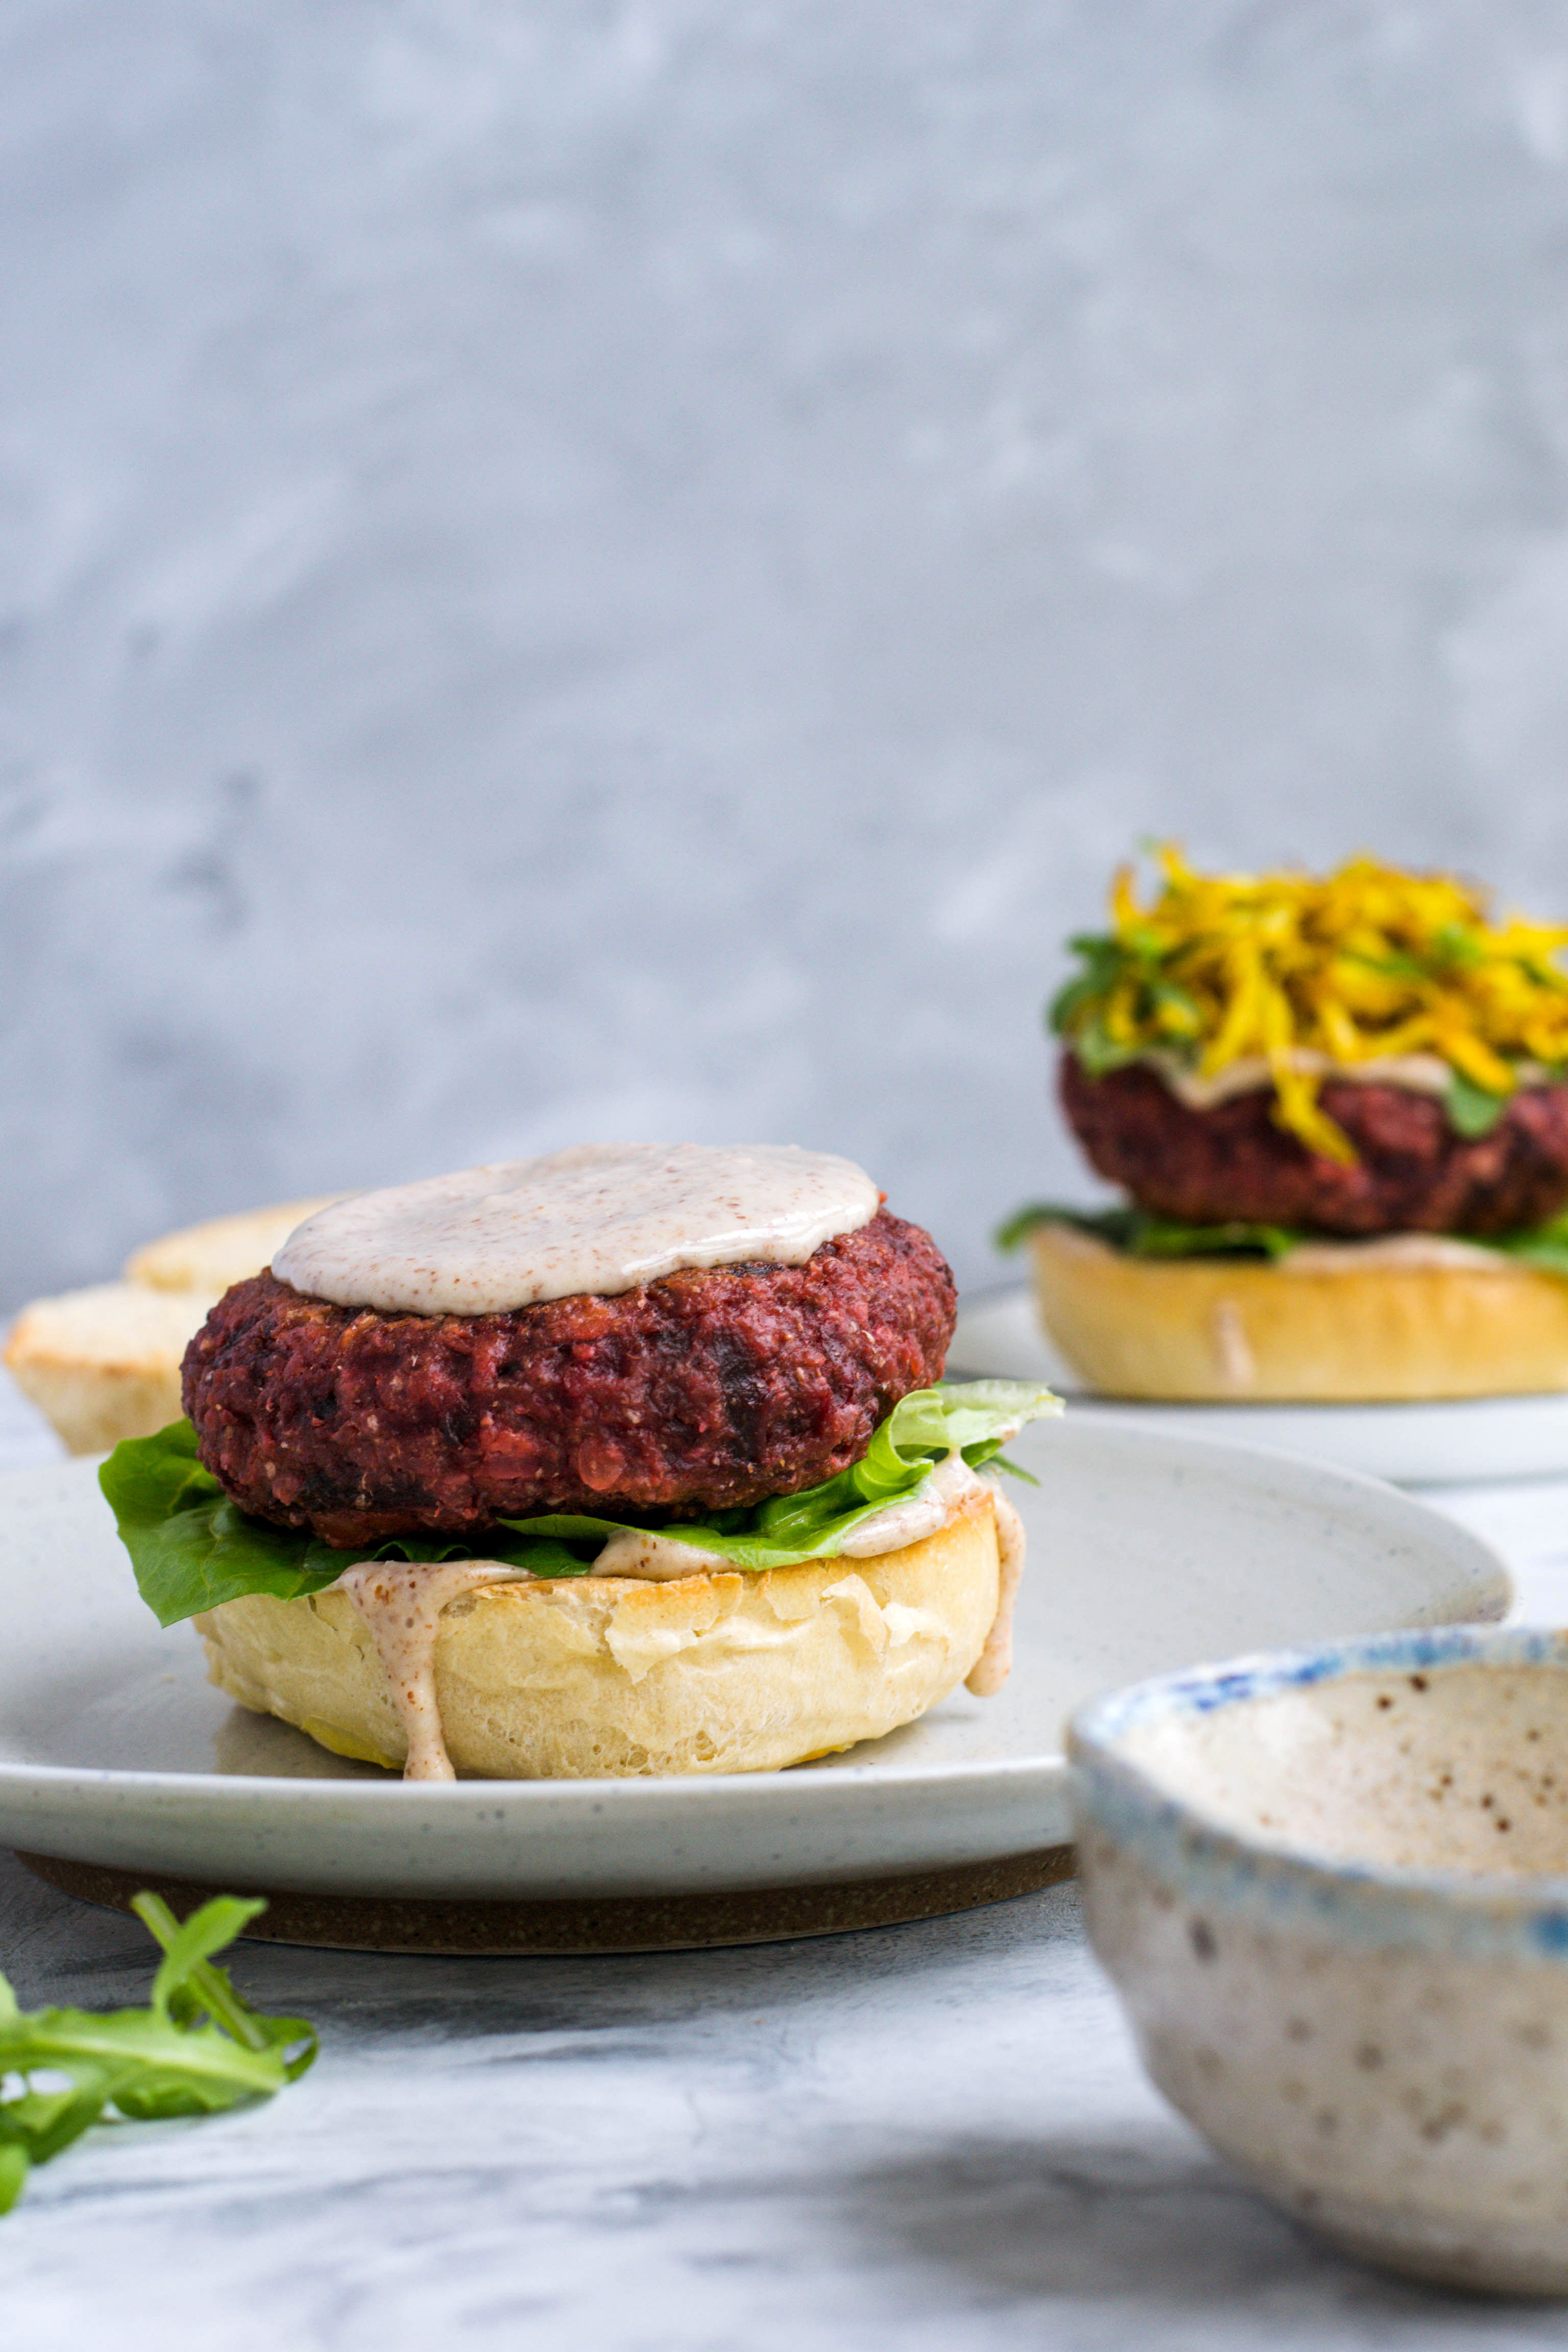
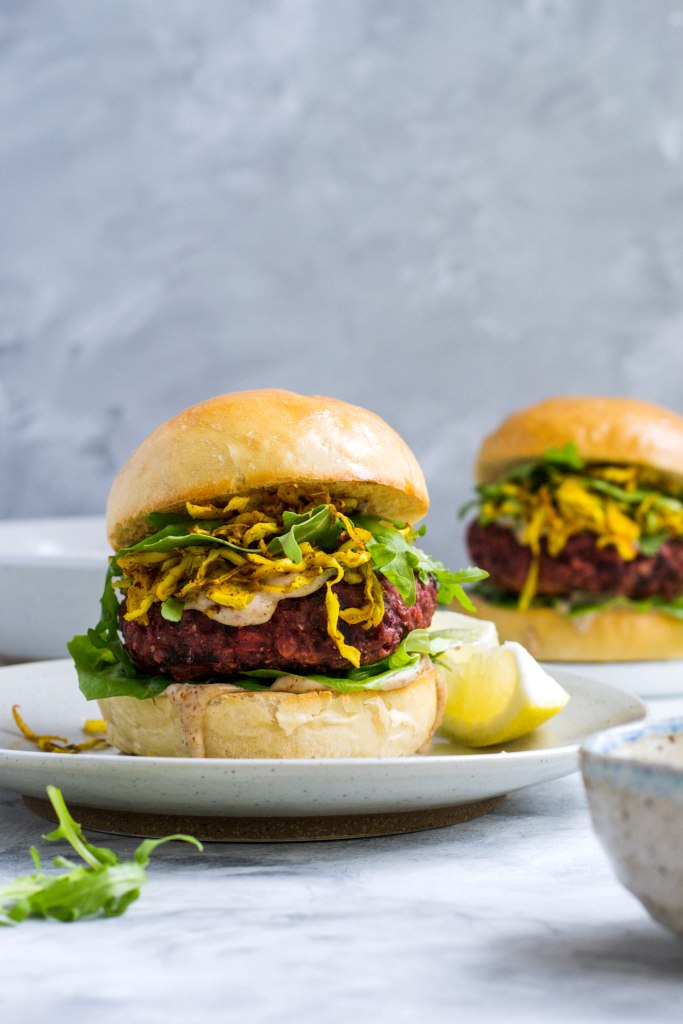
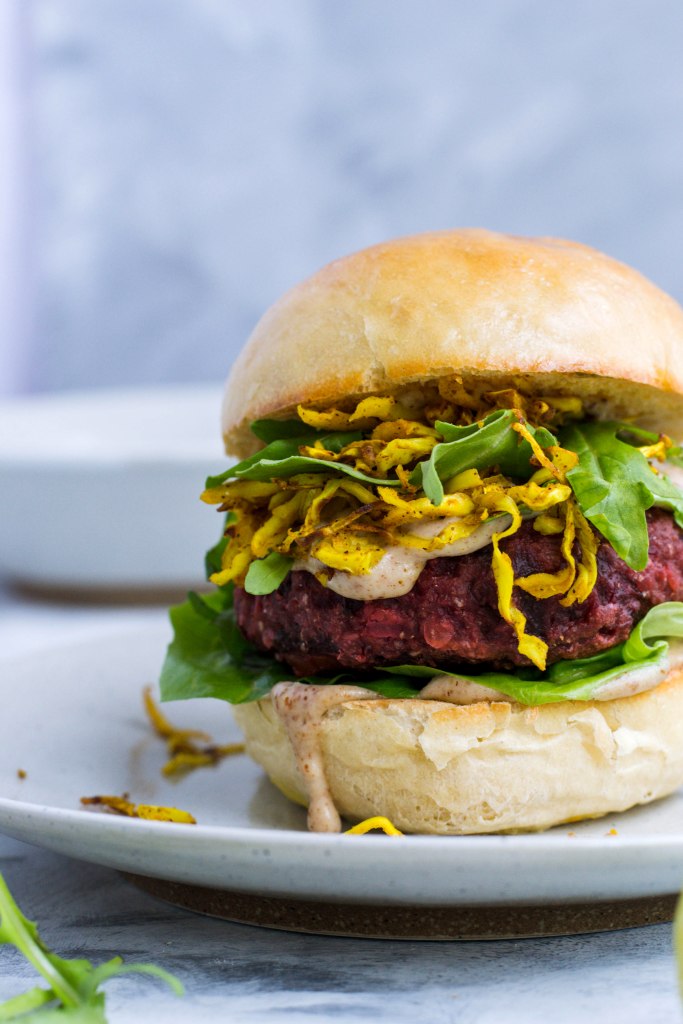
Con un buon equilibrio tra i vari ingredienti, questi burger vegetali sono ottimi mangiati così come sono, magari accompagnati da un’insalata, ma danno davvero il loro meglio all’interno di un morbido panino di pan brioche appena fatto… ancora meglio se c’è anche un po’ di salsa speziata!
Ci sono alcuni suggerimenti che ti aiuteranno nel preparare questi burger vegani:
- rape grattugiate vs crema di rapa frullata: ho usato entrambe e sono una grande fan delle rape grattugiate – quest’opzione ti consentirà di preparare dei burger con una consistenza finale migliore, meno asciutti, e con i diversi sapori ben amalmagati (però frullare le rape con gli altri ingredienti è un modo più rapido per prepararli).
- rape crude vs cotte: ovviamente, c’è una differenza nel risultato finale in termini di gusto e consistenza, ma è meno marcata rispetto a quella descritta in precendenza. Un burger fatto con le rape cotte tende ad essere un po’ più asciutto (specialmente se sono state cotte al forno), mentre le rape crude possono essere più difficili da utilizzare a causa del loro contenuto di acqua. Il dilemma crudo vs cotto è proprio lo stesso che avresti per preparare l’hummus alla rapa rossa!
- cottura in padella vs forno: assicurati di mettere un pochino d’olio d’oliva sia sopra che sotto i burger se decidi di cuocerli in forno; inoltre, cerca di non cuocerli troppo, altrimenti diventeranno troppo asciutti. Sono ottimi anche cotti in padella con un filo d’olio d’oliva.
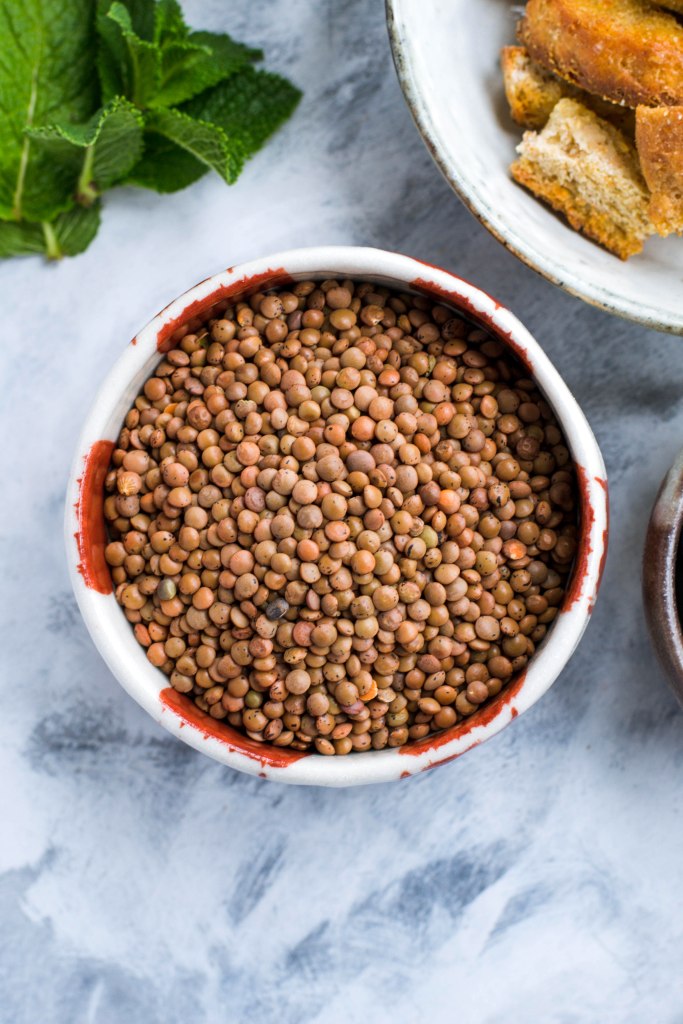
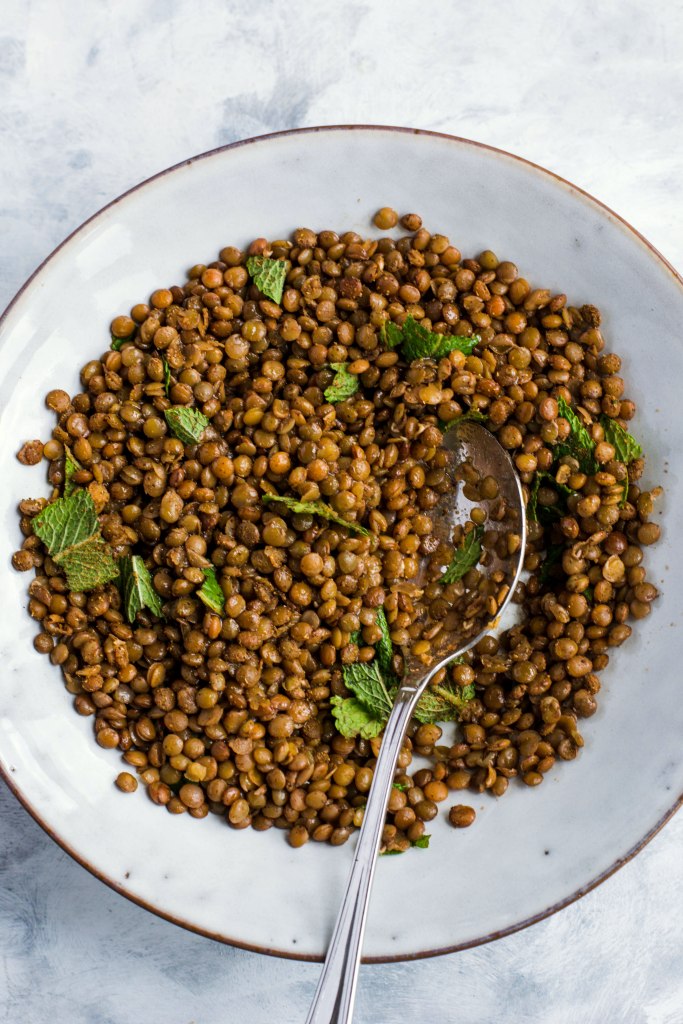
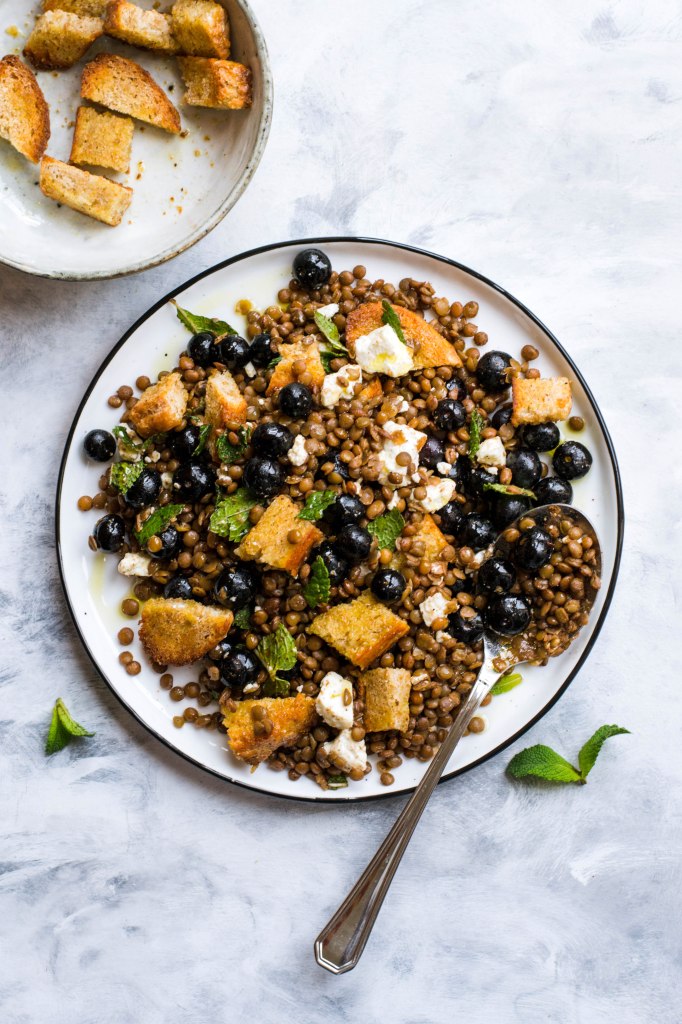
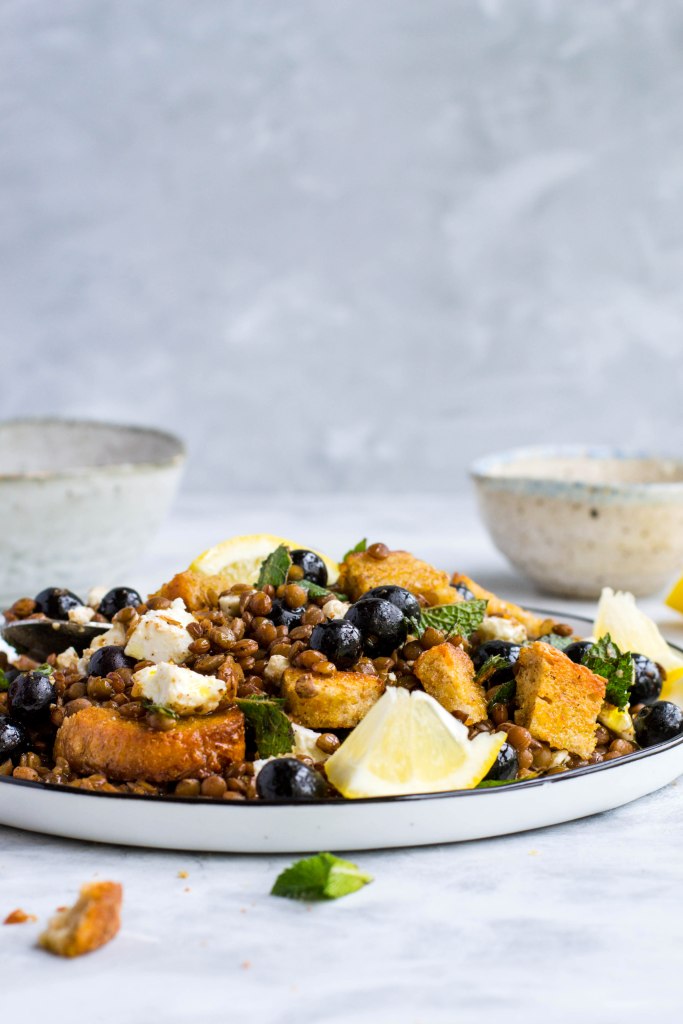
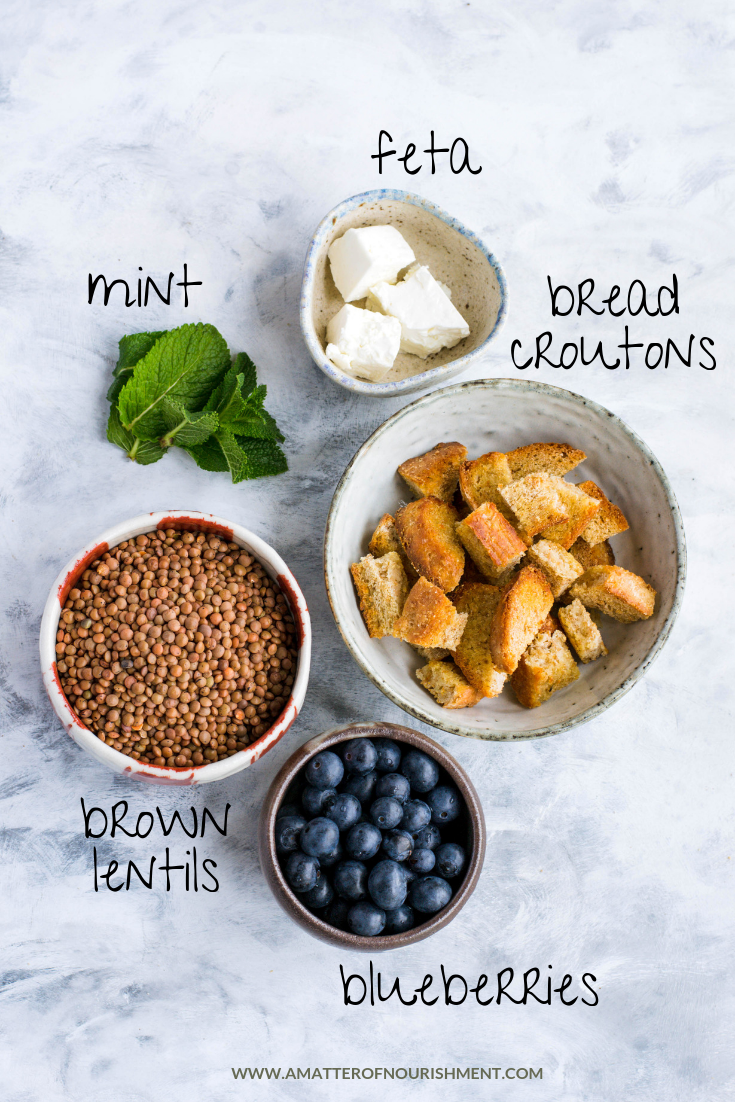
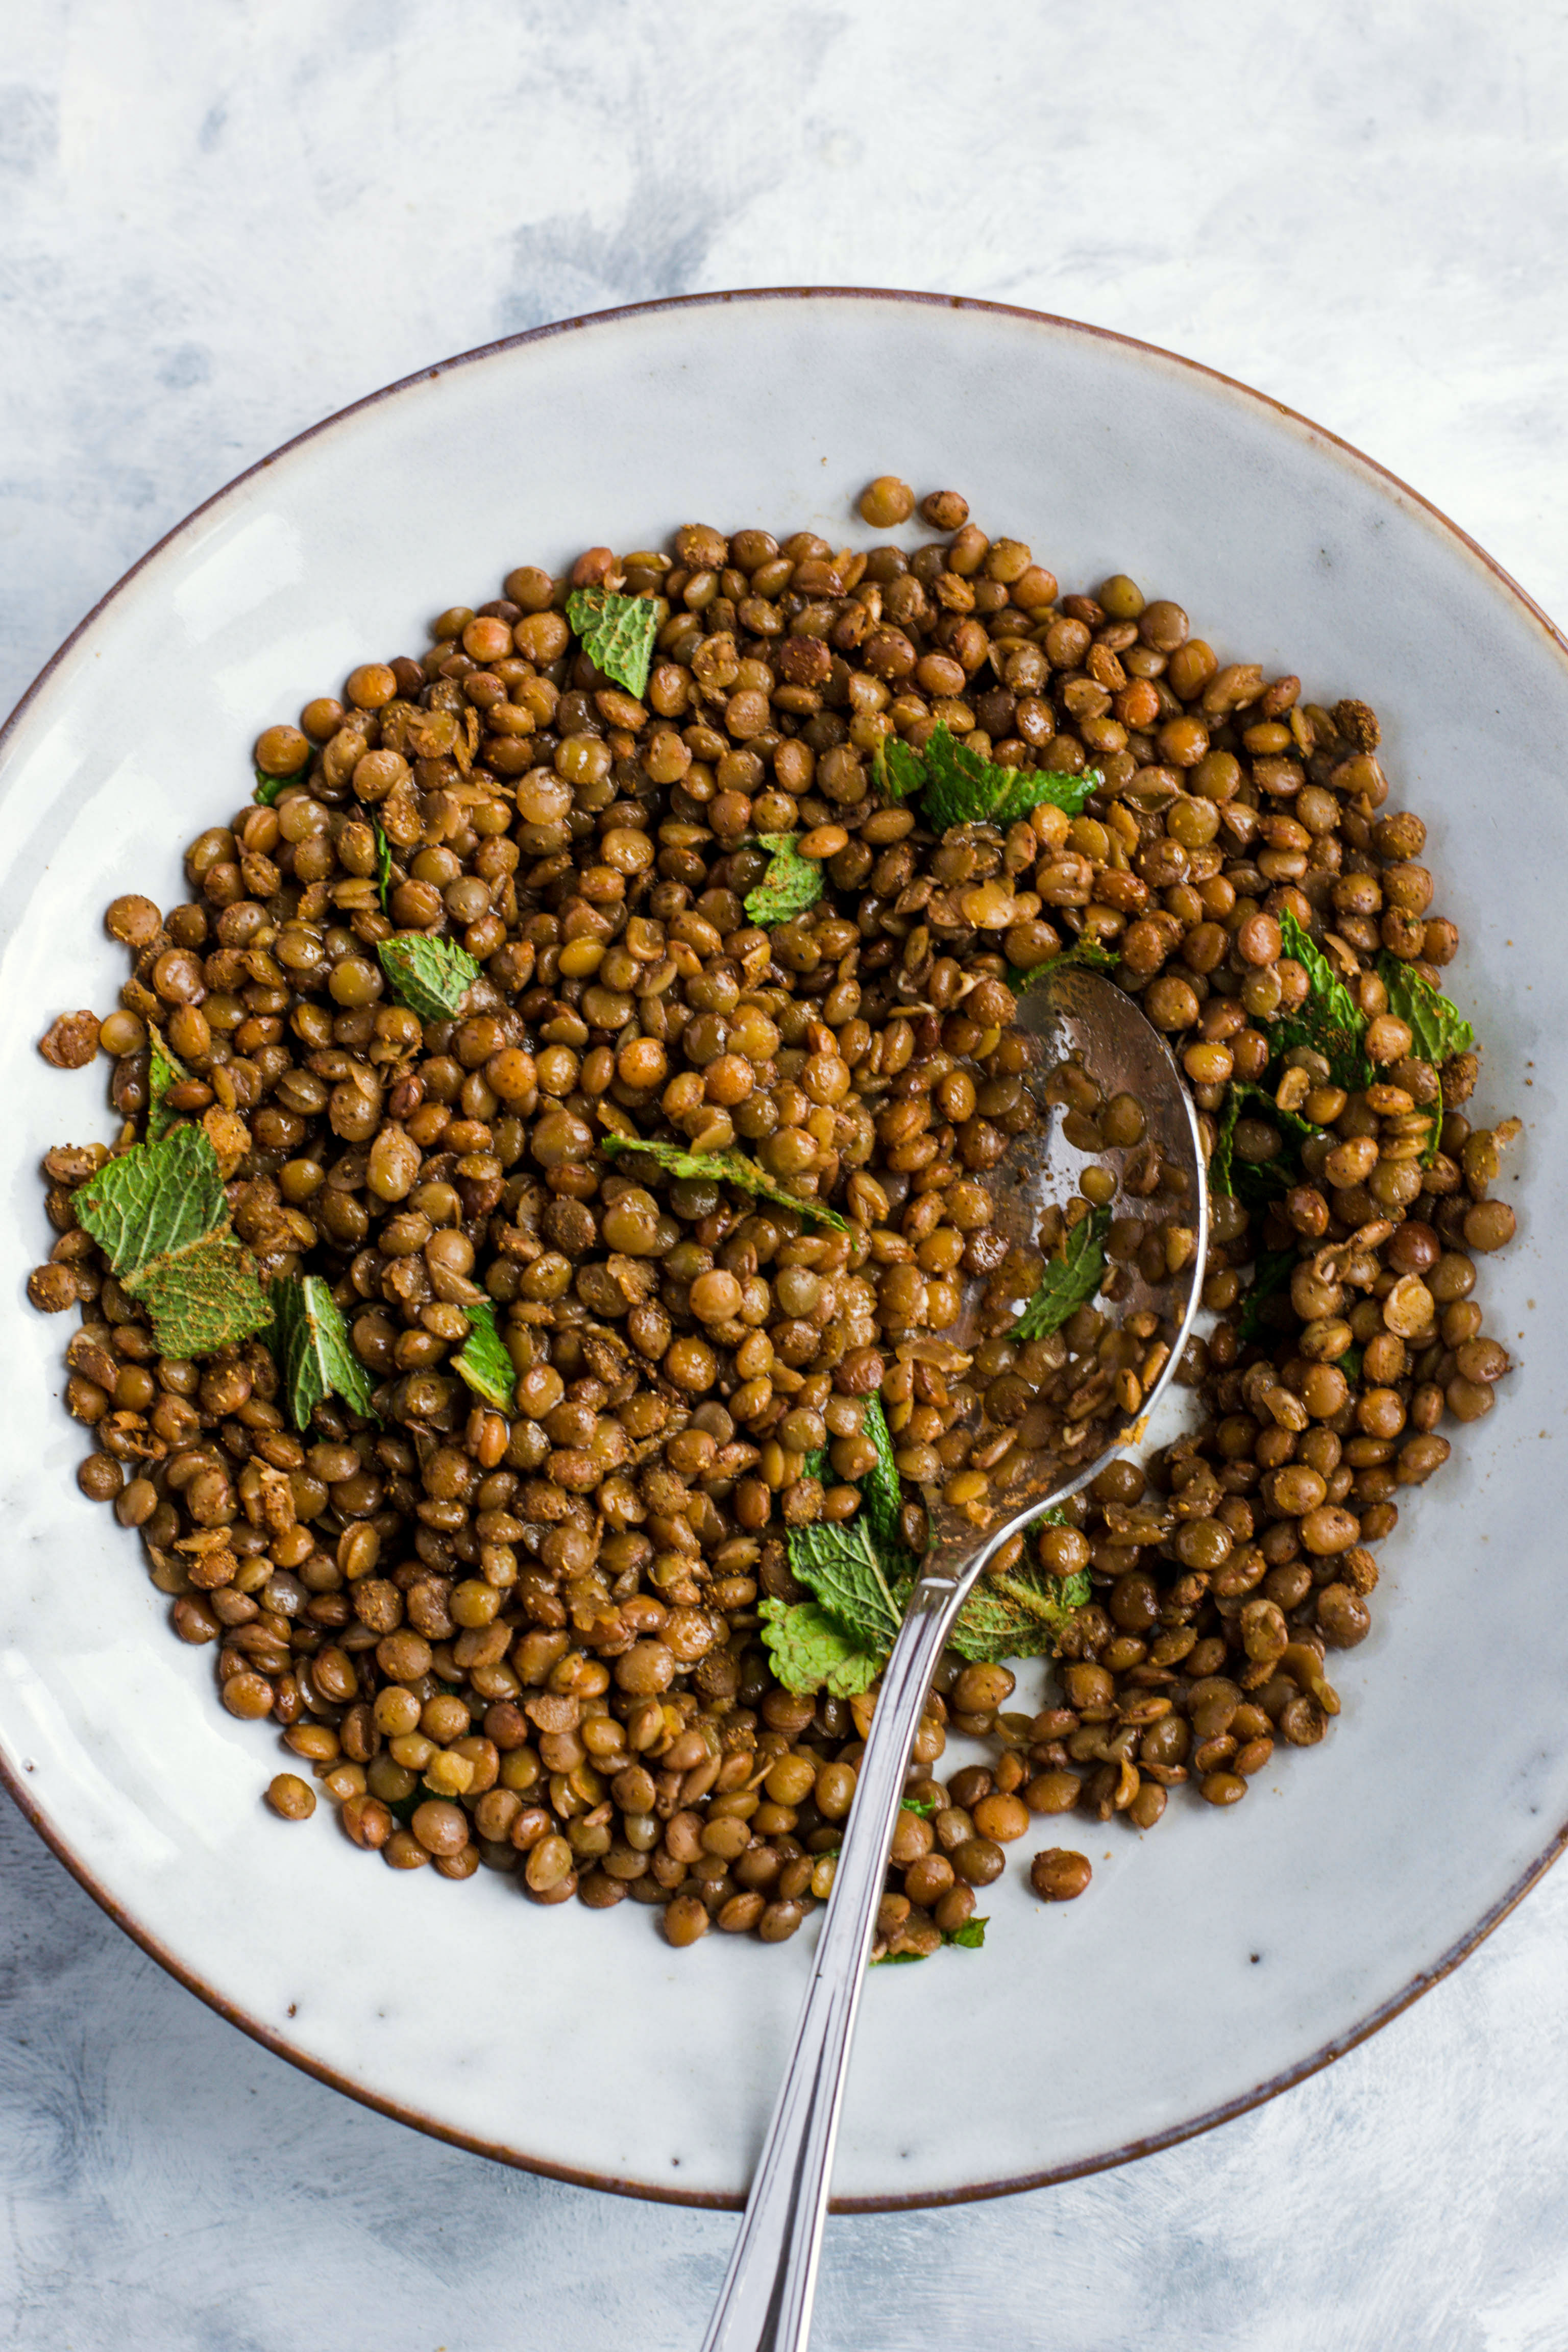
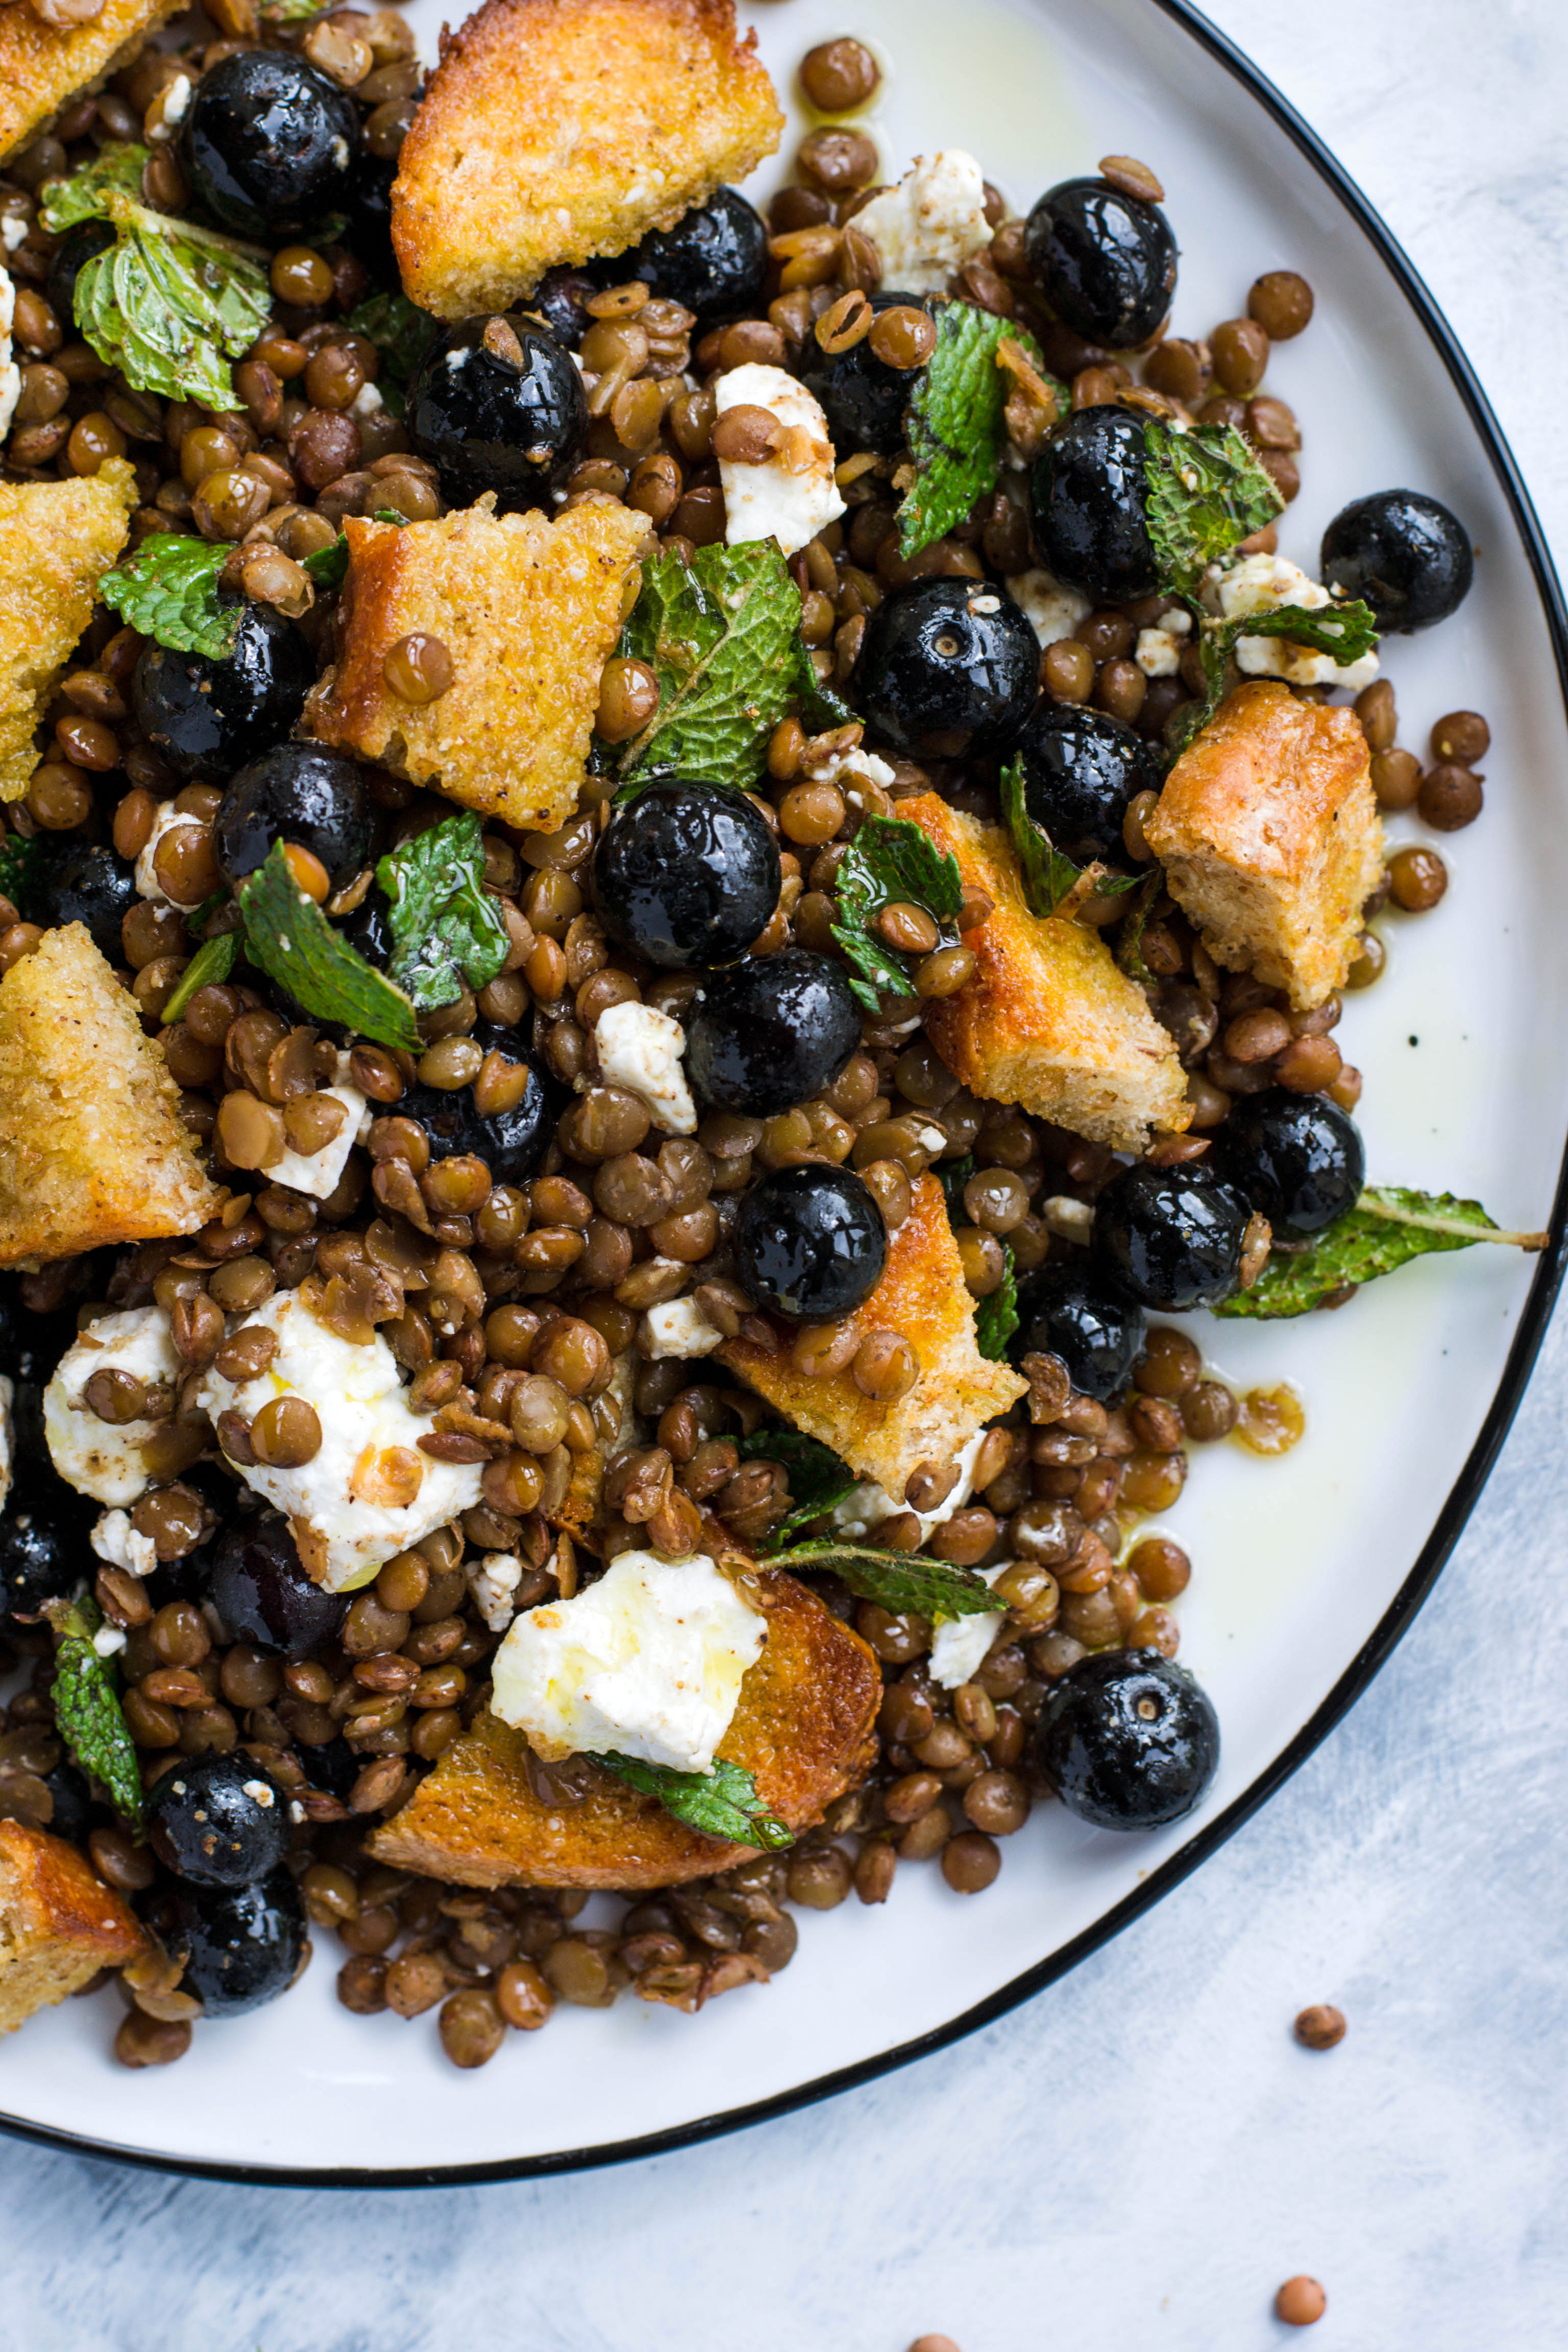
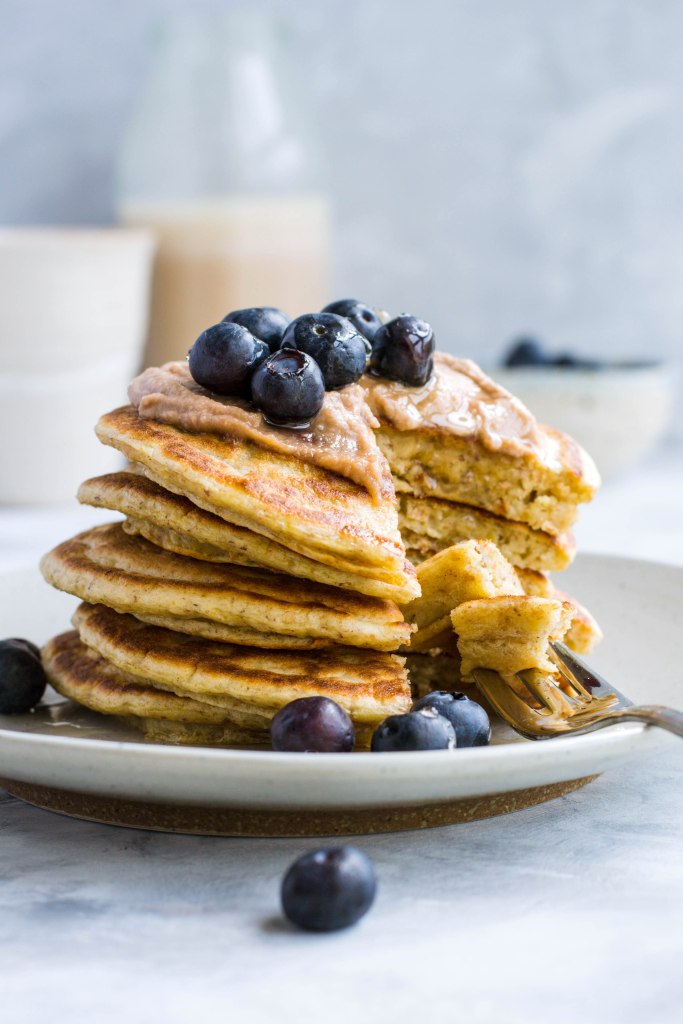
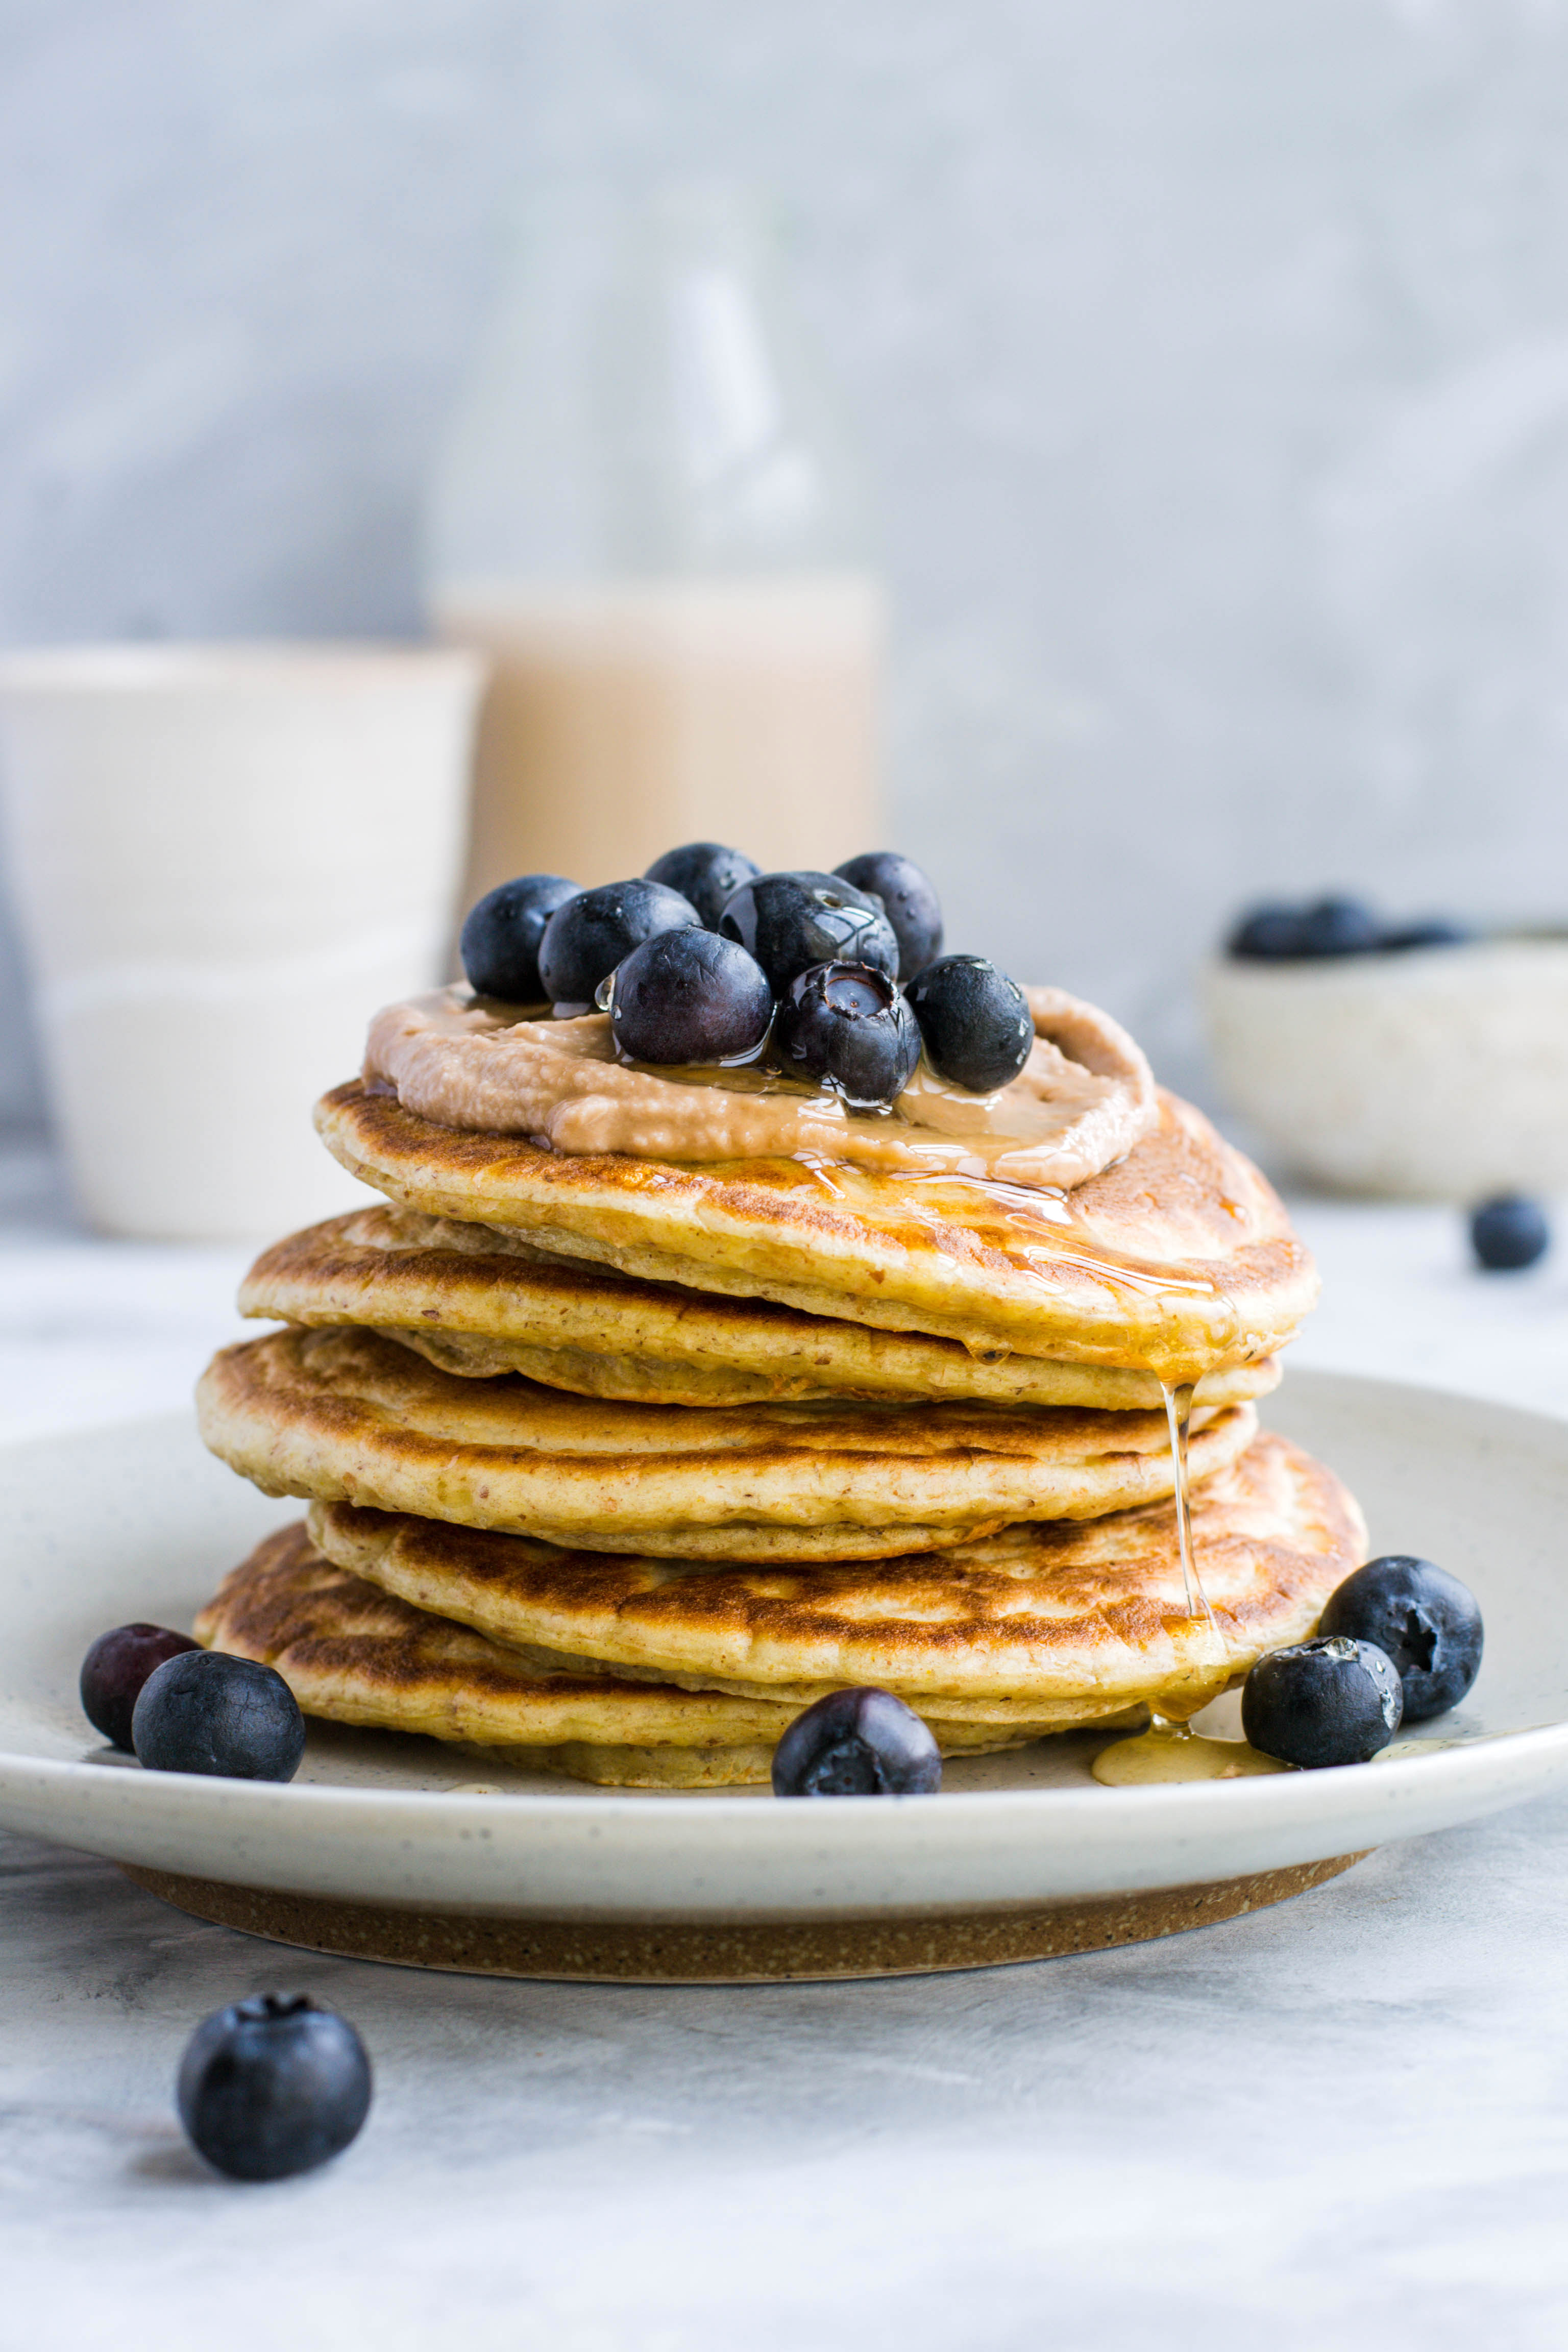
- il tipo di lenticchie: tra gli ingredienti di questa ricetta trovi le lenticchie marroni, ma potenzialmente potresti usare qualsiasi tipo di lenticchie – ti consiglio di cuocere un po’ di più quelle piccole (come quelle che uso in quest’insalata con i mirtilli) e di prestare attenzione al contenuto di acqua se usi le lenticchie rosse decorticate (assicurati che siano asciutte prima di aggiungerle al resto degli ingredienti; non c’è bisogno di frullarle perchè tendono a formare naturalmente un mix cremoso, ma dovrai adattare la quantità di avena).
Servi i burger così come sono con un’insalata o all’interno di un panino: si sposano bene con un po’ di hummus, una salsa speziata o con una salsa all’avocado. In questo caso, li ho serviti con insalata, una salsa a base di burro di mandorle, cavolo in foglia speziato e rucola.


BURGER VEGANI CON LENTICCCHIE E RAPE ROSSE
Ingredienti (6-7 burger)
- 300 g di rape rosse crude grattugiate
- 250 g di lenticchie marroni o 200 g di lenticchie rosse decorticate (precedentemente cotte – senza acqua di cottura avanzata)
- circa 40 g di avena in fiocchi (usa dell’avena certificata senza glutine se necessario)
- 2-3 cucchiai di farina integrale (adatta la quantità di farina basandoti sul contenuto d’acqua dei tuoi ingredienti – puoi usare qualsiasi tipo di farina)
- 1 cucchiaino di garam masala
- 1 cucchiaino di zenzero in polvere
- 2 cucchiai di burro di mandorle (meglio se è un burro con pezzi)
- 1 cucchiaio di olio extra vergine d’oliva
- un pizzico di pepe di cayenna
- un pizzico di sale
Metti l’avena, l’olio, e le lenticchie in un frullatore per spezzettarle: puoi decidere se preparare un mix più omogeneo o se lasciare qualche pezzo intero o di dimensione maggiore. Mischia quanto ottenuto dal frullatore con le rape grattugiate e tutti gli altri ingredienti.
Prepara i burger utilizzando un pochino d’olio sulle mani e cuocili in padella con un filo d’olio d’oliva o in forno pre-riscaldato a 180°C per circa 10-15 minuti o finchè non saranno un po’ più scuri e si saranno rassodati esternamente. Cerca di non cuocere troppo questi burger perchè tendono a diventare facilmente troppo asciutti.
Se questo post ti è piaciuto, condividilo con i tuoi amici usando i link qui sotto. Non dimenticare di taggarmi @amatterofnourishment su Instagram se provi questa ricetta: mi piacerebbe molto vedere le tue creazioni!