Ci sono tanti modi per utilizzare ciò che avanza in cucina e per scoprire semplici strategie per ridurre gli sprechi di cibo: non è una questione di complessità o perfezione, ma è un qualcosa legato all Il pane raffermo può essere il punto di partenza per tantissime preparazioni. Questi gnocchi preparati con pane avanzato e pochi altri ingredienti sono un ottimo modo per portare in tavola qualcosa di diverso dal solito e sono facilissimi da fare!
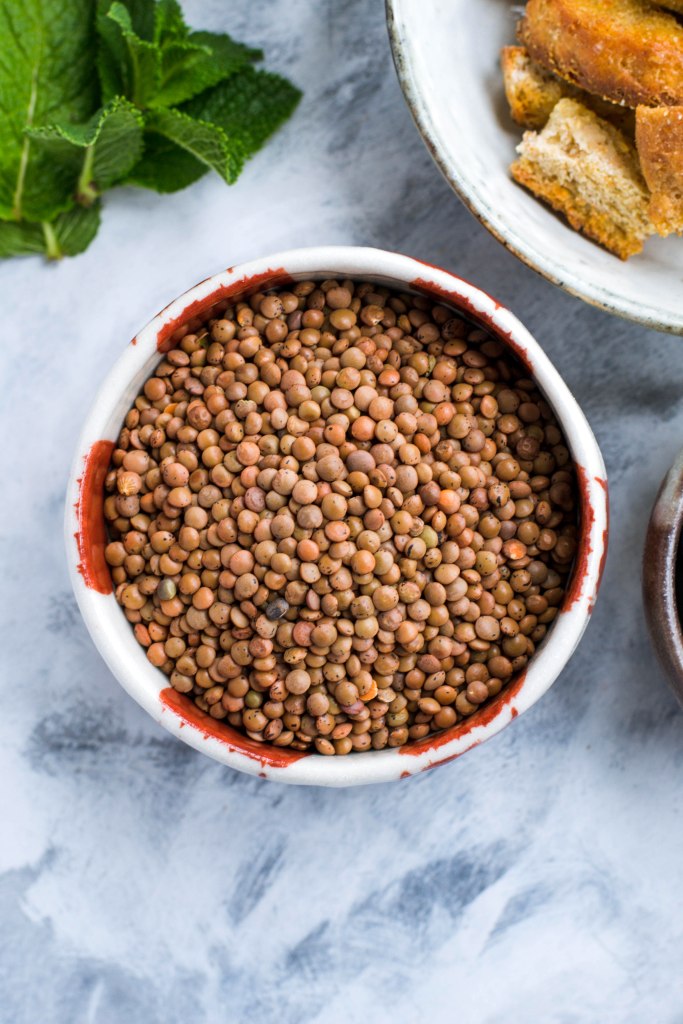
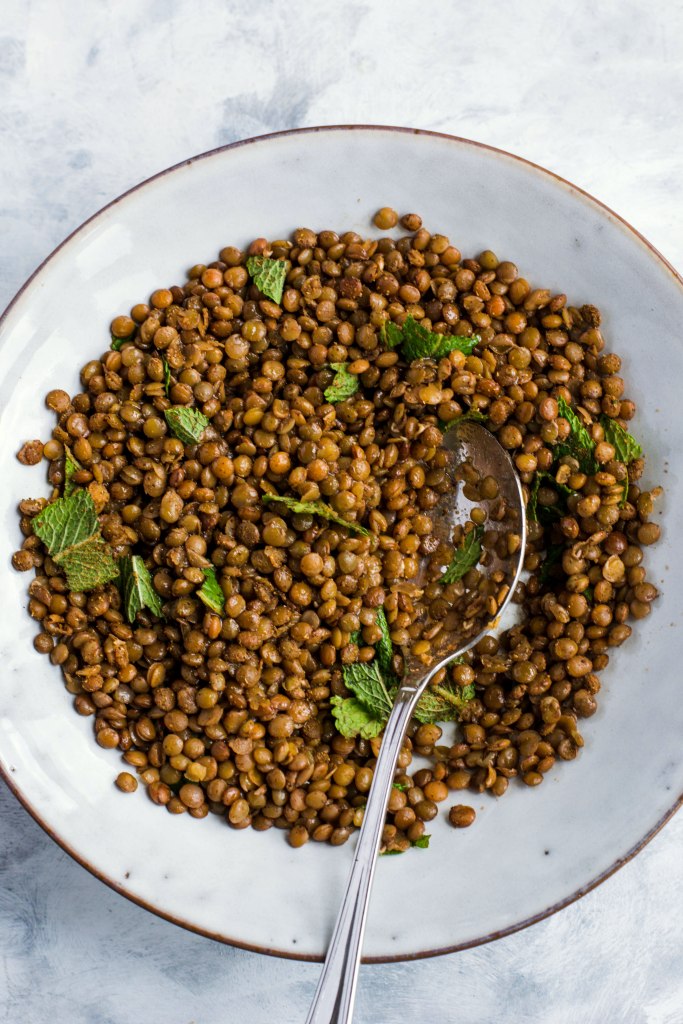
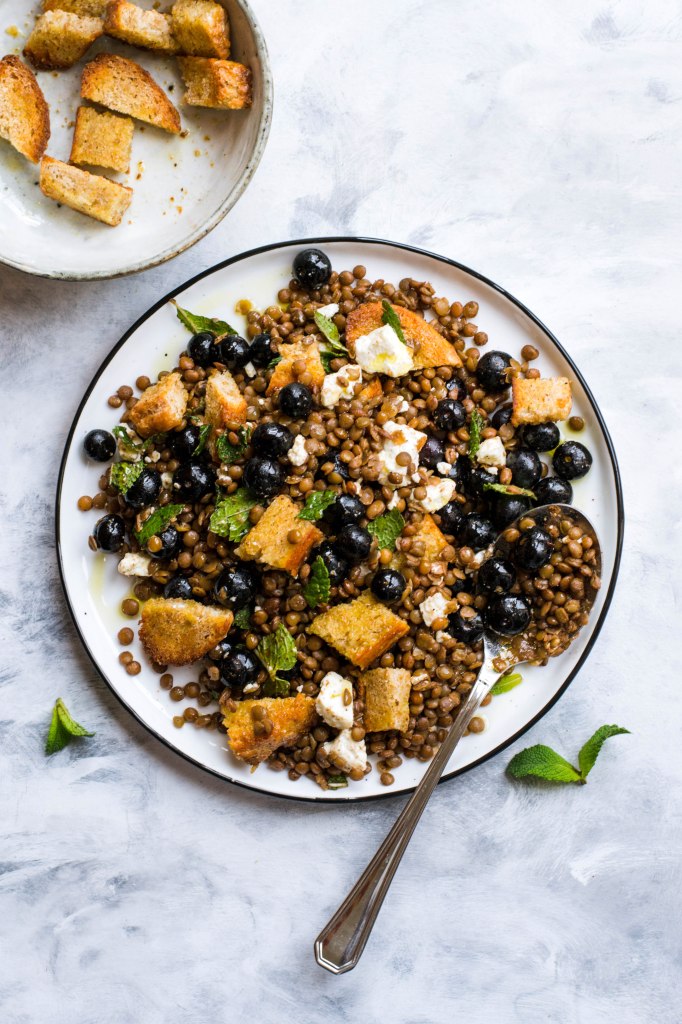
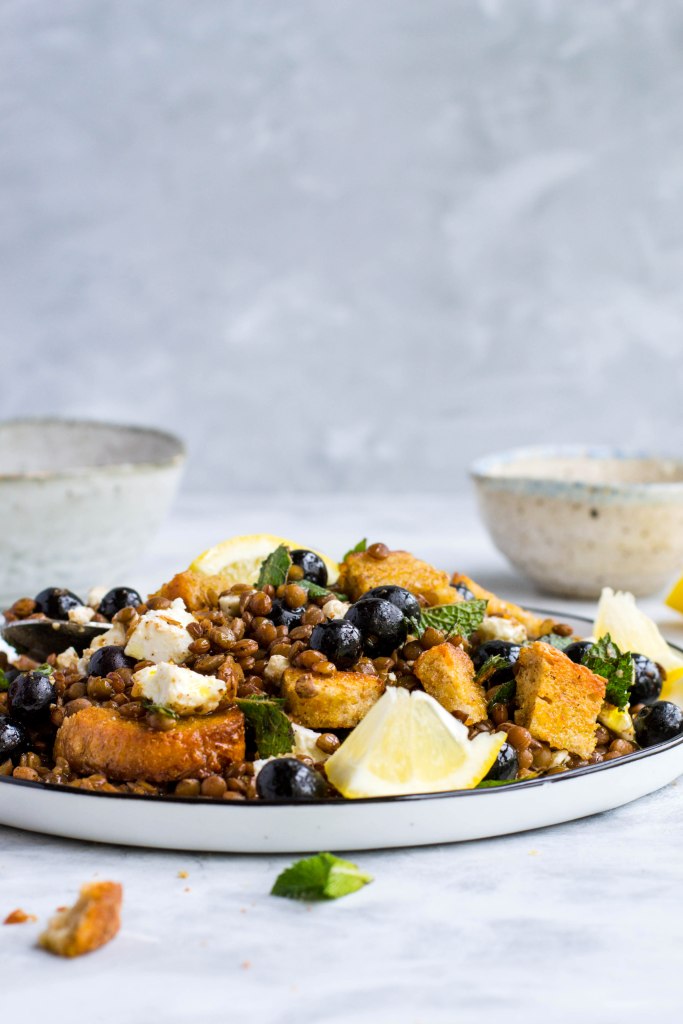
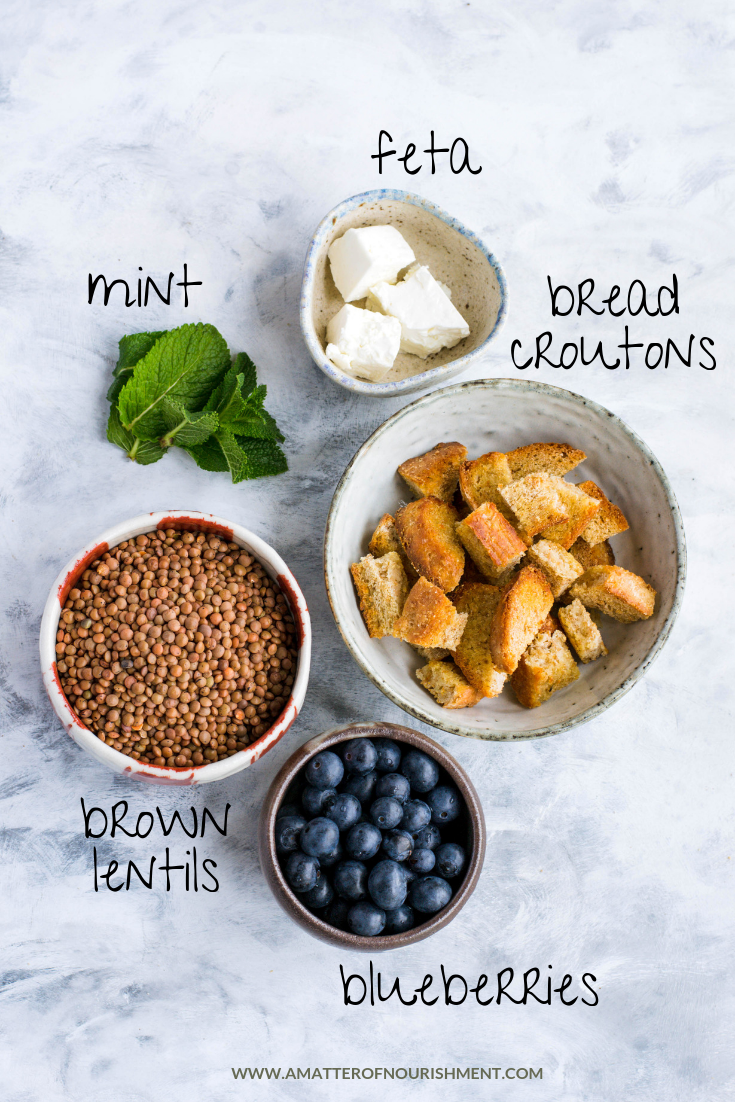
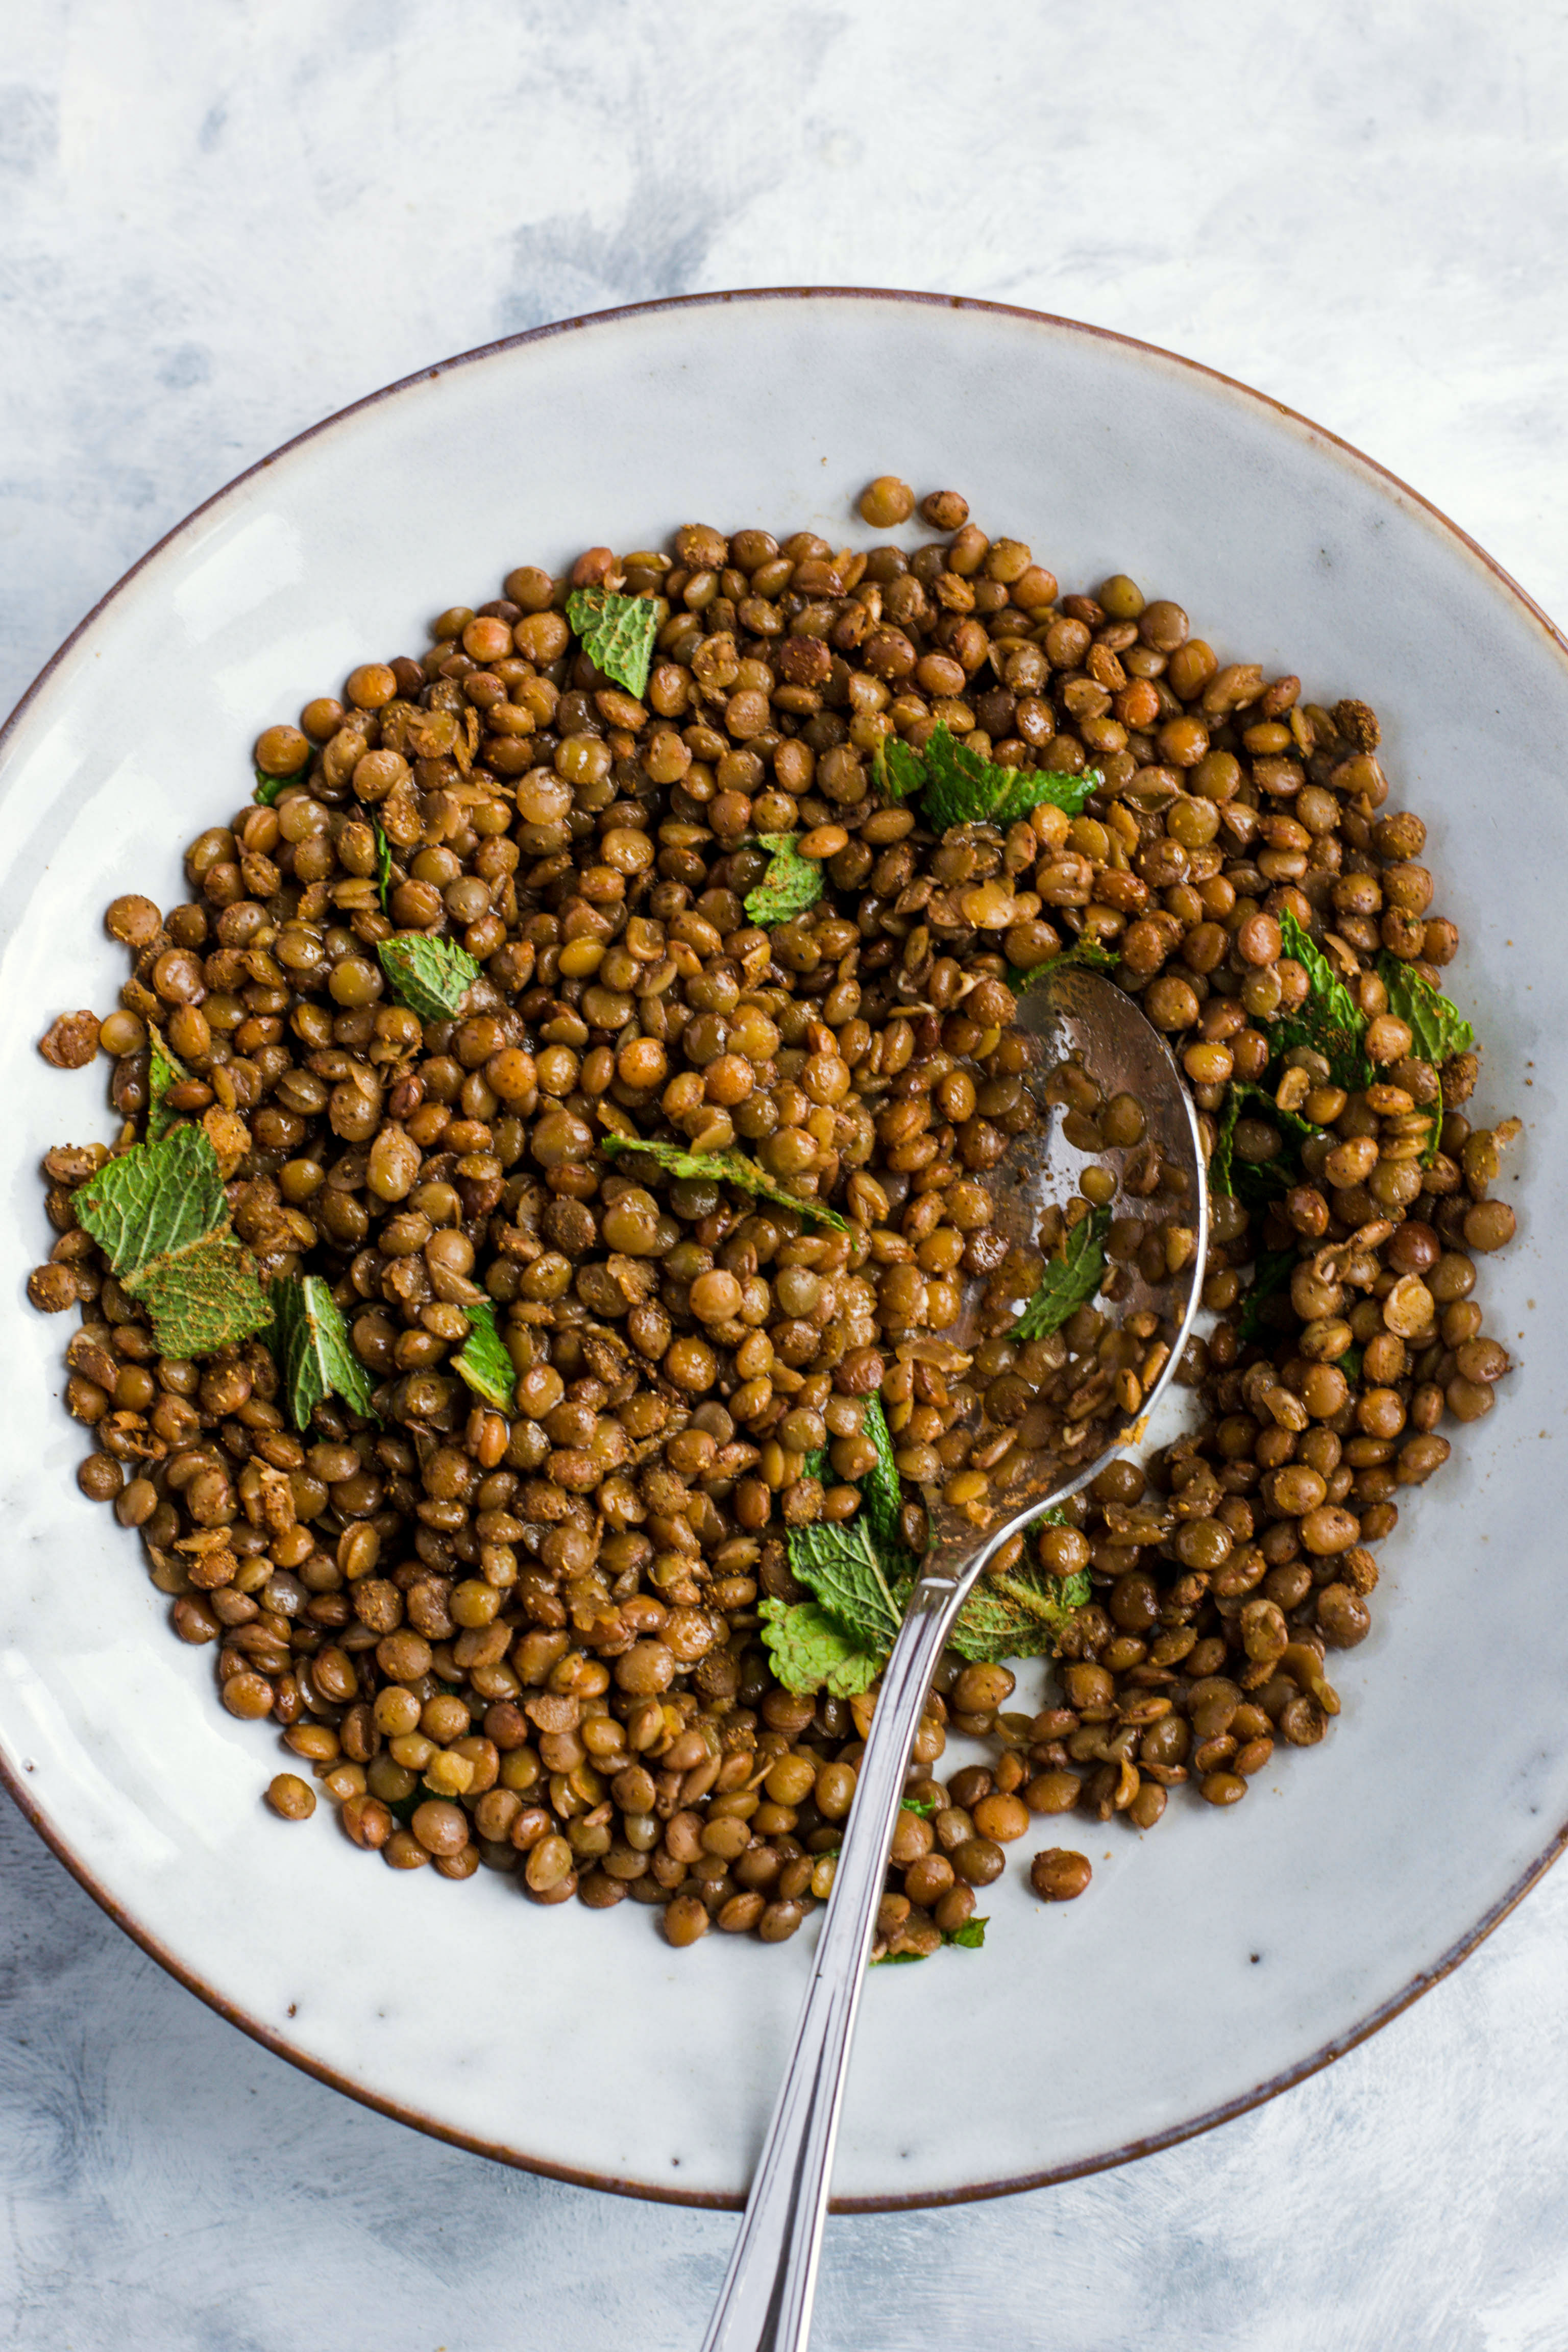
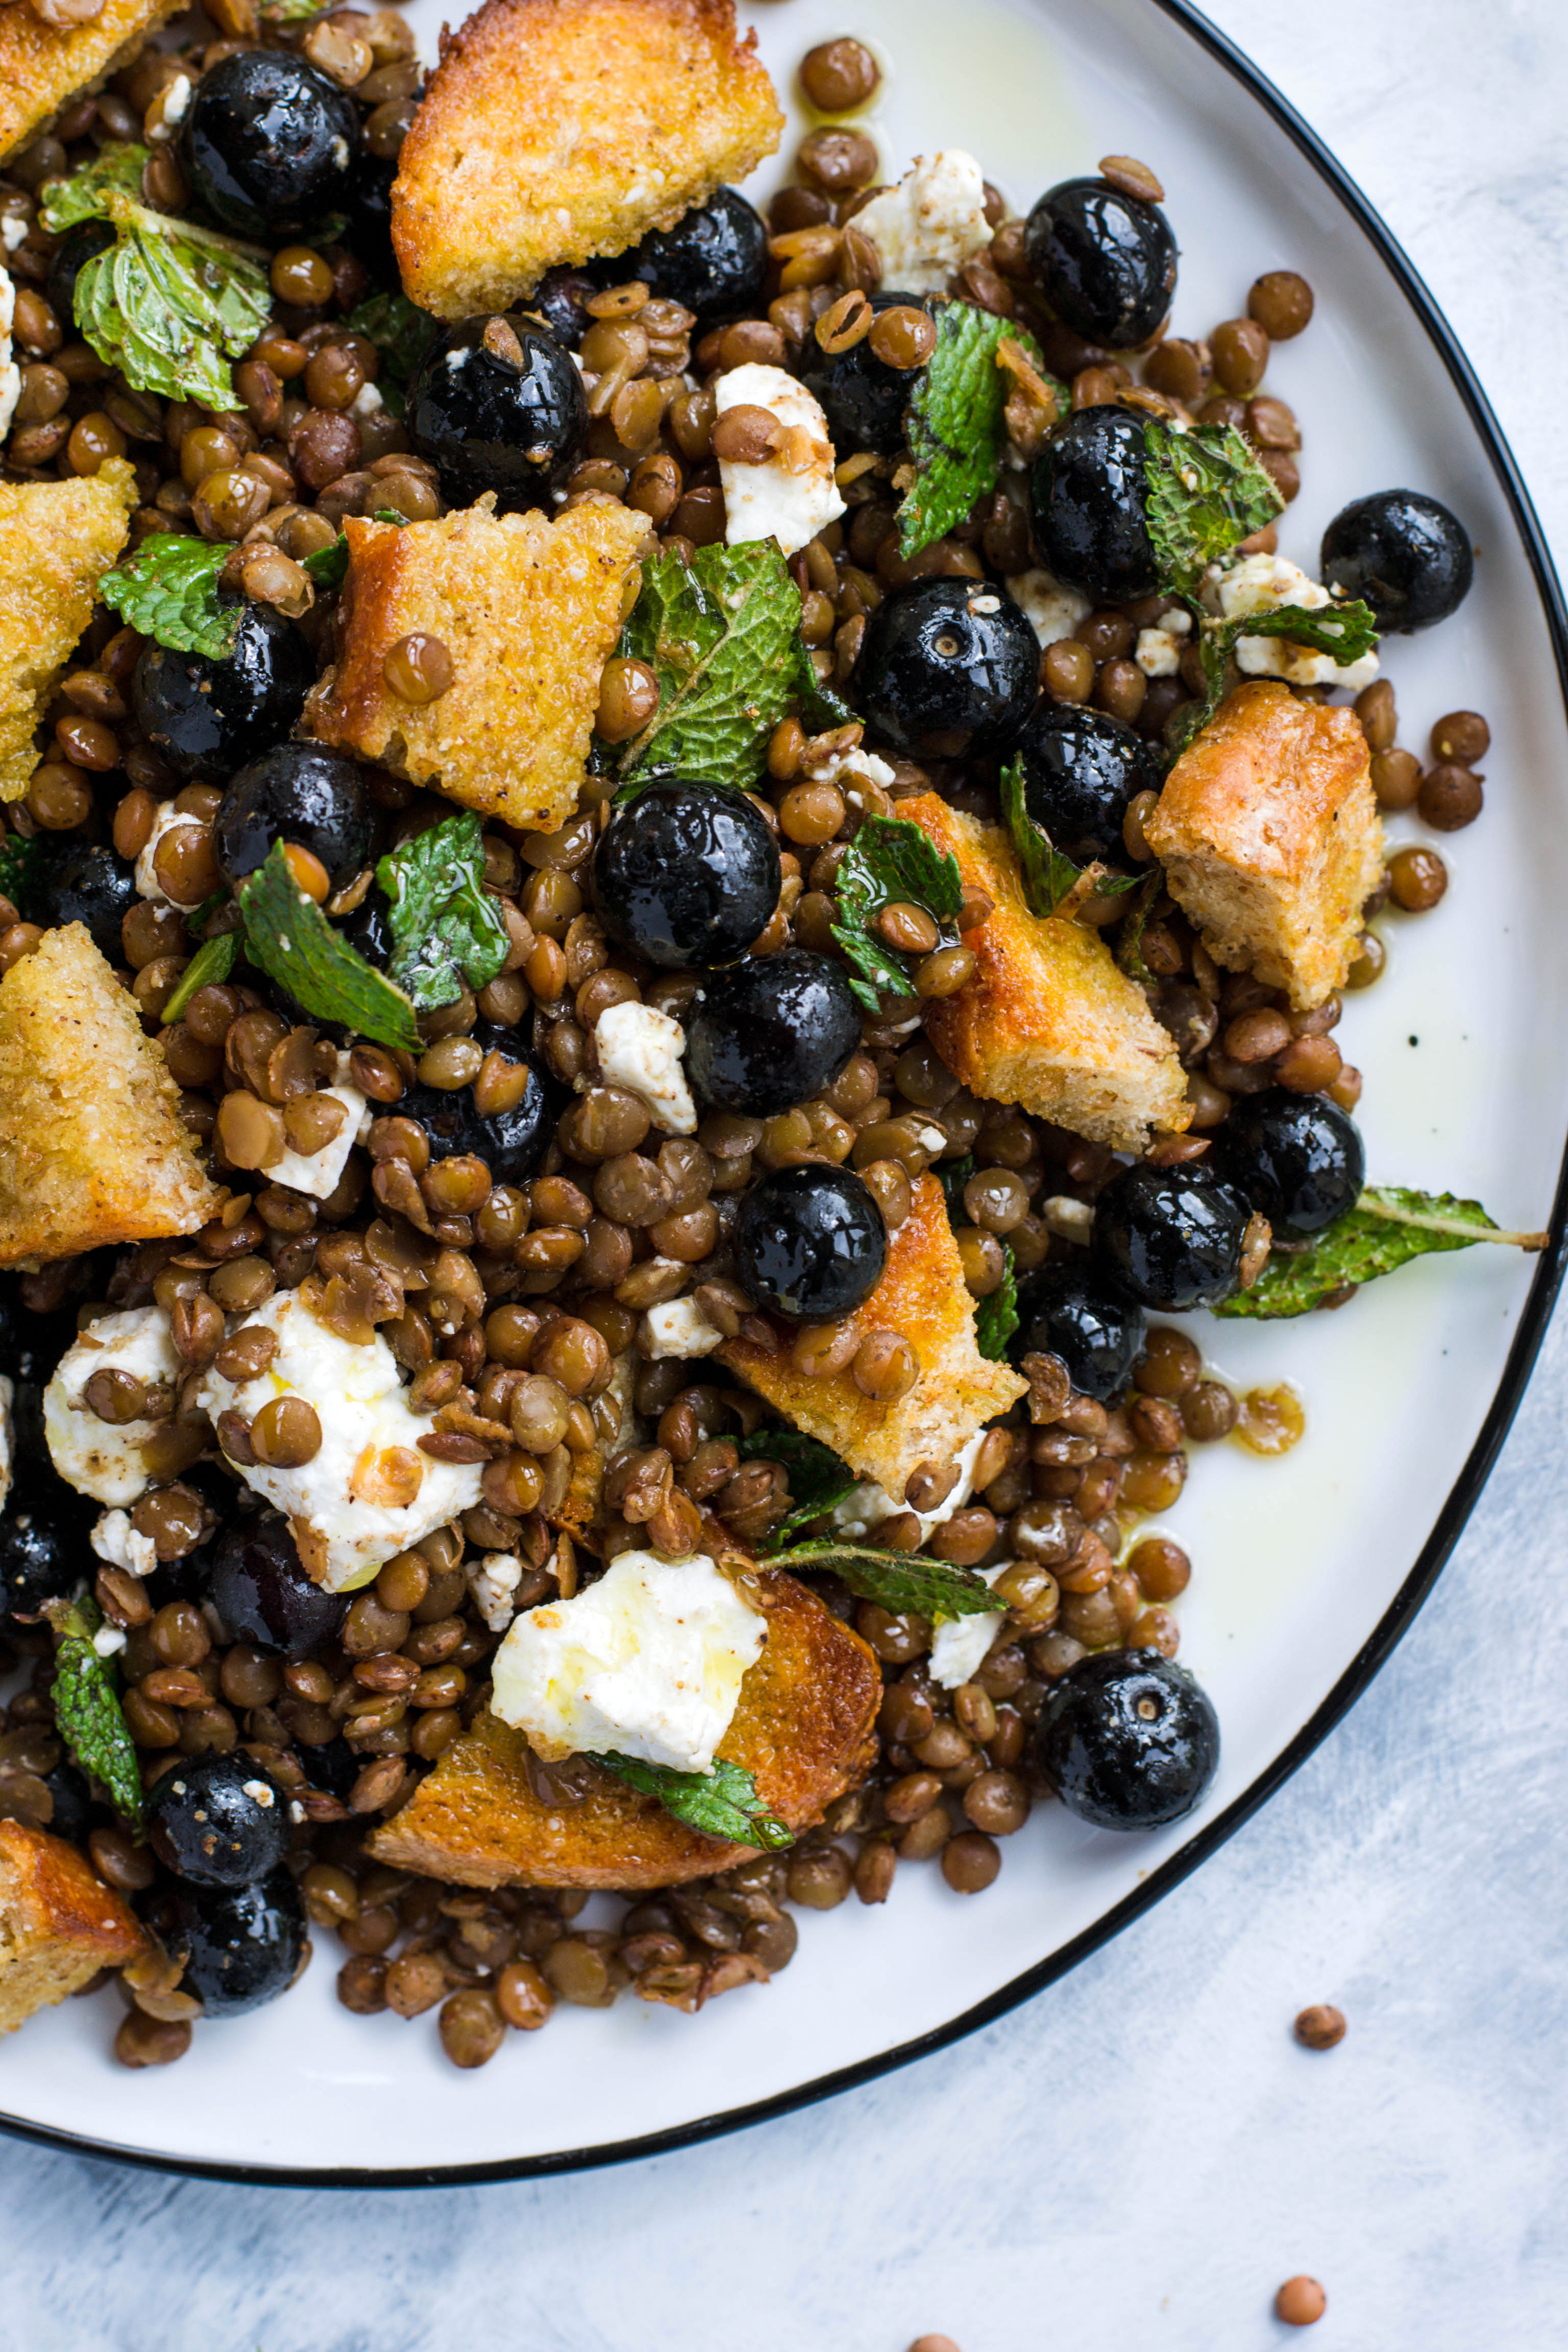
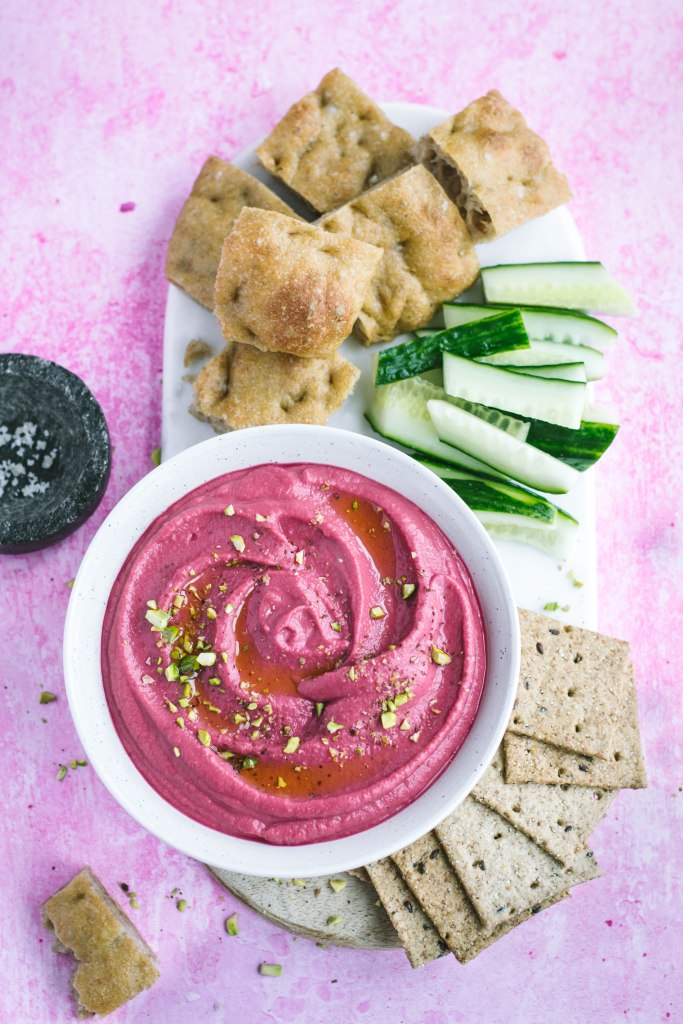
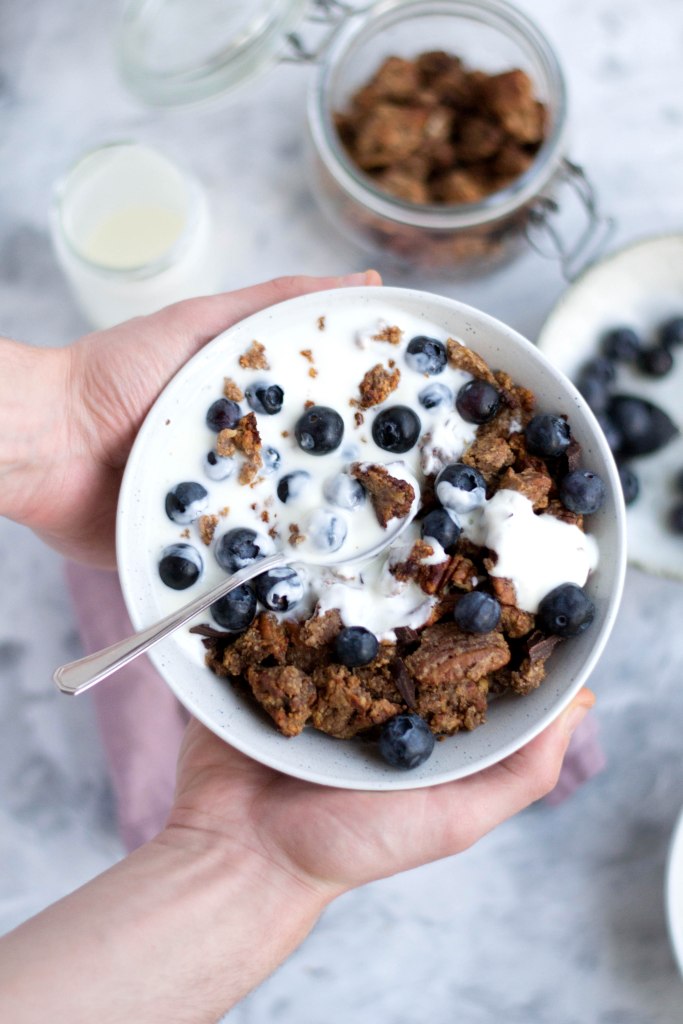
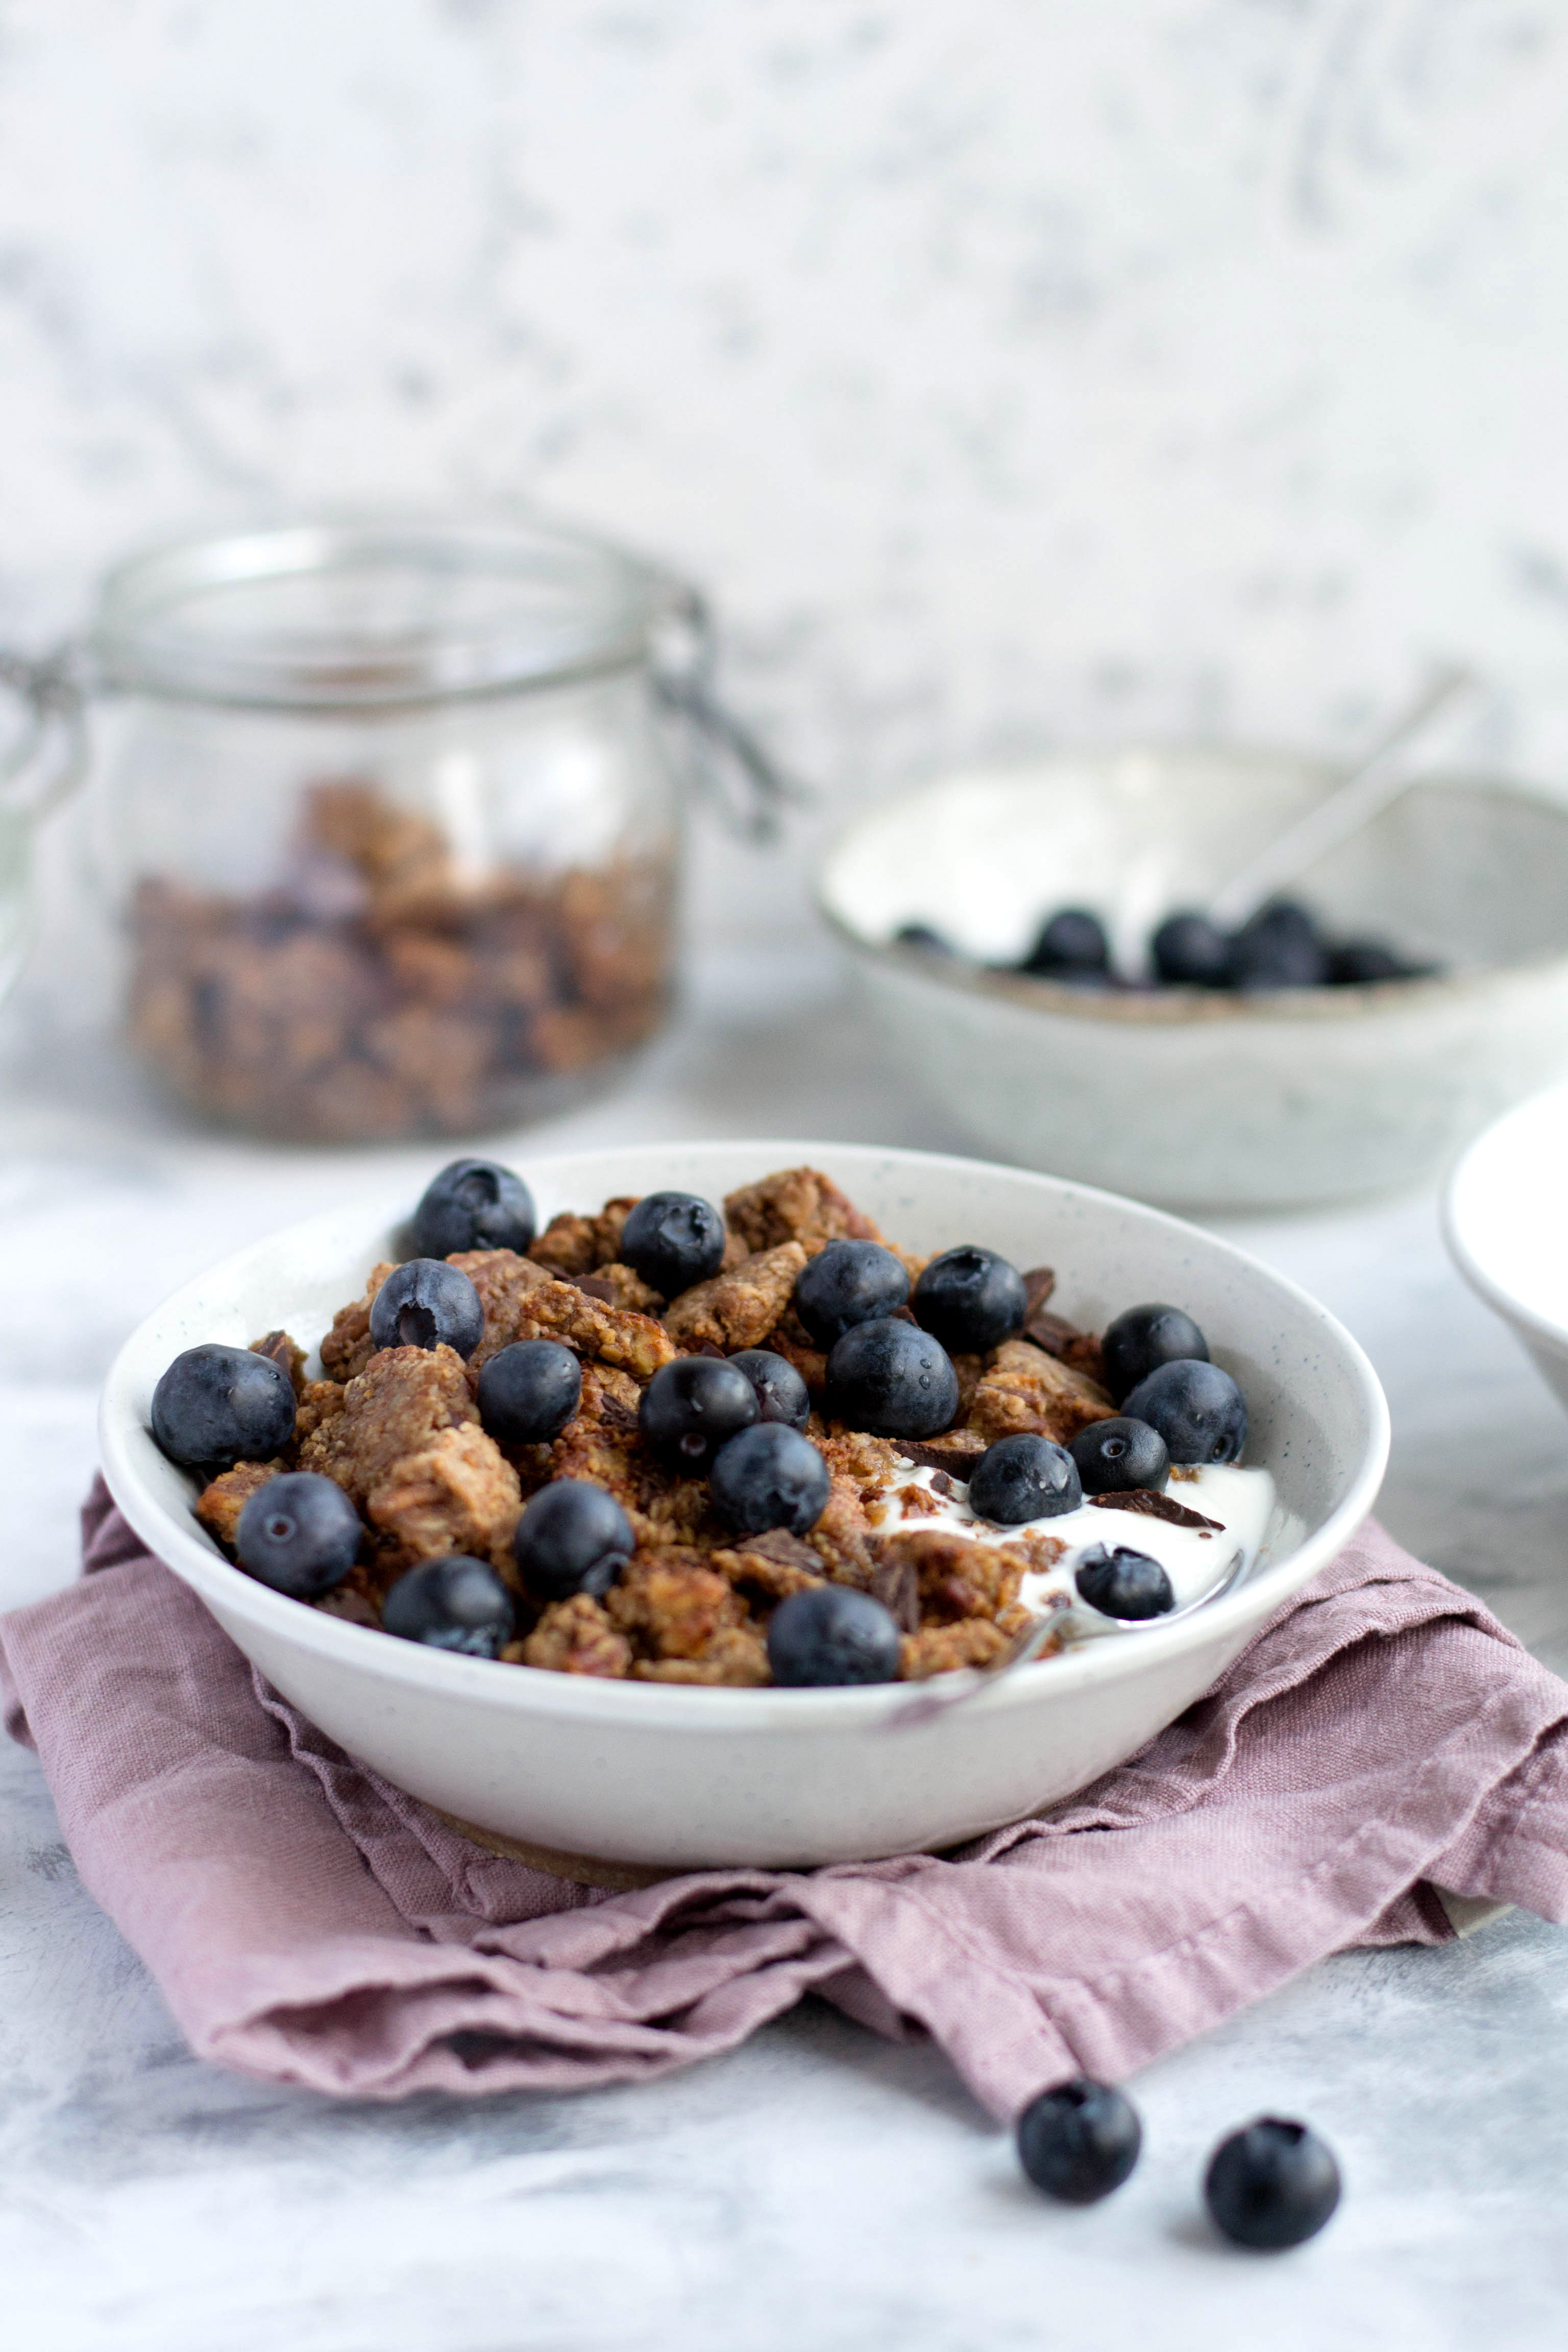
Questo è solo uno dei tanti esempi di ricette con il pane raffermo: idratandolo e creando una nuova consistenza, puoi trasformarlo in un piatto completamente diverso. Puoi utilizzare il pane avanzato anche per aggiungere un po’ di croccantezza in un’insalata (come ho fatto in quest’insalata con lenticchie, mirtilli, feta e crostini di pane), per preparare un buonissimo French toast, o per creare un’insalata Estiva ricca di gusto in cui il pane assorbe tutto il succo dei pomodori maturi.
I gnocchi di patate sono un classico intramontabile e con questo piatto sò di non sbagliare mai (se non hai ancora provato a prepararli in casa, ti consiglio di farlo e qui trovi un esempio). Ma è bello anche portare un po’ di varietà in tavola!
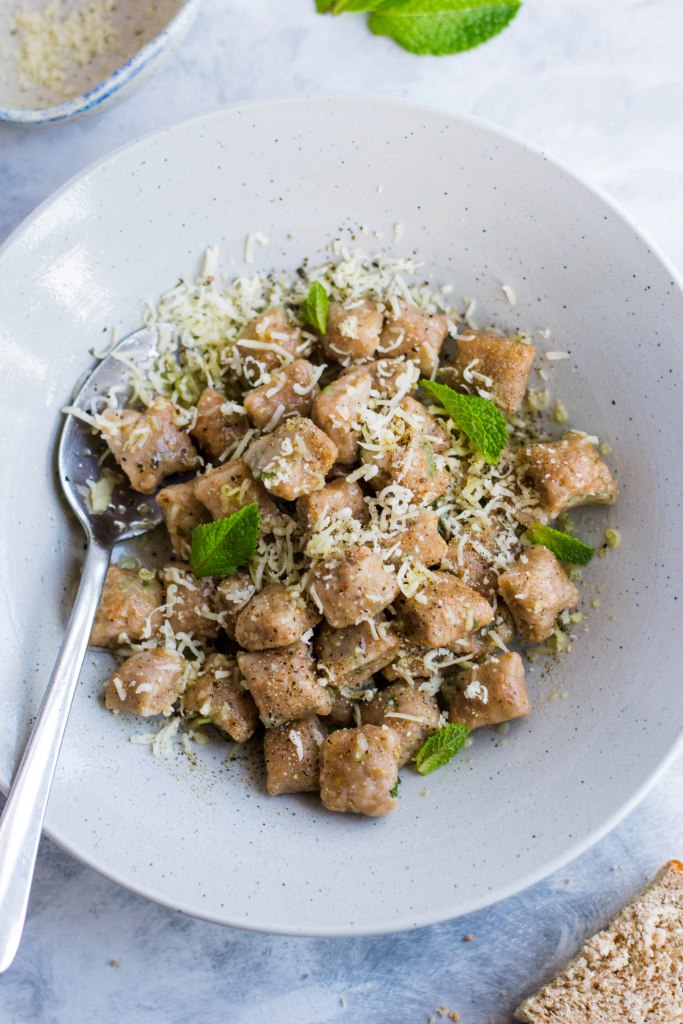
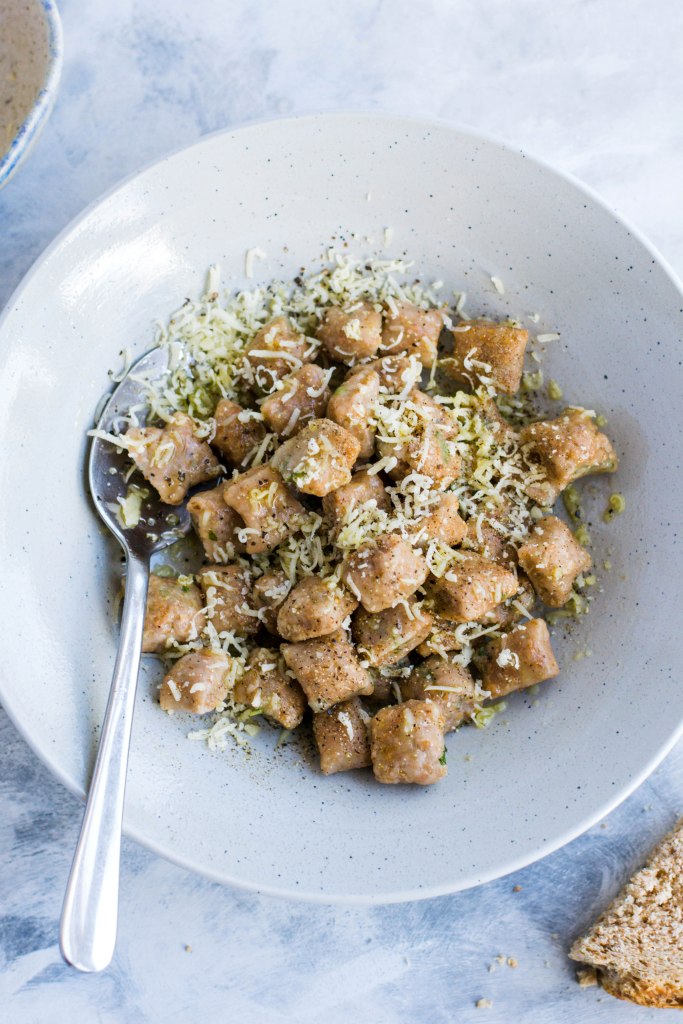
Puoi preparare questi gnocchi con qualsiasi tipo di pane ed il sapore finale sarà legato anche a quest’ingrediente principale: preferisco usare un sugo a base di pomodoro per i gnocchi fatti con pane raffermo bianco e olio d’oliva o burro o panna per quelli fatti con pane integrale. Qui ho utilizzato delle fette di pane integrale alle noci che aveva un suo sapore caratteristico abbastanza persistente, quindi ho condito i gnocchi soltanto con olio extra vergine d’oliva, pepe nero e formaggio stagionato (questo era cheddar, ma anche qualcosa tipo pecorino sarebbe perfetto).


Gnocchi di pane alla menta
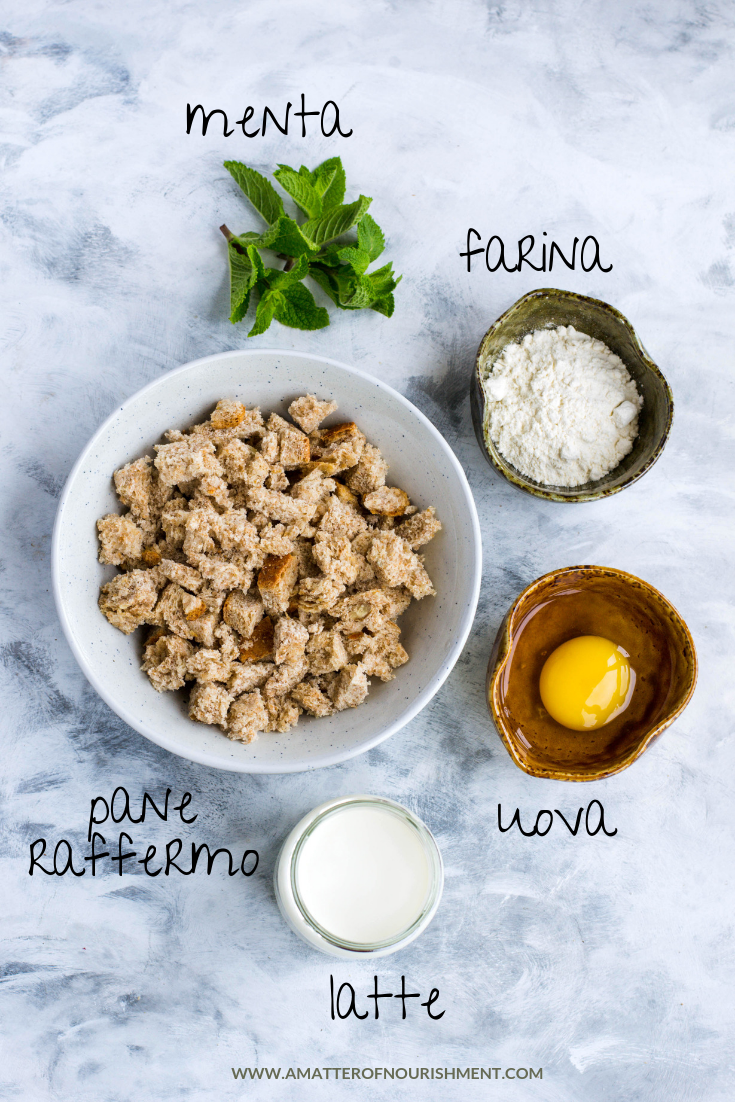
Ingredienti (per 4 persone)
- 200 g di pane raffermo
- 80-110 g di farina (puoi usare qualsiasi tipo di farina – in questo caso, visto che il pane era integrale, ho usato un mix di farina bianca ed integrale per agevolare la preparazione dei gnocchi)
- 1 uovo
- 130-150 ml di latte
- 1 manciata abbondante di foglie di menta fresca
- un pizzico di pepe nero
- per servire: olio extra vergine d’oliva, formaggio stagionato grattugiato, pepe nero
In una ciotola mischia il pane (tagliato a pezzetti) ed il latte tiepido: lascia riposare per circa 20 minuti, poi usa una forchetta per finire di spezzettare il pane e creare una specie di mix cremoso. E’ sempre meglio dover aggiungere un po’ di latte in più dopo questo passaggio, in caso dovessi notare che il pane non è del tutto pronto, piuttosto che ottenere un risultato troppo liquido.
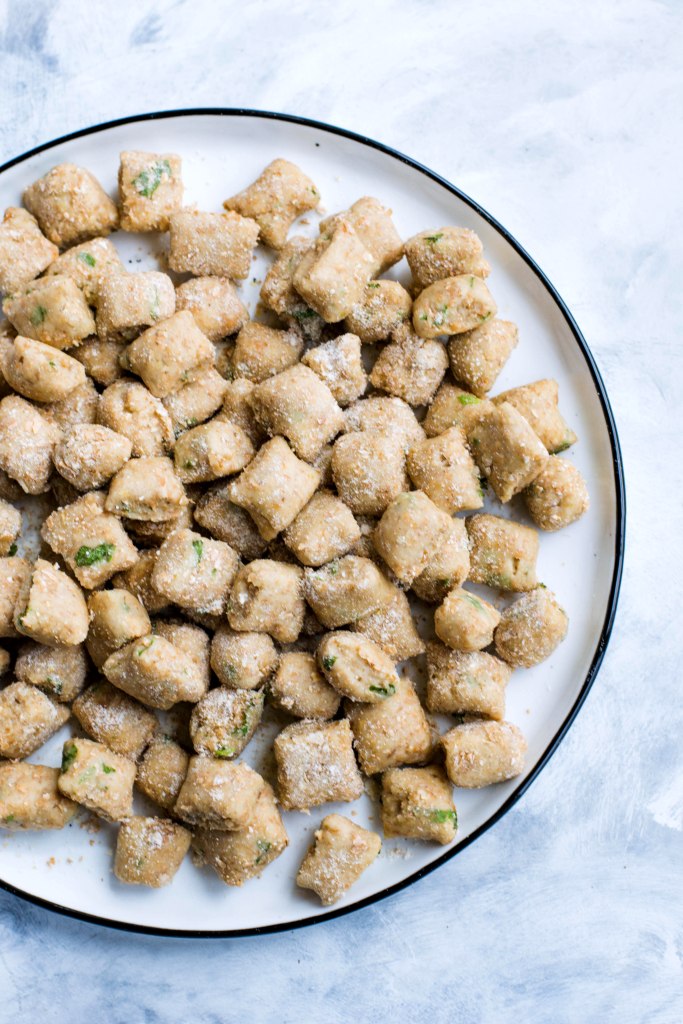
Quando il pane ammorbidito nel latte sarà pronto, mischialo con la farina, l’uovo, il pepe e la menta (tagliata finemente). Utilizza un cucchiaio all’inizio, per poi passare a lavorare l’impasto con le mani alla fine e poter controllare meglio la consistenza. In base al pane che usi, potresti dover aggiungere più o meno farina: l’impasto è pronto quando non si attacca più alle mani e quando riesci facilmente a formare una pallina. Cerca di non lavorarlo troppo. Dividi l’impasto in alcuni pezzi, poi forma dei salsicciotti uniformi e taglia gli gnocchi con un tagliapasta o un coltello senza seghetto (taglia dei pezzetti di circa 1.5-2 cm). Usa un pochino di farina per assicurarti che gli gnocchi non si attacchino l’uno all’altro.
Cuocili in acqua bollente ed aspetta che vengano a galla (di solito successivamente aspetto altri 30 secondi o 1 minuti, in base alla grandezza degli gnocchi). Scola bene gli gnocchi maneggiandoli delicatamente. Mettili nei piatti e servi con formaggio grattugiato, olio d’oliva e pepe.
Se questo post ti è piaciuto, condividilo con i tuoi amici usando i link qui sotto. Non dimenticare di taggarmi @amatterofnourishment su Instagram se provi questa ricetta: mi piacerebbe molto vedere le tue creazioni!